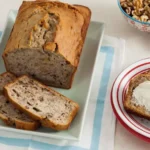
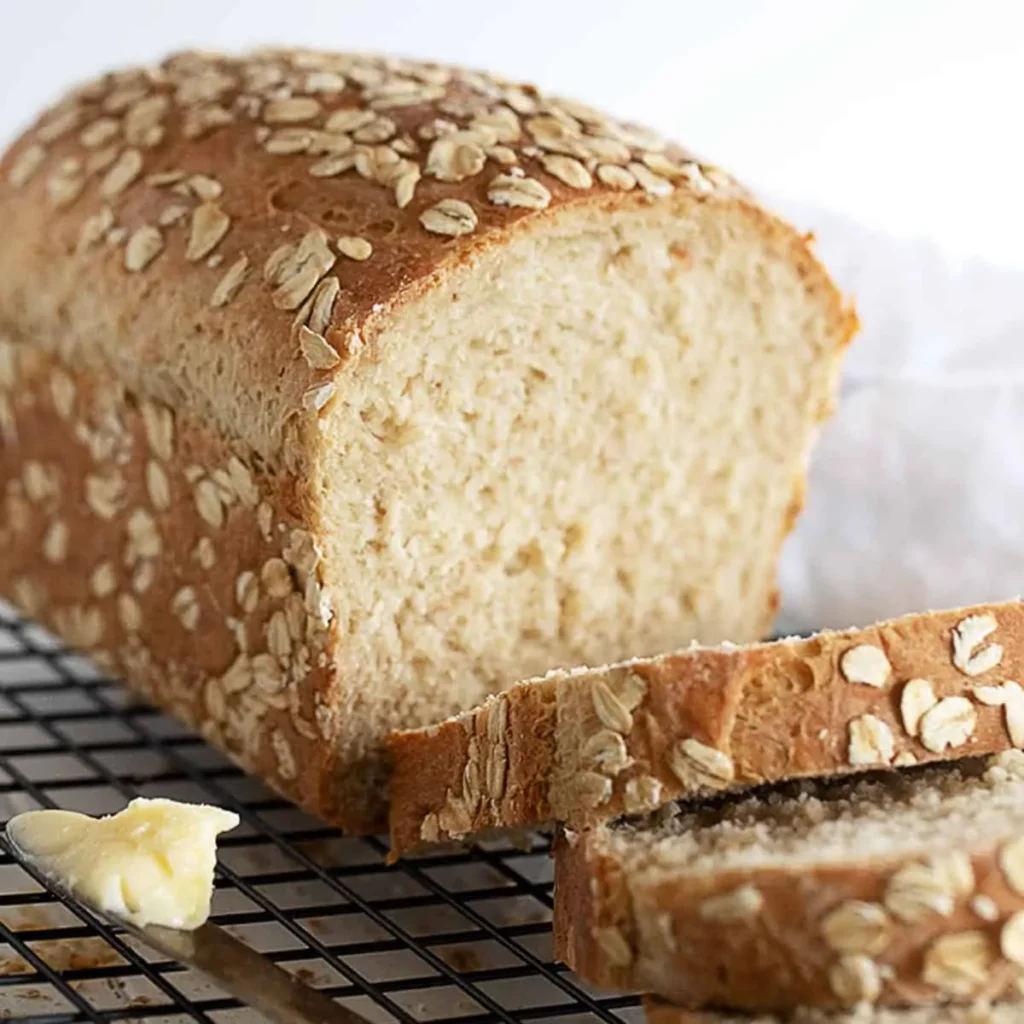
So, you think you’ve mastered the art of baking bread, huh? Well, get ready to be humbled by the heavenly aroma and irresistible taste of homemade honey oat bread.
This simple yet exquisite recipe will have you questioning every store-bought loaf you’ve ever consumed. But I wouldn’t want to spoil the surprise.
Let’s just say that once you sink your teeth into a warm slice of this golden-brown delight, you’ll never look at bread the same way again.

Contents
- 1 Key Takeaways
- 2 Ingredients
- 3 Mixing the Dough
- 4 First Rise
- 5 Shaping and Second Rise
- 6 Baking the Bread
- 7 Honey Oat Bread Recipe
- 8 Enjoying Your Homemade Honey Oat Bread
- 9 Nutrition facts
- 10 Frequently Asked Questions
- 10.1 How Long Does It Take for the Honey Oat Bread to Cool Completely After Baking?
- 10.2 Can I Substitute the Honey With Another Sweetener Like Maple Syrup or Agave Nectar?
- 10.3 Is It Possible to Make This Recipe Using a Bread Machine?
- 10.4 Can I Freeze the Dough or the Baked Bread for Later Use?
- 10.5 How Long Does the Honey Oat Bread Stay Fresh and How Should I Store It to Maintain Its Freshness?
- 11 Can I Use Honey Butter Corn Bread in Place of Honey Oat Bread for a Recipe?
- 12 Conclusion
Key Takeaways
- Honey oat bread is a delicious and nutritious homemade bread recipe.
- It is made with rolled oats, honey, melted butter, and bread flour.
- The dough is kneaded and shaped before being baked to a golden brown.
- Honey oat bread can be customized with various add-ins and toppings for different flavors and textures.
Ingredients
To make this delicious Honey Oat Bread, gather all the necessary ingredients. You’ll need 2 cups of rolled oats, 1 cup of warm water, 2 tablespoons of active dry yeast, 1/4 cup of honey, 1/4 cup of melted butter, 1 teaspoon of salt, and 3-4 cups of bread flour.
Now, let’s talk about the different variations of honey oat bread you can try. You can add nuts, such as walnuts or almonds, for an extra crunch. Or you can throw in some dried fruits like cranberries or raisins for a touch of sweetness. The possibilities are endless, so feel free to get creative and experiment with different flavors.
Not only is this bread delicious, but it also comes with health benefits. Honey is a natural sweetener that contains antioxidants and has antimicrobial properties. It can help soothe a sore throat and boost your immune system. Oats, on the other hand, are packed with fiber, vitamins, and minerals. They can lower cholesterol levels and improve heart health.
Mixing the Dough
Start by combining the rolled oats, warm water, and active dry yeast in a large mixing bowl. The warm water helps activate the yeast, allowing it to release carbon dioxide and make the dough rise. Let the mixture sit for about 10 minutes until it becomes foamy.
Next, add the honey, melted butter, salt, and bread flour to the bowl. Use a wooden spoon or your hands to mix everything together until a sticky dough forms. Don’t worry if it looks a bit messy at this stage, that’s completely normal.
Now, it’s time to knead the dough. Sprinkle a little flour on a clean surface and transfer the dough onto it. Push the dough away from you with the heel of your hand, then fold it back towards you and rotate it a quarter turn. Repeat this process for about 10 minutes, until the dough becomes smooth and elastic.
If the dough sticks to your hands or the surface, add a little more flour. If it feels too dry, sprinkle a little water. The key to kneading is finding the right balance between stickiness and elasticity.
Troubleshooting tip: If the dough feels too tough and won’t stretch, let it rest for 10 minutes and then continue kneading. This allows the gluten strands to relax, making the dough easier to work with.
Once the dough is smooth and elastic, shape it into a ball and place it in a greased bowl. Cover it with a clean kitchen towel and let it rise in a warm place for about an hour or until it doubles in size.
Congratulations! You have successfully mixed the dough for your honey oat bread. Next up, we’ll move on to shaping and baking this delicious loaf.
First Rise
As the dough sits in the greased bowl, covered with a clean kitchen towel, the magic of the first rise begins to take place. It’s during this stage that the yeast comes alive, consuming the sugars in the dough and releasing carbon dioxide gas. This process is what gives bread its light and airy texture.
But how do you ensure a successful first rise? Let’s explore some stretching techniques and troubleshooting tips.
To encourage proper rising, gently stretch the dough every 30 minutes during the first hour. This helps to develop the gluten, giving the bread structure and strength. Simply grab a portion of the dough, stretch it out, and fold it back onto itself. Repeat this process a few times, being careful not to overwork the dough.
If your dough isn’t rising as expected, there could be a few reasons. First, check the temperature of your kitchen. Yeast is most active in a warm environment, so make sure it’s not too cold. Additionally, ensure that you’re using fresh yeast and that it’s been properly activated. Finally, ensure that you’ve used the correct measurements and followed the recipe instructions accurately.
Shaping and Second Rise
Now that your dough has risen once, it’s time to shape it into a beautiful loaf.
Gently roll the dough into a rectangle, making sure it’s evenly thick.
Then, carefully roll it up, starting from one of the shorter ends.
After shaping, give your loaf another rise to let it fully develop its flavors and texture.
Remember to cover it and let it proof for the recommended amount of time.
Rolling the Dough
To shape and give the dough its second rise, you’ll need to follow these simple steps.
- After the dough has completed its first rise, gently punch it down to release any air bubbles.
- Then, turn the dough out onto a lightly floured surface.
- Using your hands, shape the dough into a rectangle, about 1 inch thick.
- To prevent sticking, lightly flour your rolling pin and the dough.
- Start in the center and roll the dough outwards, using steady pressure.
- If the dough starts to stick, sprinkle a little more flour underneath.
- Roll the dough into a tight cylinder, tucking the ends underneath.
- Place the rolled dough seam side down into a greased loaf pan.
- Cover with a clean kitchen towel and let it rise for another hour, until it has doubled in size.
Proofing Time
After rolling the dough into a tight cylinder, tucking the ends underneath, it’s time to let it rest and rise for another hour, doubling in size. This second rise is crucial for developing the bread’s flavor and texture.
As the yeast works its magic, it continues to release carbon dioxide, creating those beautiful air pockets that make bread light and airy. During this proofing time, you can enhance the flavor of your honey oat bread by using different types of bread flour.
Opt for a high-protein bread flour to give your bread a chewier texture or go for a lower-protein flour for a softer crumb. Experimentation is key here, so feel free to play around with different flour combinations until you find the perfect one for your taste.
Baking Temperature
Once your dough has completed its second rise and doubled in size, it’s time to focus on the crucial step of shaping and determining the baking temperature for your honey oat bread. Shaping your dough is an opportunity to get creative and make your bread unique. You can shape it into a traditional loaf, or try something different like rolls or a braided design. But before you pop it into the oven, you need to set the optimal oven settings and adjust the baking time accordingly. To help you with this, here is a table that provides a general guideline for baking temperature and time based on the size and shape of your bread:
| Bread Shape | Baking Temperature | Baking Time |
|---|---|---|
| Loaf | 350°F | 30-40 mins |
| Rolls | 375°F | 15-20 mins |
| Braided | 325°F | 40-50 mins |
Baking the Bread
When it’s time to bake the honey oat bread, the oven will fill your kitchen with the irresistible aroma of freshly baked goodness. But before you dive into this delicious endeavor, let’s talk about some key aspects of baking the bread.
First, let’s discuss proofing techniques. Proofing is the process of allowing the dough to rise before baking. To ensure a successful rise, make sure to cover the dough with a clean kitchen towel and place it in a warm, draft-free area. You can also create a proofer by preheating your oven to the lowest temperature, turning it off, and placing a pan of boiling water at the bottom to create a moist environment.
Now, let’s address some common baking issues and how to troubleshoot them. If your bread is browning too quickly on top, you can loosely cover it with foil to prevent further browning. On the other hand, if your bread isn’t browning enough, you can brush the top with a mixture of egg wash or milk to achieve a golden crust.

Honey Oat Bread Recipe
Course: BreakfastCuisine: American or WesternDifficulty: Moderate12
servings25
minutes25
minutes200
kcalThis recipe involves basic bread-making techniques, including proofing yeast, kneading dough, and allowing the dough to rise. While it's approachable for beginners, it does require some time and attention to detail. The use of oats and honey adds a delightful twist to traditional bread, making it a rewarding recipe for those looking to explore homemade bread baking.
Ingredients
1 1/2 cups warm water (about 110°F or 43°C)
2 tablespoons honey
1 packet (2 1/4 teaspoons) active dry yeast
3 1/2 cups all-purpose flour
1 cup old-fashioned oats
1/4 cup unsalted butter, melted
1 1/2 teaspoons salt
1 egg, beaten (for egg wash)
2 tablespoons old-fashioned oats (for sprinkling on top)
Directions
- In a small bowl, combine warm water and honey. Stir to dissolve the honey. Sprinkle the yeast over the water and let it sit for 5-10 minutes until it becomes foamy.
- In a large mixing bowl or the bowl of a stand mixer, combine the flour, oats, melted butter, and salt.
- Add the activated yeast mixture to the flour mixture. Mix until a dough forms.
- Knead the dough on a floured surface for about 8-10 minutes, or until it becomes smooth and elastic. Alternatively, use a stand mixer with a dough hook attachment to knead the dough for about 5-7 minutes on medium speed.
- Place the dough in a greased bowl, cover it with a clean kitchen towel or plastic wrap, and let it rise in a warm place for about 1-1.5 hours, or until it doubles in size.
- Preheat your oven to 375°F (190°C).
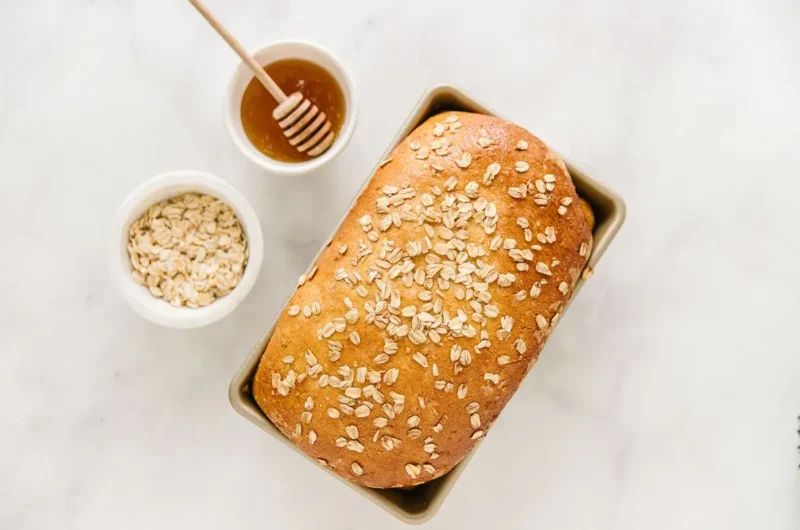
- Punch down the risen dough and turn it out onto a floured surface. Shape it into a loaf and place it into a greased 9x5-inch loaf pan.
- Brush the top of the loaf with the beaten egg and sprinkle oats on top.
- Bake in the preheated oven for 25-30 minutes or until the bread is golden brown and sounds hollow when tapped.
- Allow the bread to cool in the pan for 10 minutes before transferring it to a wire rack to cool completely.
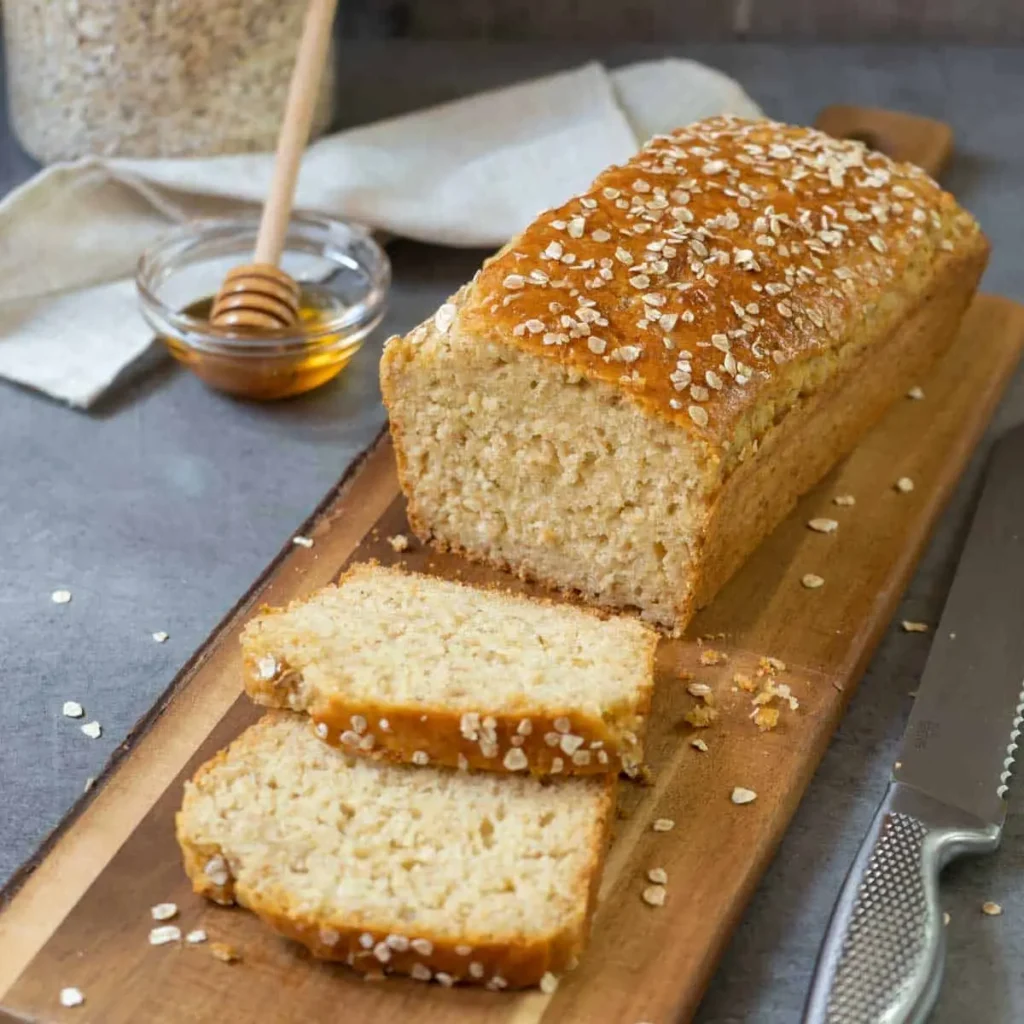
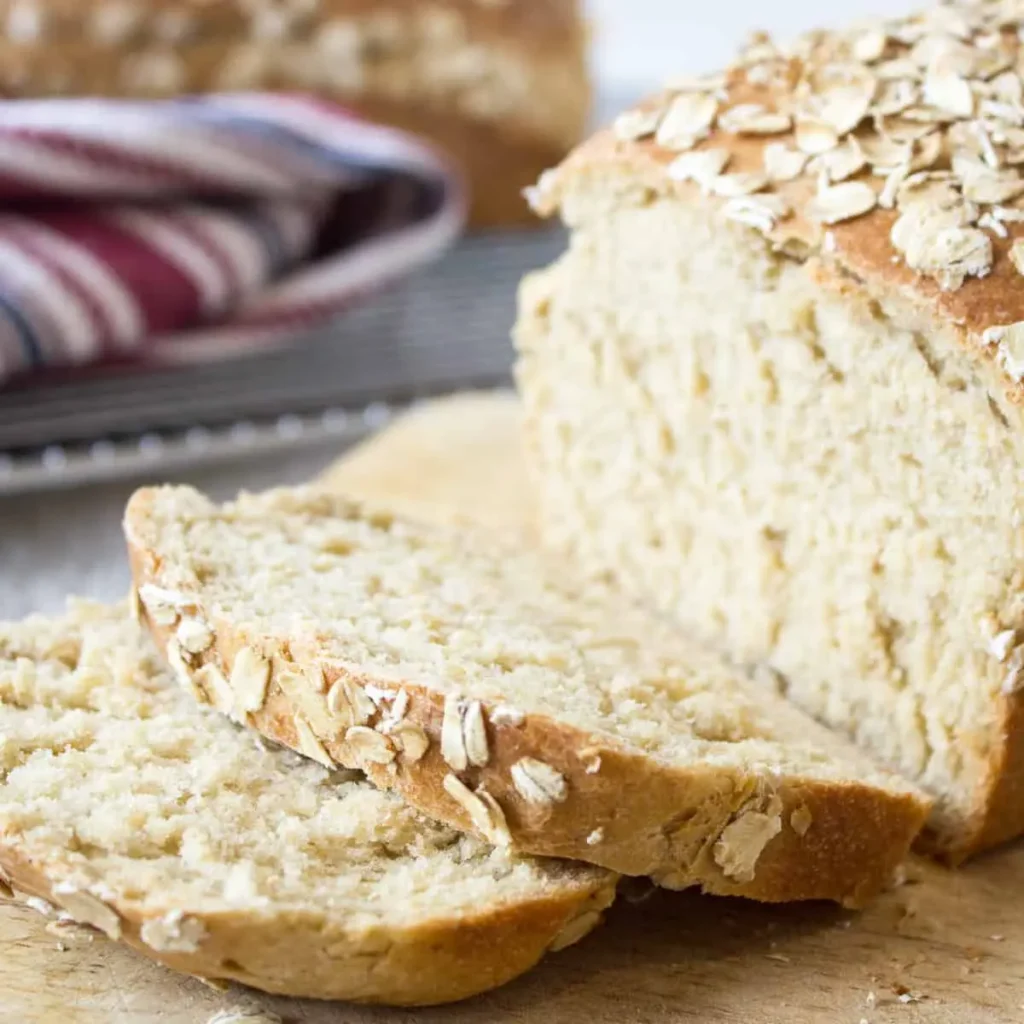
Enjoying Your Homemade Honey Oat Bread
As your honey oat bread emerges from the oven, filling your kitchen with its tantalizing aroma, get ready to indulge in the satisfying experience of savoring your homemade creation. But what happens when you can’t finish the whole loaf in one sitting? Don’t worry, here are some tips for storing and reheating your homemade bread to ensure that it stays fresh and delicious.
To keep your honey oat bread at its best, store it in a plastic bag or airtight container at room temperature for up to three days. If you want to extend its shelf life, you can also freeze it. Simply slice the bread, wrap each slice tightly in plastic wrap, and place them in a freezer bag. When you’re ready to enjoy it again, just thaw a slice at room temperature or pop it in the toaster for a quick and easy snack.
Now, let’s talk about creative ways to use leftover honey oat bread. One idea is to make French toast by dipping slices of bread in a mixture of eggs, milk, and cinnamon, then frying them in a pan until golden brown. Another option is to turn your bread into breadcrumbs by drying it out in the oven and then pulsing it in a food processor. These breadcrumbs can be used to coat chicken or fish, adding a delicious crunch to your favorite recipes.
Nutrition facts
- Calories: Approximately 150-180 calories per slice
- Protein: Around 4-6 grams
- Carbohydrates: Approximately 25-30 grams
- Fat: Around 4-6 grams
- Fiber: Roughly 2-3 grams
- Sugar: About 3-5 grams
Frequently Asked Questions
How Long Does It Take for the Honey Oat Bread to Cool Completely After Baking?
After baking, the honey oat bread needs time to cool completely. The honey in the recipe adds moisture and sweetness, which affects the texture, making it soft and delicious. Want more honey and oats recipes? Try honey oat granola or honey oatmeal cookies. Enjoy!
Can I Substitute the Honey With Another Sweetener Like Maple Syrup or Agave Nectar?
Sure, you can substitute honey with maple syrup or agave nectar in the honey oat bread recipe. Maple syrup adds a rich, distinct flavor while agave nectar brings a milder sweetness. Experiment and find your favorite!
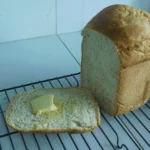
Is It Possible to Make This Recipe Using a Bread Machine?
Yes, you can absolutely make this recipe using a bread machine! The benefits of using a bread machine include convenience, consistency, and less hands-on time. It’s a great alternative to traditional baking methods.
Can I Freeze the Dough or the Baked Bread for Later Use?
Yes, you can freeze the dough or the baked bread for later use. Simply wrap it tightly in plastic wrap or place it in an airtight container before freezing. This way, you’ll have delicious homemade bread whenever you want it. Enjoy the convenience!
How Long Does the Honey Oat Bread Stay Fresh and How Should I Store It to Maintain Its Freshness?
To prevent honey oat bread from becoming stale, store it in an airtight container or wrap it tightly in plastic wrap. If it does become stale, you can revive it by lightly toasting it or using it to make French toast. Enjoy!


Can I Use Honey Butter Corn Bread in Place of Honey Oat Bread for a Recipe?
Yes, you can use honey butter corn bread for your recipe instead of honey oat bread. The sweetness and richness of the honey butter corn bread will add a unique flavor to your dish. Just make sure to adjust for any differences in texture or moisture content.
Conclusion
So there you have it, your very own homemade honey oat bread! It’s warm, delicious, and oh-so-satisfying. You can’t help but feel a sense of accomplishment as you take a bite and savor the sweet, nutty flavors.
Who needs store-bought bread when you can create something this amazing in your own kitchen? So go ahead, enjoy your masterpiece and revel in the irony that you can now make bread that’s even better than what you used to buy.