Step into the delightful world of baking with the mesmerizing aroma of cardamom bread wafting through your kitchen. This unique and flavorful recipe will transport you to a place of freedom and creativity.
With your trusty bread machine by your side, you can effortlessly create a loaf that embodies warmth and comfort. As you knead the dough and watch it rise, you’ll feel a sense of liberation and accomplishment.
The cardamom, with its exotic and fragrant notes, symbolizes the journey you are about to embark on. So, gather your ingredients, embrace your inner baker, and let the bread machine work its magic.
Soon, you’ll be rewarded with a heavenly loaf of cardamom-infused bread that will bring joy to your taste buds and freedom to your soul.

Contents
- 1 Key Takeaways
- 2 Ingredients
- 3 Mixing the Dough
- 4 Proofing the Dough
- 5 Baking in the Bread Machine
- 6 Cooling and Slicing
- 7 Serving and Storing
- 8 Cardamom Bread Machine Recipe
- 9 Nutrition facts
- 10 Frequently Asked Questions
- 10.1 Can I Use Ground Cardamom Instead of Whole Cardamom Pods in This Recipe?
- 10.2 What Other Types of Bread Can I Make in My Bread Machine Besides Cardamom Bread?
- 10.3 Can I Substitute All-Purpose Flour With Whole Wheat Flour for a Healthier Version of This Recipe?
- 10.4 Can I Add Raisins or Nuts to the Dough for Added Texture and Flavor?
- 10.5 How Long Does the Bread Stay Fresh and How Should I Store It to Maintain Its Freshness?
- 11 Can I Use the Cardamom Bread Machine Recipe to Make Brioche in a Bread Machine?
- 12 Conclusion
Key Takeaways
- Cardamom bread comes in various variations.
- Mixing and kneading the dough is important for achieving the desired consistency.
- Different methods can be used for proofing the dough, including overnight proofing for enhanced flavor and texture.
- Familiarize yourself with bread machine settings and troubleshoot any issues during the baking process.
Ingredients
To make the Cardamom Bread Machine recipe, gather all of the necessary ingredients.
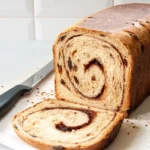
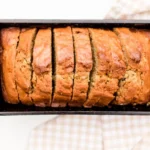
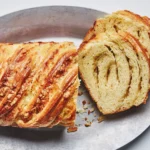
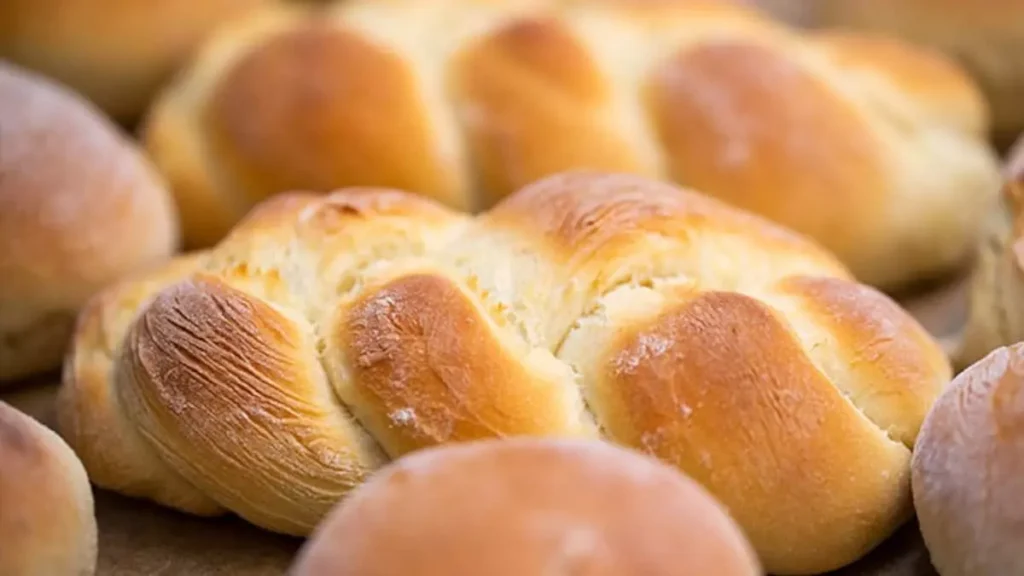
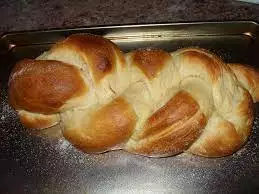
Cardamom bread is a delightful treat that comes in various variations, each with its own unique twist. From traditional loaves to sweet rolls and braided wreaths, there’s a cardamom bread for every occasion.
The star of the show, of course, is cardamom itself. This aromatic spice not only adds a warm and inviting flavor to the bread but also brings along a host of health benefits. Cardamom is known to aid digestion, promote cardiovascular health, and even have anti-inflammatory properties.
Mixing the Dough
Now you can start mixing the dough by adding all the ingredients to your bread machine and pressing the start button. The kneading technique is crucial to achieving the perfect consistency for your cardamom bread. As the machine begins to work its magic, the dough will come together, transforming from a loose mixture into a smooth and elastic ball. Pay attention to the dough consistency during this process. It should be slightly sticky but not too wet or dry. If it feels too sticky, add a little more flour. If it feels too dry, add a small amount of water. The table below provides a visual guide to help you determine the desired dough consistency.
| Consistency | Description |
|---|---|
| Too Sticky | Dough sticks to your fingers and the sides of the bowl |
| Sticky | Dough sticks slightly to your fingers, but not the bowl |
| Soft | Dough is pliable and easy to handle |
| Firm | Dough is slightly firm, springs back when pressed |
| Too Dry | Dough is crumbly and falls apart easily |
Now that you have mastered the art of mixing the dough, it’s time to move on to the next stage – proofing the dough.
Proofing the Dough
Once the dough has reached the desired consistency, you’ll need to let it proof before moving on to the next step. Proper temperature during the proofing process is important to achieve a light and airy texture in your bread. Here are some different methods you can try:
- Warm kitchen: Find a warm spot in your kitchen where the dough can rest undisturbed. The ideal temperature is around 75-85°F.
- Oven method: Preheat your oven to the lowest temperature setting for a few minutes. Turn off the oven and place the covered dough inside. The residual heat will create a warm environment for proofing.
- Instant pot method: Place the dough in a greased bowl and cover it with a damp cloth. Put the dough inside the Instant Pot on the yogurt setting for about an hour.
- Overnight method: Place the covered dough in the refrigerator overnight. The slow, cold fermentation will enhance the flavor and texture of your bread.
Baking in the Bread Machine
Now that your dough has been properly proofed, it’s time to move on to the next step: baking in the bread machine.
To ensure successful yeast activation, make sure to follow the recommended temperature guidelines and use fresh yeast.
Familiarize yourself with your bread machine settings, as different models may have different options for crust color and loaf size.
Lastly, be prepared for any common issues that may arise during the baking process, such as uneven browning or collapsed loaves, and troubleshoot accordingly for the best results.
Yeast Activation Tips
To ensure proper yeast activation when baking in the bread machine, you should carefully measure and add the recommended amount of yeast to your dough mixture. Here are some yeast activation tips to help you achieve the perfect rise in your homemade bread:
- Use fresh yeast: Check the expiration date on your yeast package to ensure its freshness.
- Activate the yeast: Dissolve the yeast in warm water or milk to wake it up before adding it to the dough.
- Troubleshoot yeast activation: If your yeast doesn’t bubble or foam after activation, it may be old or inactive. Consider using fresh yeast or testing an alternative yeast activation method.
- Alternative yeast activation methods: If you prefer not to activate yeast separately, some bread machine recipes allow you to add the yeast directly to the dry ingredients.
Bread Machine Settings
You can achieve perfect results by adjusting the bread machine settings. Customizing the settings allows you to create bread that suits your taste and preferences. Different types of bread require different settings, and understanding how to adjust them will ensure your bread turns out exactly as you desire.
For lighter bread, select a shorter baking time and a lower crust setting. If you prefer a darker crust, choose a longer baking time and a higher crust setting. Consider the size of the loaf as well – smaller loaves may require less baking time.
Don’t be afraid to experiment and find the perfect combination of settings for your favorite bread recipes. With a little trial and error, you’ll be baking bread that’s customized to your liking in no time.
Troubleshooting Common Issues
Adjust the bread machine settings carefully to troubleshoot common issues that may arise during the baking process. Here are some tips to help you resolve any problems you may encounter:
- Check the yeast: Make sure the yeast is fresh and not expired. Using old yeast can result in a dense and flat loaf.
- Adjust the flour: If the dough is too dry and crumbly, add a tablespoon of water at a time until the dough forms a smooth ball. On the other hand, if the dough is too sticky and wet, add a tablespoon of flour at a time until it reaches the right consistency.
- Monitor the rising time: If the bread isn’t rising enough, try increasing the rising time by 10-15 minutes. This will give the yeast more time to do its job.
- Clean and maintain the machine: Regular bread machine maintenance is essential for optimal performance. Clean the machine after every use and follow the manufacturer’s instructions for maintenance.
By adjusting the bread machine settings and following these troubleshooting tips, you can ensure that your bread turns out perfect every time.
Now let’s move on to the next step: cooling and slicing.


Cooling and Slicing
Once the bread has finished baking in the bread machine, allow it to cool for a few minutes before carefully removing it from the pan. This cooling period is crucial as it allows the bread to set and become easier to handle.
While waiting, you can prepare your slicing techniques. A sharp serrated knife is ideal for achieving clean, even slices. It’s important to use a sawing motion rather than pressing down to prevent squishing the soft bread.
For a more professional touch, you can also use a bread slicer guide to ensure consistent thickness. Remember to let your creativity flow and experiment with different slicing techniques that suit your preferences.
Enjoy the freedom of exploring various cooling and slicing techniques to create the perfect slices of cardamom bread.
Serving and Storing
When it comes to serving and storing your delicious cardamom bread, there are a few important points to consider.
First, the best way to store the bread is to wrap it tightly in plastic wrap or place it in an airtight container to keep it fresh.
Additionally, the shelf life of the bread is typically around 3-4 days, so make sure to enjoy it within that time frame.
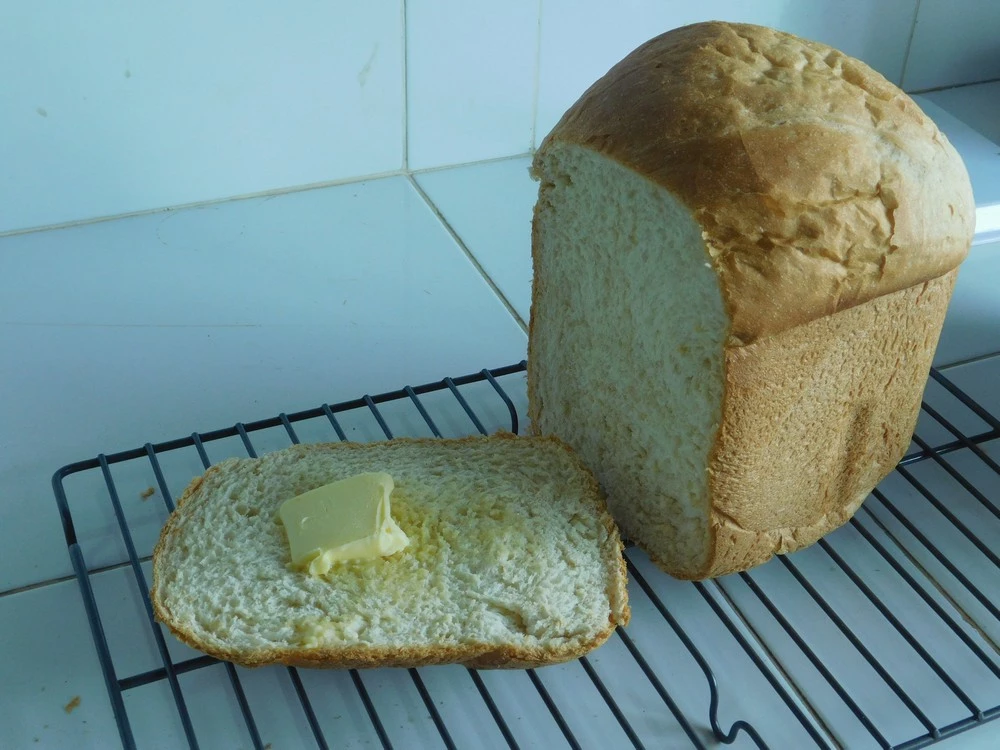
Lastly, when serving, it’s recommended to slice the bread into thick slices and enjoy it as is or with a spread of butter for an extra indulgence.
Best Storage Method
To ensure optimal freshness and flavor of your cardamom bread, store it in an airtight container. Proper storage is essential for extending the shelf life and maintaining the delicious taste of your homemade bread. Here are the best storage methods to keep your cardamom bread at its best:
- Airtight Container: Place your bread in a sealed container to prevent air from getting in and drying out the bread.
- Room Temperature: Keep your bread at room temperature to maintain its softness and prevent it from becoming stale.
- Avoid Refrigeration: Refrigeration can actually make your bread go stale faster, so it’s best to avoid storing it in the fridge.
- Freeze for Long-Term Storage: If you want to store your cardamom bread for an extended period, wrap it tightly in plastic wrap or aluminum foil, then place it in a freezer-safe bag or container.
Length of Shelf Life
You can expect your cardamom bread to stay fresh and delicious for up to five days when stored properly. Preserving freshness and extending the shelf life of your bread is important to ensure that you can enjoy it for as long as possible. Here are some tips to help you maintain the quality of your cardamom bread:
| Storage Method | Description | Benefits |
|---|---|---|
| Room Temperature | Wrap the bread tightly in plastic wrap or place it in an airtight container. | Convenient and easy to access. |
| Refrigerator | Store the bread in a sealed bag or container to prevent it from drying out. | Slows down the staling process. |
| Freezer | Slice the bread and wrap each slice individually before freezing. | Can extend the shelf life up to three months. |

Cardamom Bread Machine Recipe
Course: BreakfastCuisine: ScandinavianDifficulty: Moderate16
servings15
minutes15
minutes2500
kcalThis cardamom bread machine recipe offers a delightful twist to your usual bread, infusing it with the warm, aromatic essence of cardamom. Perfect for breakfast or brunch, this bread pairs well with a cup of coffee or tea. The bread machine simplifies the process, making it accessible even for those new to baking. The dough, enriched with milk, butter, and a hint of sweetness, creates a soft and flavorful loaf. The addition of ground cardamom provides a unique and exotic flavor, elevating this bread to a delightful treat. Whether you're a seasoned baker or trying your hand at bread-making for the first time, this recipe promises a delicious result that will fill your kitchen with the comforting aroma of freshly baked cardamom bread.
Ingredients
1 cup warm milk
1/2 cup unsalted butter, softened
2 large eggs
4 cups all-purpose flour
1/2 cup sugar
1 teaspoon salt
2 teaspoons ground cardamom
2 teaspoons active dry yeast
Directions
- Place all the ingredients in the bread machine pan in the order recommended by your machine's manufacturer. Typically, liquids go in first, followed by dry ingredients, and yeast last.
- Set your bread machine to the "Dough" or "Sweet Bread" setting. This setting usually includes a longer rise time to enhance the flavor and texture of the bread.
- Start the bread machine and let it complete the dough cycle. This will involve mixing, kneading, and rising.
- Once the dough cycle is complete, remove the dough from the machine and place it on a floured surface.
- Preheat your oven to 350°F (175°C).
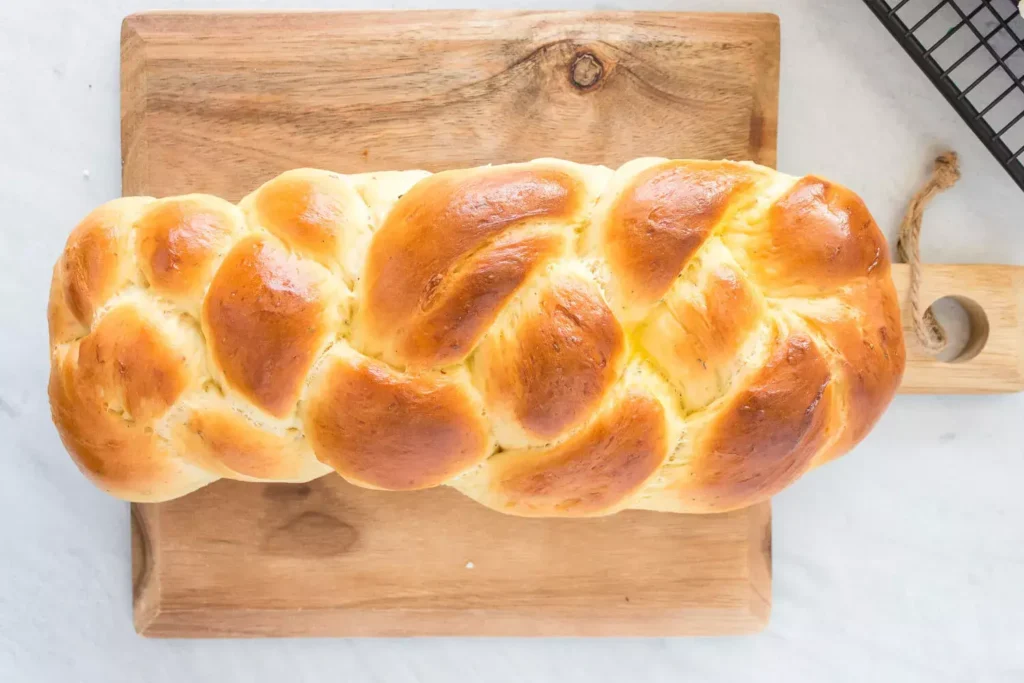
- Shape the dough into a loaf and place it in a greased or parchment-lined loaf pan.
- Cover the pan with a clean kitchen towel and let the dough rise for about 30-45 minutes or until it has doubled in size.
- Optionally, you can brush the top of the loaf with a beaten egg or milk for a shiny finish.
- Bake in the preheated oven for 25-30 minutes or until the top is golden brown and the bread sounds hollow when tapped.
- Allow the bread to cool in the pan for 10 minutes before transferring it to a wire rack to cool completely.
Serving Size Recommendations
To ensure that you can fully enjoy your freshly made cardamom bread and make it last, it’s important to consider the recommended serving size and proper storage techniques.
Here are some serving size recommendations and tips for storing your cardamom bread:
- Portion control: It’s recommended to slice the cardamom bread into thin slices, about ½ inch thick. This will allow you to savor the flavors without overindulging.
- Nutritional benefits: Cardamom bread isn’t only delicious but also packed with nutritional benefits. Each slice is rich in fiber, which promotes digestion and helps maintain a healthy weight. It also contains essential minerals like iron and potassium.
- Storing: Once your cardamom bread has cooled completely, store it in an airtight container or a resealable plastic bag. This will help maintain its freshness and prevent it from drying out.
- Freezing: If you want to extend the shelf life of your cardamom bread, you can freeze it. Wrap individual slices in plastic wrap and place them in a freezer bag. When ready to enjoy, simply thaw at room temperature or toast it for a warm, crispy bite.
Nutrition facts
- Calories: 200-250 kcal
- Protein: 4-6g
- Fat: 8-10g
- Carbohydrates: 30-35g
- Fiber: 1-2g
- Sugar: 8-10g
- Sodium: 150-200mg
Frequently Asked Questions
Can I Use Ground Cardamom Instead of Whole Cardamom Pods in This Recipe?
Yes, you can use ground cardamom instead of whole cardamom pods in this recipe. It will still add a delightful flavor. Also, consider using whole wheat flour instead of all-purpose flour for a healthier twist.
What Other Types of Bread Can I Make in My Bread Machine Besides Cardamom Bread?
You can make a variety of breads in your bread machine! From classic white bread to hearty whole wheat, the options are endless. Check out different bread recipes and bread machine tips for ultimate freedom in baking.
Can I Substitute All-Purpose Flour With Whole Wheat Flour for a Healthier Version of This Recipe?
Yes, you can substitute all-purpose flour with whole wheat flour for a healthier version of this recipe. Whole wheat flour has more fiber and nutrients, making it a better choice for your health.
Can I Add Raisins or Nuts to the Dough for Added Texture and Flavor?
Yes, you can definitely add raisins or nuts to the dough for added texture and flavor. To adjust the recipe, simply mix them in during the kneading process and enjoy the delicious results.
How Long Does the Bread Stay Fresh and How Should I Store It to Maintain Its Freshness?
To keep your bread fresh, store it in a cool, dry place like a bread box or pantry. Avoid refrigerating it, as it can dry out the bread. Proper storage helps maintain its freshness for up to a week.
Can I Use the Cardamom Bread Machine Recipe to Make Brioche in a Bread Machine?
Yes, you can use the brioche bread machine recipe to make brioche in a bread machine. The key is to follow the specific instructions for the brioche recipe and use the bread machine’s dough setting to mix and knead the dough. Enjoy your homemade brioche straight from the bread machine.
Conclusion
In conclusion, this delightful cardamom bread machine recipe is a must-try for any baking enthusiast.
With its aromatic and flavorful ingredients, mixing and proofing the dough becomes a breeze.
The bread machine takes care of the rest, ensuring a perfectly baked loaf every time.
Once cooled and sliced, this homemade treat is ready to be savored.
So, indulge in the joy of baking and enjoy the warm, comforting taste of freshly baked cardamom bread.