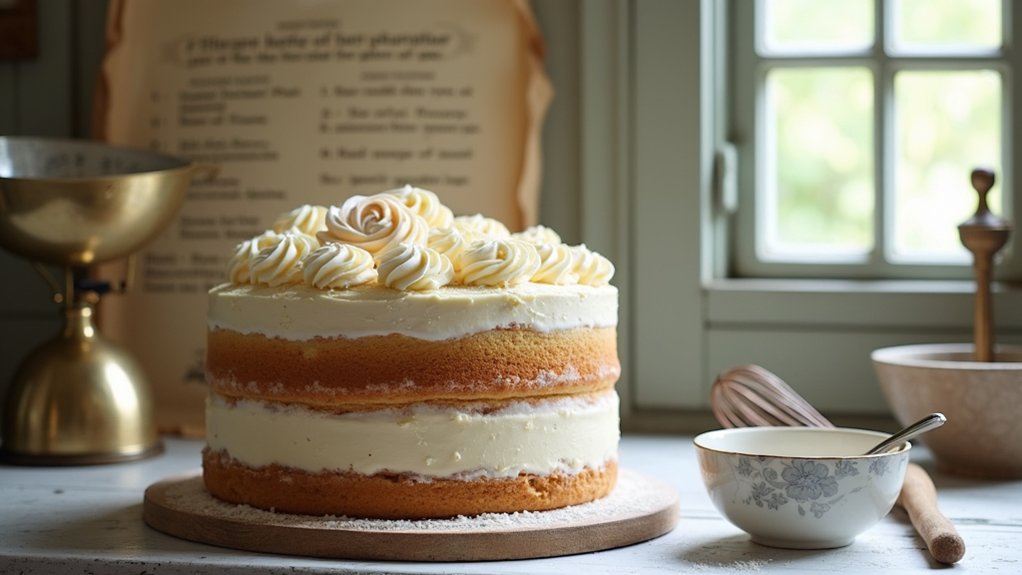
If you’re looking to impress at your next gathering, try my Dream Cake recipe! It’s a delightful mix of light, fluffy vanilla and almond flavors, topped with rich frosting. Start by creaming butter and sugar, then blend in flour and milk for a moist crumb. Bake until golden, and watch your friends ask for seconds! Each slice brings a touch of nostalgia and joy. Stick around, and I’ll share tips on variations and delicious frostings!
Contents
History

When I think about the history of Dream Cake, I can’t help but feel a sense of nostalgia. The cake’s origins trace back to a time when baking was both an art and a celebration. It’s fascinating how this delightful treat evolved from simple ingredients into a beloved dessert with historical significance. Each layer represents not just flavor but also a part of cultural heritage, blending tradition with a modern twist. I feel excited when I imagine the countless families who’ve shared this cake at special occasions, creating memories with every bite. As we explore Dream Cake’s legacy, we honor those who paved the way for innovation in baking, reminding us that every slice tells a story worth savoring.
Recipe
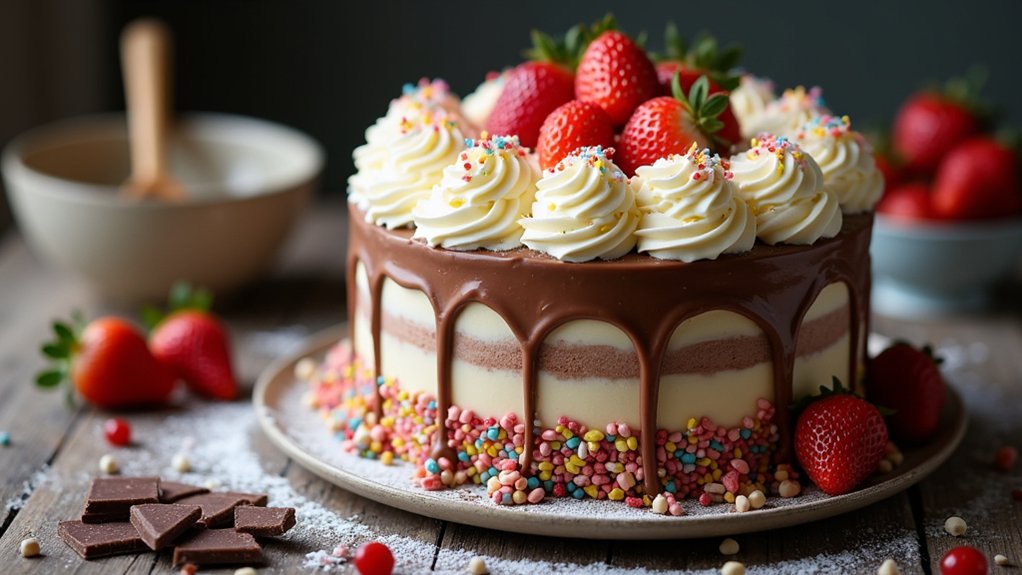
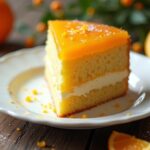
Indulging in a slice of Dream Cake is like taking a bite out of pure bliss. This delightful dessert is characterized by its light, fluffy texture and rich, creamy frosting. Perfect for birthdays, celebrations, or just a sweet treat at the end of a long day, this cake combines the flavors of vanilla and almond to create a truly heavenly experience. With a moist crumb and a luscious topping, the Dream Cake is a showstopper that will leave your guests asking for seconds.
A slice of Dream Cake offers a blissful experience with its light texture and rich flavors, perfect for any celebration.
To start your baking journey, make sure you have all your ingredients ready. The key to a perfect Dream Cake is in the preparation; having everything measured and at room temperature will make the process smoother and yield the best results. Whether you are a seasoned baker or a novice in the kitchen, following this recipe will help you create a cake that is not only beautiful but also delicious, allowing you to impress anyone who takes a bite.
Ingredients:
- 2 cups all-purpose flour
- 1 ½ cups granulated sugar
- ½ cup unsalted butter, softened
- 1 cup milk
- 3 large eggs
- 2 teaspoons baking powder
- 1 teaspoon vanilla extract
- 1 teaspoon almond extract
- ½ teaspoon salt
- 1 cup heavy cream (for frosting)
- 2 cups powdered sugar (for frosting)
- Fresh berries (for garnish, optional)
Cooking Instructions:
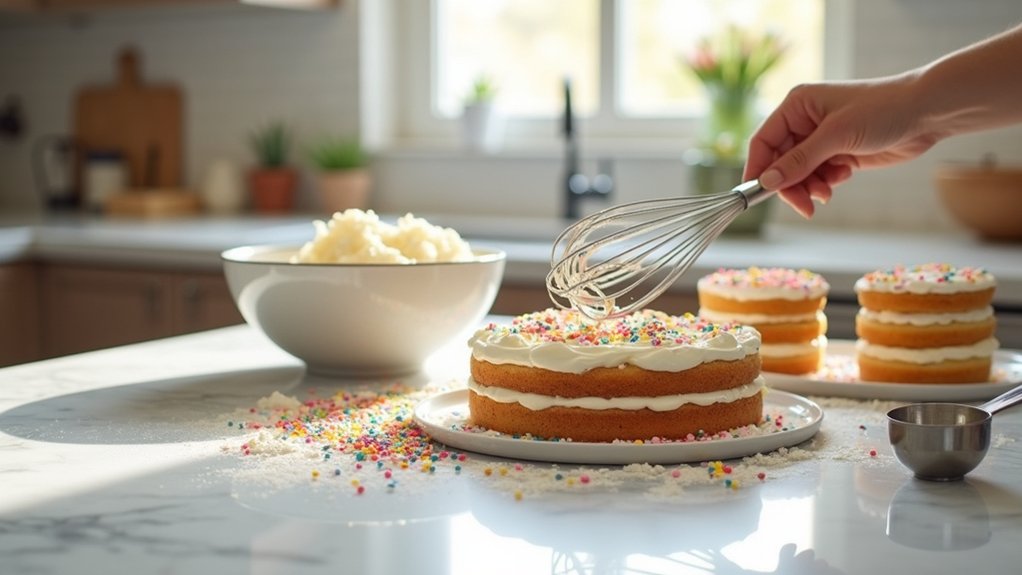
Preheat your oven to 350°F (175°C) and grease two round 9-inch cake pans. In a large mixing bowl, cream together the softened butter and granulated sugar until light and fluffy. Add eggs, one at a time, mixing well after each addition, then stir in the vanilla and almond extracts. In another bowl, combine the flour, baking powder, and salt. Gradually add the dry ingredients to the wet mixture, alternating with the milk, and mix until just combined. Divide the batter evenly between the prepared pans and bake for 25-30 minutes, or until a toothpick inserted in the center comes out clean. Allow the cakes to cool in the pans for 10 minutes before transferring them to wire racks to cool completely. Once cooled, whip the heavy cream until soft peaks form, then gradually add in the powdered sugar to create a thick frosting. Frost the top of one cake layer, place the other layer on top, and frost the top and sides of the entire cake. Garnish with fresh berries if desired.
Extra Tips:
To achieve the fluffiest cake possible, be sure to not overmix the batter once the dry ingredients are added. This can lead to a dense texture rather than the light and airy consistency you want in a Dream Cake. For an added layer of flavor, consider infusing your frosting with a hint of lemon zest or coconut extract. If you want to prepare the cake in advance, it can be stored in the refrigerator for up to three days, allowing the flavors to meld beautifully. Finally, always serve the cake at room temperature for the best taste and texture. Enjoy your baking adventure!
Cooking Steps
Now that we’ve gathered all our ingredients, let’s get started on making this dream cake come to life! First, I always find it helpful to preheat my oven to 350°F, so it’s ready for our batter. Once that’s done, we’ll mix the dry ingredients together, setting the stage for all the delicious flavors to come.
Step 1. Preheat Oven to 350°F
To kick things off, let’s set our oven to preheat at 350°F because a perfectly baked dream cake starts with the right temperature. This step is essential, as an accurate oven temperature guarantees our cake rises beautifully and has that delightful texture we crave. While the oven warms up, take a moment to embrace the anticipation of the delicious creation ahead. Here’s a baking tip: always use an oven thermometer to double-check the temperature; some ovens can be off, and we want to avoid any baking mishaps! As the heat envelops the oven, I can already envision that golden-brown cake that will be the star of any gathering. Get ready, because the magic is about to begin!
Step 2. Mix Dry Ingredients Together
Gathering the dry ingredients is an exciting step, as it sets the foundation for our dream cake. I love experimenting with different flour types, like almond or whole wheat, to add unique flavors and textures. First, I measure out the flour, ensuring I sift it to avoid any lumps. Next, I mix in baking powder and a pinch of salt, which helps the cake rise beautifully. If I’m feeling adventurous, I might incorporate sugar substitutes like honey or agave syrup, allowing for a healthier twist without sacrificing sweetness. Stir everything together until evenly combined, and you’ll see the magic starting to happen. This blend is essential, so take your time—our cake deserves the best start!
Step 3. Add Wet Ingredients Gradually
With our dry ingredients all set, it’s time to bring the cake to life by adding the wet ingredients gradually. I start by pouring in the eggs and vanilla, letting them mingle with the dry mix. As I whisk, I can feel the batter transforming, becoming smooth and inviting. Next, I gently introduce the milk, again opting for gradual mixing. This method allows each component to incorporate fully, creating that perfect texture we all crave. Remember, rushing this step can lead to lumps, and nobody wants that! The magic happens as I combine everything—each addition feels like a step closer to cake perfection. Trust me, this gradual approach makes all the difference, ensuring our dream cake rises beautifully!
Step 4. Fold in Chocolate Chips
Now it’s time to add those delicious chocolate chips that’ll take our dream cake to the next level! I love to experiment with different chocolate chip variations, like dark chocolate or even white chocolate, which can really elevate the flavor profile. When you’re ready to fold in the chocolate chips, use a gentle folding technique. This means you’ll want to scoop from the bottom of the bowl and gently lift the batter over the chips, ensuring they’re evenly distributed without deflating the mixture. It’s all about creating that perfect balance, so take your time. You’ll feel the excitement building as you imagine that first bite of your dreamy creation, packed with gooey chocolate goodness. Let’s make it happen!
Step 5. Pour Batter Into Pan
It’s time to pour that luscious batter into your prepared pan, and I can already hear the anticipation in the kitchen! First, make sure your batter consistency is just right; it should be smooth and slightly thick, perfect for holding its shape. Now, let’s talk pan selection. I prefer a non-stick round pan for even baking, but feel free to get creative with a square or even a novelty pan if you’re feeling adventurous! Gently pour the batter in, tapping the pan lightly on the counter to eliminate any air bubbles. This step is essential for a dreamy texture. Once it’s all in, I can’t help but smile, knowing that deliciousness is just a bake away!
Nutritional Guide
When you whip up a Dream Cake, you’re not just creating a delicious dessert; you’re also looking at a sweet treat that can fit into a balanced diet. By making a few dietary substitutions, you can enjoy this cake without feeling guilty.
Here’s a quick nutritional guide to help you navigate the caloric content and make informed choices:
| Ingredient | Calories per Serving |
|---|---|
| All-Purpose Flour | 100 |
| Coconut Sugar | 70 |
| Greek Yogurt | 60 |
| Almond Milk | 30 |
| Cocoa Powder | 20 |
Experimenting with these substitutions can lead to a healthier version of your favorite cake, allowing you to indulge while staying mindful of your nutrition.
Final Thoughts
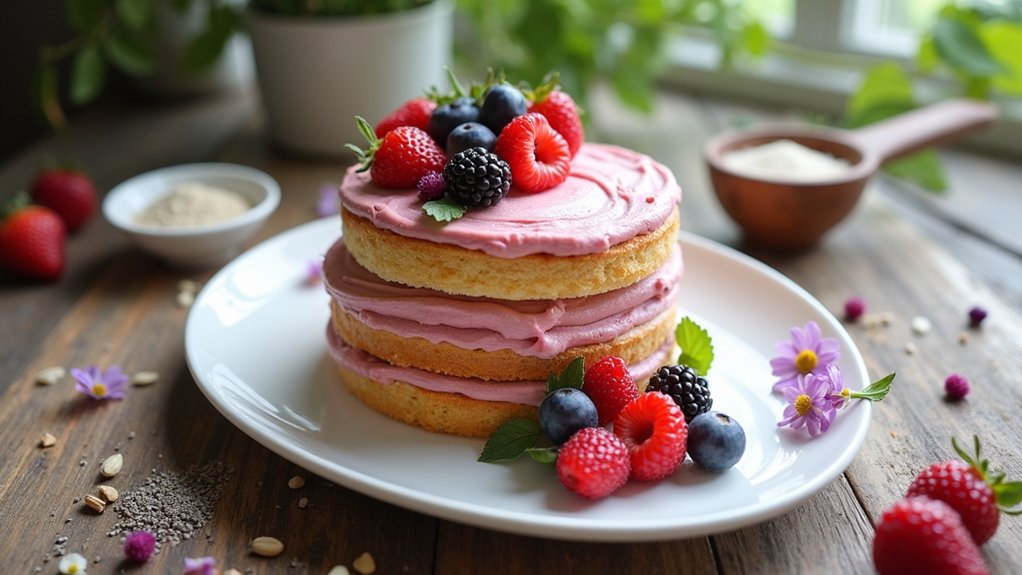
Baking a Dream Cake isn’t just about satisfying a sweet tooth; it’s also an opportunity to create lasting memories in the kitchen. Every time I pull out my mixing bowl, I’m reminded of the joy that comes from experimenting with cake variations and exploring different frosting options. It’s a delightful journey where creativity meets flavor!
Here are a few thoughts to inspire your baking adventure:
- Don’t be afraid to mix flavors; a lemon-blueberry combination can be a game-changer!
- Try unique frostings like lavender or chocolate ganache to elevate your cake.
- Invite friends or family to join in; sharing the experience makes it even sweeter.
Frequently Asked Questions
Can I Substitute Ingredients in the Dream Cake Recipe?
Absolutely, you can substitute ingredients! I love experimenting with ingredient alternatives. Just keep in mind some baking tips, like balancing moisture and sweetness, to guarantee your cake turns out deliciously innovative. Enjoy your baking adventure!
How Long Does the Dream Cake Stay Fresh?
Your cake’s freshness dances like a fleeting shadow, lasting about three to five days. For ideal delight, I recommend airtight storage methods and freshness tips like refrigeration to keep its flavors vibrant and inviting.
Is the Dream Cake Suitable for Special Diets?
I’ve created gluten-free options and vegan alternatives for my cake, ensuring everyone can enjoy it. I love experimenting with ingredients to cater to special diets while keeping the flavors delightful and innovative.
What Type of Frosting Pairs Best With Dream Cake?
I love pairing my dream cake with unique frosting flavors like lavender or pistachio. For an innovative twist, consider adding unexpected cake toppings like candied citrus or edible flowers to elevate the whole experience!
Can I Freeze the Dream Cake for Later?
I’ve frozen cakes with success. Wrap it tightly in plastic and foil, then tuck it away in a freezer. For best results, label it with the date. You’ll savor every slice later!
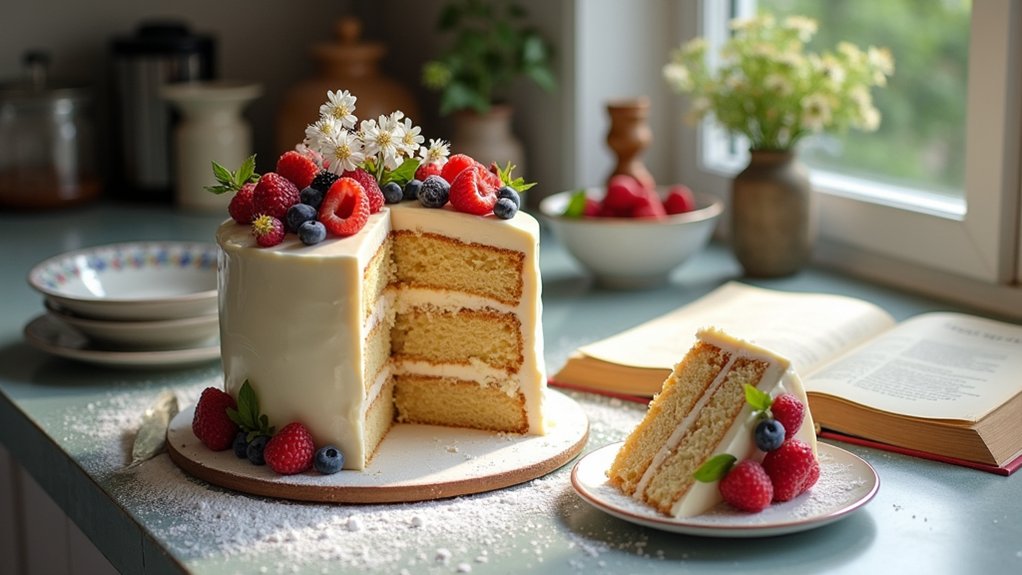
Conclusion
Making a dream cake is like crafting a beautiful memory—you pour in love and creativity, and the result is something truly special. As you gather ingredients and follow the steps, I hope you feel the joy in baking and the excitement of sharing your creation with others. Whether it’s for a celebration or a simple treat, this cake is bound to bring smiles and sweet moments. So, roll up your sleeves and let the magic begin!