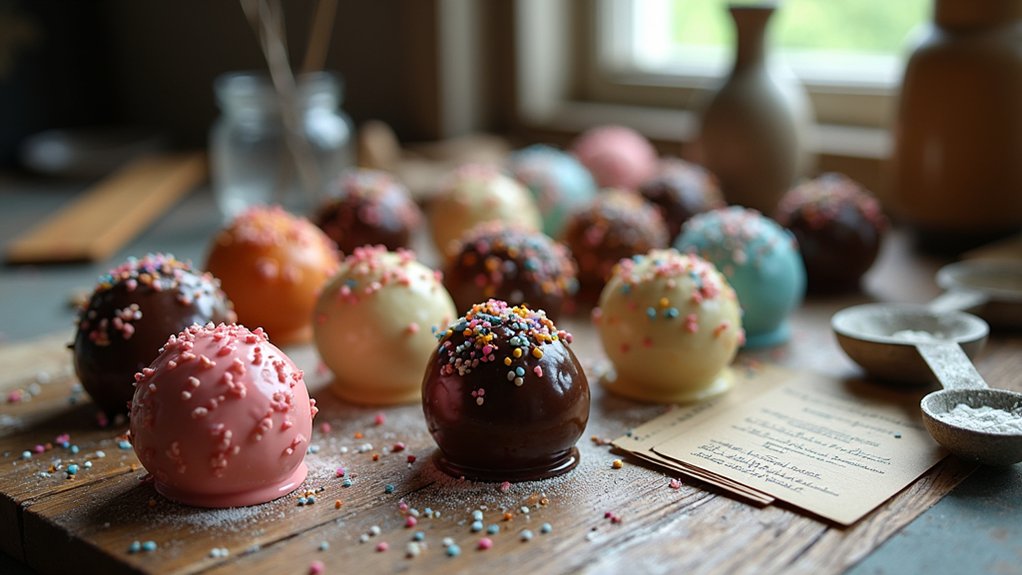
Cake balls are a fun and easy treat you can whip up with just a few ingredients. Start by mixing a box of any cake mix with a can of frosting to create a dough-like mixture. Roll them into small balls, chill for about 30 minutes, and dip them in melted chocolate. You can even add sprinkles for extra flair! Join me as we explore different flavors and customs to make these delicious bites even more special.
Contents
History
When I think about cake balls, I can’t help but feel a wave of nostalgia wash over me. Their origins trace back to the rich history of cake itself, evolving from simple bread-like treats to the elaborate desserts we adore today. As I explore the dessert evolution, it’s fascinating to see how cake changed through centuries, influenced by cultures worldwide. Cake balls, a modern twist on traditional cake, combine leftover cake crumbs with frosting, creating a delightful bite-sized treat. This innovative approach not only minimizes waste but also celebrates the creativity in baking. Each cake ball tells a story, bridging the gap between our culinary past and present, inviting us to indulge in flavors while sharing joy with friends and family.
Recipe
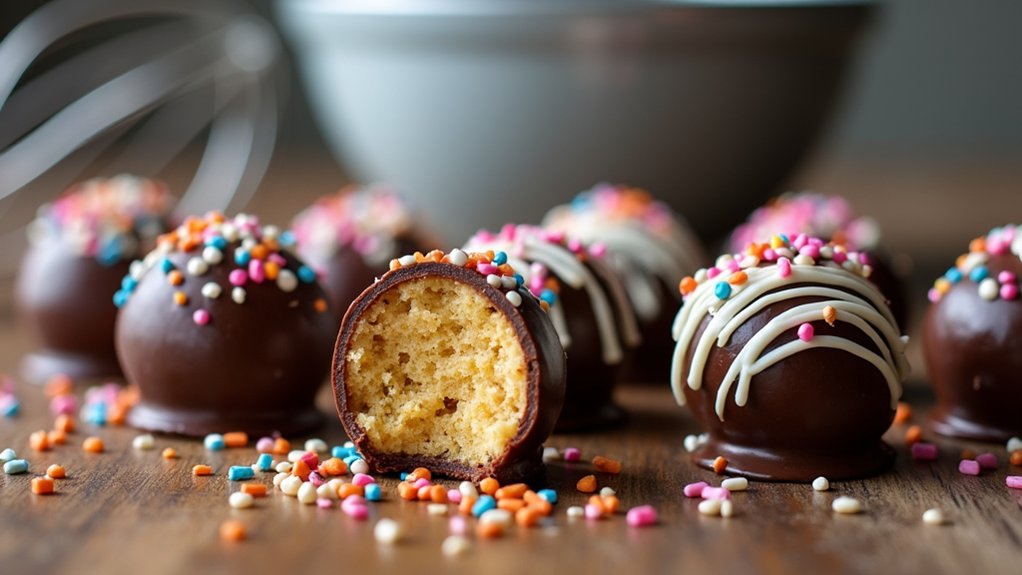
Cake balls are a delightful treat that combines the whimsical nature of cake with the fun of bite-sized snacks. They are perfect for parties, celebrations, or simply as a sweet indulgence. The beauty of cake balls lies in their versatility; you can customize them with various cake flavors, fillings, and coatings to suit your taste. Whether you prefer classic chocolate or vibrant red velvet, these little bites are certain to please everyone.
Making cake balls is a straightforward process that requires minimal ingredients and effort. You’ll start by baking a cake, crumbling it, and mixing it with frosting to form a dough-like mixture. Once chilled, you’ll roll the mixture into small balls and dip them in chocolate or candy coating. Decorate them as you wish, and you’ll have a delicious treat that is as fun to make as it is to eat!
Ingredients:
- 1 box of cake mix (any flavor)
- Ingredients required for the cake mix (eggs, oil, water)
- 1 can of frosting (matching flavor)
- 1-2 cups of chocolate or candy coating
- Sprinkles or decorations (optional)
Instructions:
Begin by preheating your oven and baking the cake according to the instructions on the box. Once baked, allow the cake to cool completely before crumbling it into a large bowl. Mix in the frosting until well combined, then cover and refrigerate the mixture for about an hour to help it firm up. After chilling, use your hands to roll the mixture into small balls, about 1 inch in diameter. Place the balls on a baking sheet lined with parchment paper and freeze them for an additional 30 minutes. Melt your chocolate or candy coating in a microwave or double boiler, then dip each cake ball in the coating, allowing the excess to drip off. Return the coated balls to the parchment-lined sheet, add any decorations if desired, and let them set completely.
Extra Tips:
For a smoother coating, make sure your cake balls are completely chilled before dipping them into the melted chocolate. You can also experiment with different flavored frostings and coatings to create unique combinations. If you have leftover cake, feel free to use it in this recipe. Remember to store your cake balls in an airtight container in the refrigerator, where they can last for up to a week. Enjoy your baking adventure!
Cooking Steps
Let’s get started on making those delicious cake balls! First, I’ll gather all the ingredients and tools I need, which makes the process so much smoother. Once everything’s ready, I’ll mix the cake crumbs with frosting and shape them into bite-sized balls—trust me, the fun is just beginning!
Step 1. Gather Ingredients and Tools
Gathering ingredients and tools is the first step in whipping up delicious cake balls, and it’s essential for a smooth cooking experience. I love the thrill of ingredient selection, so let’s get creative! You’ll need your favorite cake mix, frosting, and chocolate for coating, but don’t shy away from experimenting with flavors or colors.
As for essential tools, grab a mixing bowl, a spoon, and a baking sheet lined with parchment paper. A melon baller or cookie scoop can make shaping the cake balls easier and more fun. Having everything ready not only speeds up the process but also keeps the excitement alive. Trust me, once you have your ingredients and tools in place, you’re one step closer to a sweet treat!
Step 2. Mix Cake Crumbs and Frosting
Crumbly cake meets creamy frosting in this delightful step that transforms your ingredients into something magical. I take my chosen cake flavors, whether it’s classic vanilla, rich chocolate, or something zesty like lemon, and break them into fine crumbs. This is where the fun begins! I add in my favorite frosting types—think buttery cream cheese or a decadent chocolate ganache. As I mix them together, I feel the textures blend, creating a moist, flavorful dough. Using my hands, I guarantee every crumb gets coated in that luscious frosting. The aroma is heavenly, and I can’t help but feel excited about the deliciousness to come. Trust me, this mixture is the heart of your cake balls, promising a delightful treat!
Step 3. Form Into Bite-Sized Balls
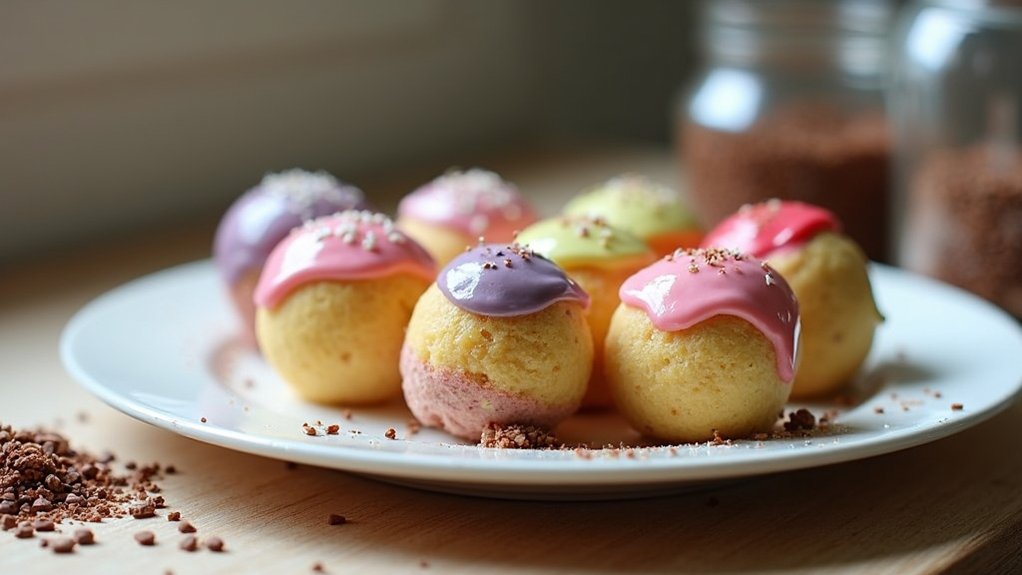
Now, let’s roll those delightful cake and frosting mixtures into bite-sized balls! I start by taking about a tablespoon of the mixture, and with my hands, I gently shape it into a smooth sphere. This is where creativity shines—experiment with different sizes or even try adding unique flavors for exciting dessert variations. As I form these little bite-sized creations, I can’t help but feel like a sculptor, crafting edible art. Make sure they’re evenly sized for a uniform look, which adds to the appeal. Once all the balls are shaped, I can’t wait to see how my friends and family react when they discover these tasty treats. Let’s keep the excitement rolling as we move on!
Step 4. Chill for 30 Minutes
After shaping those delightful cake balls, it’s important to give them some time to chill—about 30 minutes in the fridge will do the trick! This chill time isn’t just for fun; it’s essential for flavor enhancement. By letting the cake balls rest, the flavors meld together beautifully, creating a richer taste that’ll elevate your treats to a whole new level. Plus, the cooling process firms them up, making them easier to handle later when we dip them in chocolate. Trust me, that little pause makes a significant difference! So, while you wait, you can daydream about all the fun toppings or decorations you’ll use. Embrace the wait; it’s all part of the delicious journey!
Step 5. Dip in Chocolate Coating
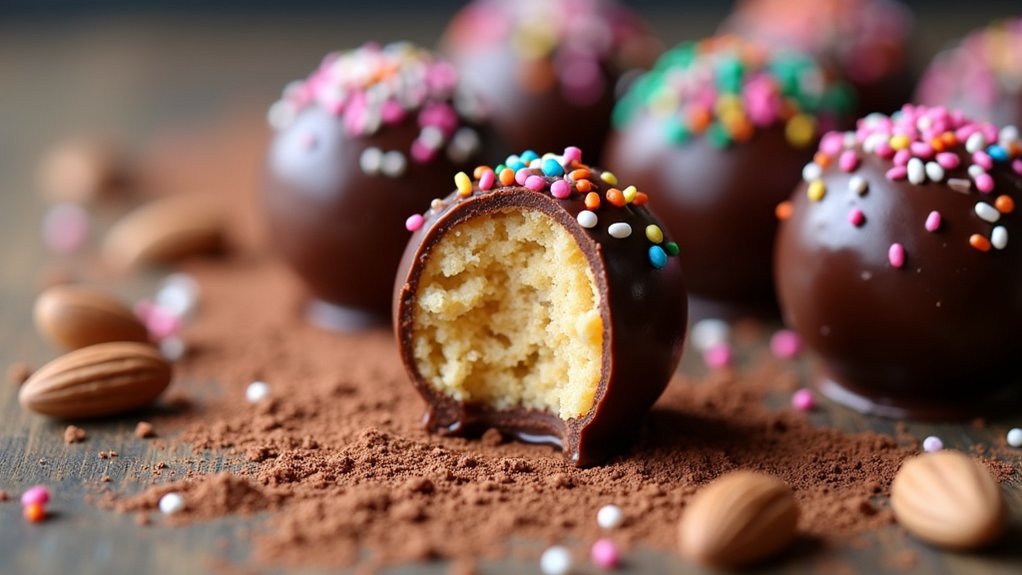
Once those cake balls have chilled and firmed up, it’s time to plunge into the fun part—dipping them in chocolate coating! I usually start by melting my chocolate, choosing between dark, milk, or even white chocolate for a twist. Using a microwave or a double boiler works great, just remember to stir gently to avoid clumping. Once your chocolate’s perfectly smooth, it’s time to dip! I prefer using a fork for coating techniques; it allows the excess chocolate to drip off easily. Just submerge each cake ball, give it a little shake, and then place it on parchment paper to set. You can also sprinkle some toppings for an extra pop of flavor. Enjoy the delightful transformation!
Nutritional Guide
When you plunge into making cake balls, it’s easy to get caught up in the deliciousness, but understanding the nutritional aspects is just as important. Knowing the caloric content and ingredient benefits can help you make informed choices, whether you’re indulging or sharing. Here’s a quick guide to help you navigate:
| Ingredient | Caloric Content (per serving) |
|---|---|
| Cake mix (1 slice) | 150 |
| Frosting (1 tbsp) | 50 |
| Chocolate coating | 100 |
| Nuts (1 oz) | 170 |
| Sprinkles (1 tbsp) | 30 |
Final Thoughts
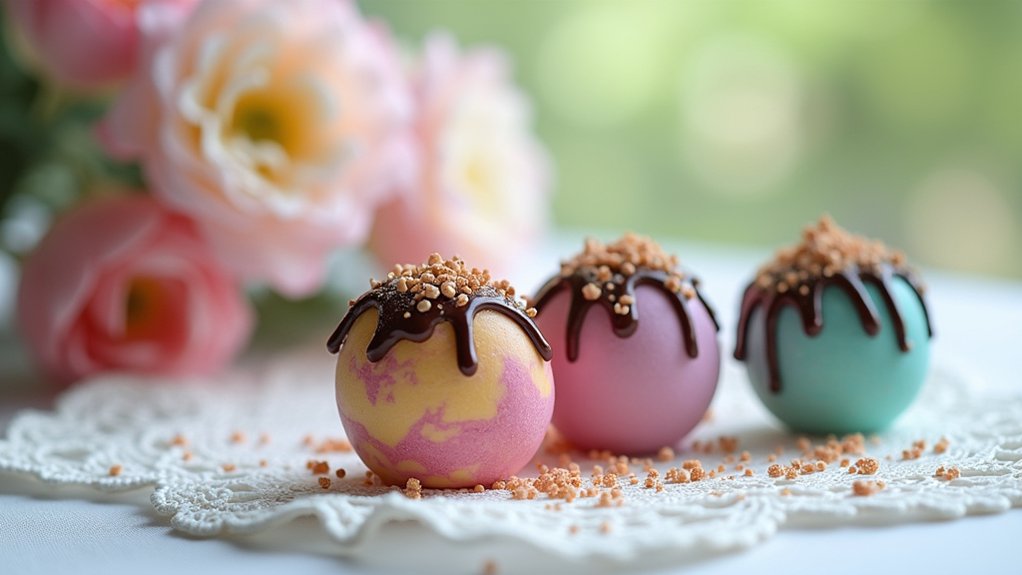
As you wrap up your cake ball adventure, it’s important to remember that these delightful treats are more than just a sweet indulgence; they’re a way to create memories and share joy with others. Whether you’re enjoying them at a cozy gathering or showcasing them as party desserts, cake balls are definitely satisfying treats that bring a smile to everyone’s face. Don’t hesitate to experiment with flavors and coatings—there’s no limit to your creativity! Each batch can be a unique masterpiece, sparking conversations and laughter. As you immerse yourself in future baking sessions, keep that spirit of innovation alive. I can’t wait to see how you customize your cake balls and share them with friends. Happy baking!
Frequently Asked Questions
Can I Make Cake Balls Ahead of Time?
Yes, you can make cake balls ahead of time! I recommend using freezing techniques for ideal freshness. Just follow some preparation tips, and you’ll have delicious treats ready whenever you need them. Enjoy your baking!
How Do I Store Leftover Cake Balls?
I store leftover cake balls in airtight containers for freshness. I prefer using glass jars or plastic containers with lids. This method keeps them moist, and I can experiment with flavors without them mixing together!
What Types of Cake Work Best for Cake Balls?
I love using chocolate flavors for rich cake balls, but vanilla variations bring a classic touch. Red velvet adds a festive flair, while carrot cake offers a unique twist. Funfetti options make everything more fun!
Can I Freeze Cake Balls for Later Use?
Absolutely, I freeze cake balls all the time! For best results, I use airtight containers and label them. When it’s time to enjoy, I recommend thawing them in the fridge for a delicious treat.
Are There Gluten-Free Options for Cake Balls?
Absolutely, I’ve crafted gluten-free cake balls using alternative flours like almond or coconut. They’re a delicious twist, transforming ordinary treats into something extraordinary. With gluten-free ingredients, I guarantee everyone can indulge without compromise.
Conclusion
I hope you’re as excited to make these cake balls as I am! They might seem a bit tricky at first, but trust me, once you get the hang of it, you’ll be rolling them out like a pro. Plus, the smiles on your friends’ faces when they take a bite are absolutely worth it. So, don’t be afraid to jump in—your kitchen adventure awaits! Grab those ingredients, and let’s create some delicious memories together!