Making your own pizza dough is fun and simple! Start by mixing warm water with yeast to activate it. Gradually add bread flour and a pinch of salt, and knead until it’s smooth. Let it rise in a warm spot for about an hour. Shape your dough into balls for individual pizzas. After that, you can add your favorite toppings and bake at a high temperature. It’s a delicious way to enjoy cooking with friends and family, and there’s so much more to explore!
Contents
History
When you think about pizza, it’s easy to get lost in the delicious toppings and gooey cheese, but the history of pizza dough is just as fascinating. I love exploring its ancient origins, tracing back to the flatbreads of the Mediterranean over two thousand years ago. These early versions laid the groundwork for what we now know and adore. As pizza spread across Italy, regional variations emerged, each bringing unique flavors and textures. Think of Neapolitan’s thin crust versus Sicilian’s thicker base! Each style tells a story of local ingredients and traditions. Understanding this rich history not only deepens my appreciation for pizza but also inspires me to innovate and create my own dough masterpieces in the kitchen.
Recipe
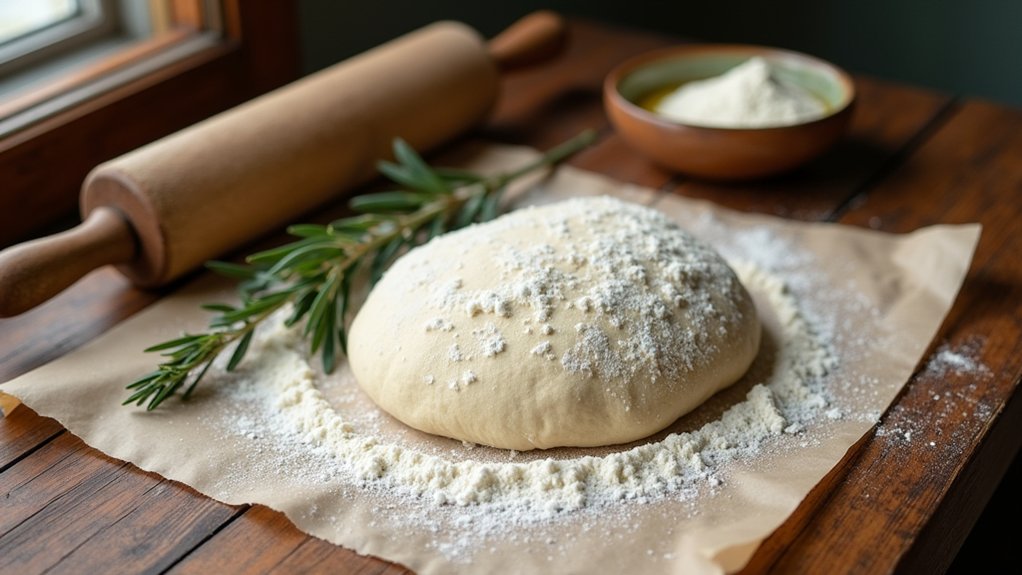
Making homemade pizza dough is a rewarding and straightforward process that will elevate your pizza night to a whole new level. With just a few simple ingredients, you can create a delicious, chewy crust that serves as the perfect base for your favorite toppings. This recipe is versatile and can be customized to your liking, whether you prefer a thin crust or a thicker, more substantial base.
To begin, it’s important to use high-quality ingredients for the best result. Flour is the foundation of your dough, and using bread flour will give you a nice chewy texture due to its higher protein content. The addition of yeast helps the dough rise, while warm water activates the yeast and brings everything together. After mixing and kneading, you will let the dough rise, allowing it to develop flavor and a light, airy texture.
Ingredients:
- 2 ¼ teaspoons active dry yeast
- 1 teaspoon sugar
- 1 ½ cups warm water (about 110°F)
- 4 cups bread flour (plus extra for dusting)
- 2 tablespoons olive oil
- 2 teaspoons salt
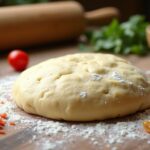
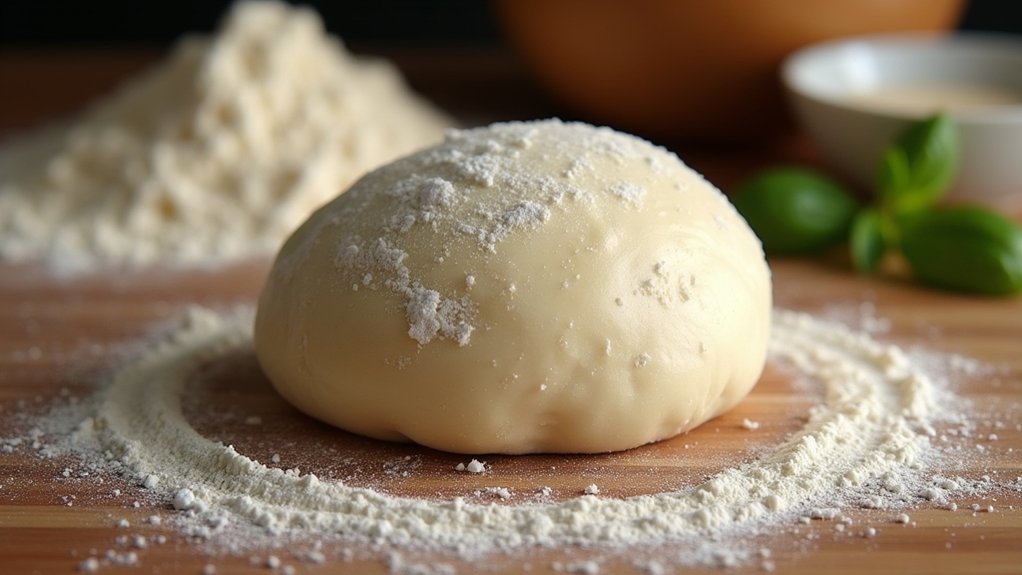
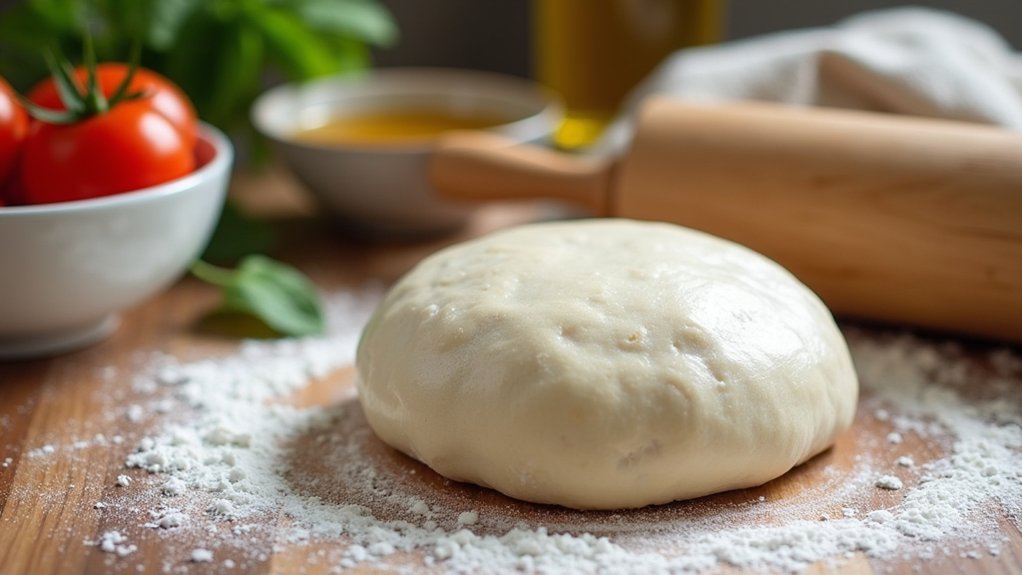
To make the dough, start by combining the warm water, sugar, and yeast in a bowl. Let it sit for about 5-10 minutes until it becomes frothy. In a large mixing bowl, combine the bread flour and salt. Create a well in the center and add the yeast mixture and olive oil. Mix until a shaggy dough forms, then transfer it to a lightly floured surface. Knead the dough for about 8-10 minutes, until it is smooth and elastic. Place the dough in a lightly oiled bowl, cover it with a damp cloth, and let it rise in a warm place for about 1-2 hours, or until it has doubled in size.
When making pizza dough, it’s essential to guarantee that all your ingredients are at the right temperature, especially the water. Too hot, and it can kill the yeast; too cold, and the yeast may not activate properly. Additionally, don’t rush the rising process; allowing the dough to rise longer can enhance its flavor. If you want to prepare the dough ahead of time, you can refrigerate it after the first rise for up to 3 days. Just remember to bring it back to room temperature before rolling it out. Enjoy your homemade pizza!
Cooking Steps
Now that we’ve got our ingredients ready, let’s jump into the cooking steps. First, I’ll mix warm water with yeast, which really gets the dough going. After that, I’ll gradually add flour and knead the mixture until it’s nice and smooth, making sure it’s perfect for rising!
Step 1. Mix Warm Water and Yeast
To kick off the pizza-making process, I find that mixing warm water and yeast is one of the most satisfying steps. First, I heat my water to a cozy temperature—around 110°F is perfect for yeast activation. Too hot, and you risk killing those little organisms; too cold, and they’ll just sit there, feeling uninspired. Once the water’s ready, I sprinkle the yeast on top, letting it rest for a few minutes. You’ll see it start to bubble and froth, which is a sure sign the yeast is waking up and ready to work its magic. This moment always gets me excited because I know I’m one step closer to that delicious homemade pizza!
Step 2. Add Flour Gradually
As the yeast mixture bubbles away, it’s time to introduce the flour, but let’s do it gradually for the best results. I find that this gradual addition not only helps control the dough’s consistency but also allows me to achieve that perfect flour texture. Start by adding a cup of flour, stirring gently, and then continue adding in small increments. This way, you can really feel how the dough transforms. It should start coming together nicely—don’t rush! I love watching it change from a sticky mess to something more cohesive. Trust your instincts; if it feels too wet, add a bit more flour. This careful approach makes all the difference, setting the stage for a delicious pizza experience!
Step 3. Knead Dough Until Smooth
With the flour added and the dough coming together, it’s time to roll up your sleeves and knead. I’ll start by using my palms to push the dough away, folding it over itself with a rhythm that feels almost meditative. The kneading techniques I use help develop the gluten, giving the dough that perfect stretch. As I work, I focus on achieving the right dough consistency—it should feel smooth and elastic, not too sticky or dry. If it’s too sticky, I sprinkle a little flour; if it’s dry, I add a touch of water. This hands-on process is where the magic happens, transforming simple ingredients into a dough that’s ready to rise and become something delicious.
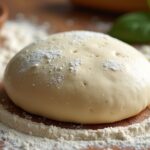
Step 4. Let Dough Rise Covered
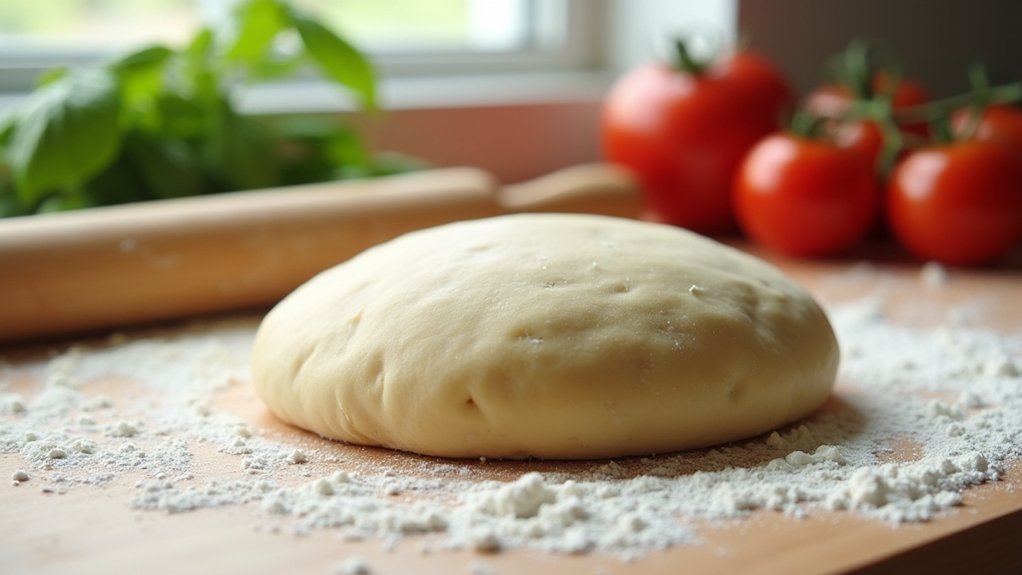
After kneading the dough to perfection, I like to give it some time to rise—typically about one to two hours. During this rising time, I cover the dough with a damp cloth or plastic wrap to keep it warm and cozy. This helps maintain the dough temperature, which is essential for that perfect puffiness. I find that a slightly warmer environment encourages the yeast to work its magic, making the dough light and airy. Watching it grow is almost magical! It’s important to resist the urge to rush this step; trust me, the wait is worth it. Once it’s doubled in size, we’ll be ready to take our dough to the next exciting phase of pizza-making!
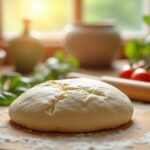
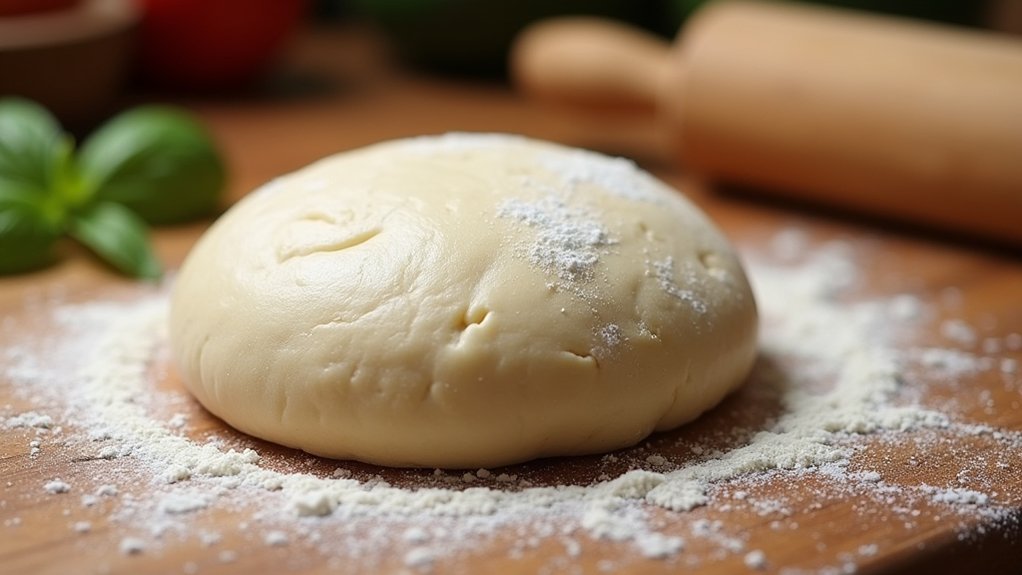
Step 5. Shape Dough Into Balls
Now that our dough has risen beautifully and doubled in size, it’s time to shape it into balls. I like to divide the dough into equal portions, typically around 200 grams each, which makes for perfect individual pizzas. Using some simple dough shaping techniques, I press each piece gently with my palms, tucking the edges underneath to create a smooth surface. This not only helps in achieving that lovely round shape but also guarantees an even rise during baking. If you’re feeling adventurous, experiment with different portion sizing—smaller balls can create mini pizzas, perfect for sharing. Remember, practice makes perfect, and soon you’ll have a delightful array of dough balls ready for your pizza night!
Nutritional Guide
When it comes to making pizza dough, understanding the nutritional aspects can really enhance your cooking experience. Knowing the caloric content and ingredient benefits helps us make informed choices. Here’s a quick guide to the nutritional values of common ingredients in pizza dough:
| Ingredient | Caloric Content (per serving) | Ingredient Benefits |
|---|---|---|
| All-purpose flour | 100 calories | Provides structure and texture |
| Yeast | 10 calories | Aids in rising and fermentation |
| Olive oil | 120 calories | Adds flavor and healthy fats |
| Salt | 0 calories | Enhances flavor and balances taste |
Final Thoughts
As you wrap up your pizza-making adventure, it’s important to reflect on how the simple act of making dough can bring so much joy and satisfaction. Each time I knead that dough, I feel a connection to my kitchen and the creativity that flows from it. Don’t be afraid to experiment with dough variations—adding herbs, spices, or even whole grains can elevate your pizza game to new heights. Remember to use these cooking tips: let your dough rest for perfect texture, and don’t skip preheating your oven for that ideal crust. So, gather your loved ones, share your creations, and enjoy the magic of homemade pizza. It’s not just about the food; it’s about the memories you create together.
Frequently Asked Questions
Can I Use Whole Wheat Flour Instead of All-Purpose Flour?
I’ve used whole wheat flour before, and it adds great flavor and nutritional benefits. Just keep in mind, the dough texture may be a bit denser, but it’s totally worth the innovation!
How Long Can I Store Leftover Pizza Dough?
I usually store leftover pizza dough in the fridge for up to three days. To keep its freshness, I wrap it tightly in plastic. For longer storage, I freeze it—just thaw before using!
Can I Freeze Pizza Dough for Later Use?
Absolutely, I freeze my pizza dough using airtight bags, like tucking it into a cozy blanket. These freezing techniques keep it fresh for months, making dough storage a breeze for my spontaneous pizza nights!
What Can I Use as a Substitute for Yeast?
You can use baking soda as a yeast substitute by combining it with an acid, like vinegar or lemon juice. Alternatively, a sourdough starter adds unique flavor and fermentation, giving your dough a creative twist.
How Do I Know When the Dough Has Risen Enough?
I know the dough’s risen enough when it’s doubled in size and feels airy. After about an hour, I gently poke it; if it springs back slowly, I’m ready to create something delicious!
Conclusion
Making pizza dough is a delightful blend of simplicity and creativity. As you knead the dough, you’re not just preparing a meal; you’re crafting memories to share with loved ones. Whether it’s a family night or a solo treat, the joy of homemade pizza is unmatched. So, roll up your sleeves, embrace the process, and savor every bite. After all, every great pizza starts with a simple dough, and you’re now ready to create your own delicious masterpiece!