Making an easy pizza crust is a rewarding experience! You’ll need just a few ingredients: yeast, warm water, sugar, all-purpose flour, salt, and olive oil. Mix the warm water with sugar and yeast, let it froth, then combine with the other ingredients to form dough. After kneading and letting it rise, shape it into a circle. Bake it for that perfect crispy crust. Trust me, it’s simple and fun, and there’s plenty more to explore about toppings and nutrition!
Contents
History
When I think about the history of pizza crust, it’s hard not to feel a sense of nostalgia for those cozy, family nights spent making pizza together. The ancient origins of pizza crust trace back to the flatbreads enjoyed by various cultures, from the Greeks to the Egyptians. Each civilization brought its own flair, creating diverse crusts that reflect local ingredients and traditions. Over time, these cultural variations blossomed, leading to the beloved pizza we recognize today. I often marvel at how each bite tells a story of innovation and tradition, merging flavors from around the world. It’s thrilling to think that while we experiment with new toppings and techniques, we’re also part of this rich, evolving history of pizza crust.
Recipe
Making your own pizza crust at home is not only simple but also incredibly rewarding. With just a few basic ingredients, you can whip up a delicious, crispy crust that is perfect for all your favorite toppings. Whether you’re hosting a pizza night or just craving a slice, this easy pizza crust recipe will have you covered. The best part is that you can customize the thickness and flavor to your liking, ensuring that each pizza you make is perfectly suited to your taste.
Crafting your own pizza crust at home is both easy and fulfilling, allowing for personalized thickness and flavor that suits your taste perfectly.
This recipe is ideal for beginners and seasoned cooks alike. The dough comes together quickly, and with a little bit of kneading and resting time, you’ll have a crust that’s light and airy on the inside, with a delightful crunch on the outside. You can experiment with different herbs and spices to add an extra twist to your crust, making it uniquely yours. So, roll up your sleeves and get ready to enjoy some homemade pizza magic!
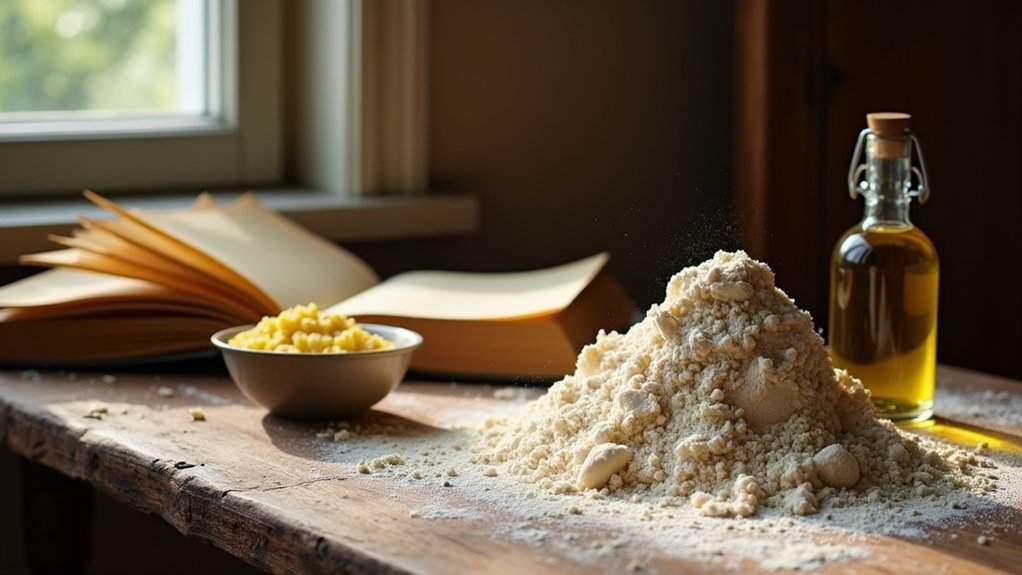
Ingredients:
- 2 1/4 teaspoons of active dry yeast
- 1 cup of warm water (about 110°F)
- 2 tablespoons of sugar
- 3 cups of all-purpose flour
- 1 teaspoon of salt
- 2 tablespoons of olive oil
- Cornmeal (for dusting)
Instructions:
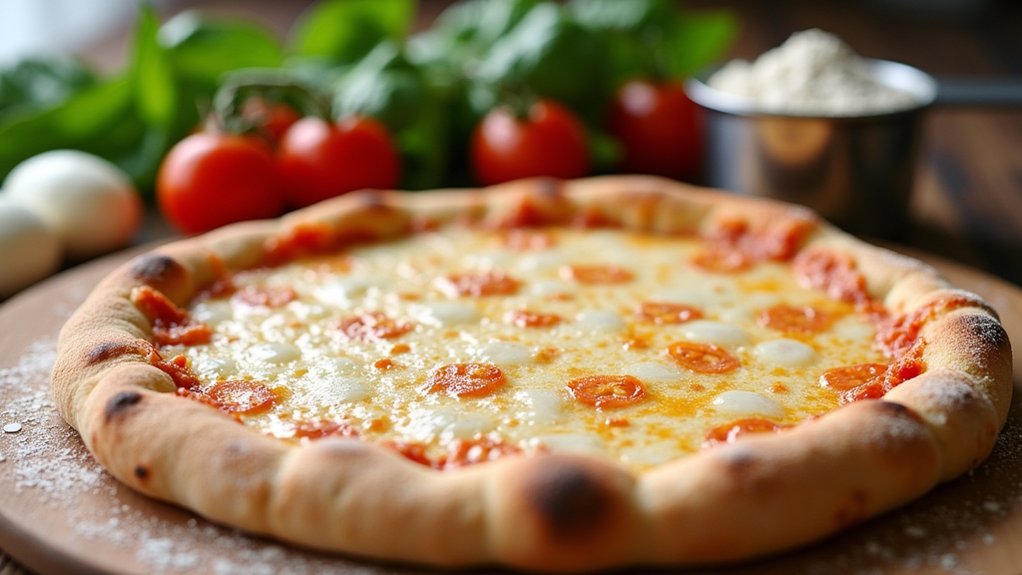
In a small bowl, dissolve the yeast and sugar in warm water and let it sit for about 5-10 minutes until it becomes frothy. In a large mixing bowl, combine the flour and salt, then create a well in the center. Pour in the yeast mixture and olive oil, mixing until a dough forms. Turn the dough out onto a lightly floured surface and knead for about 5-7 minutes until it is smooth and elastic. Place the kneaded dough in a greased bowl, cover it with a cloth, and let it rise in a warm place for about 1 hour or until it has doubled in size. Preheat your oven to 475°F (245°C), then punch down the dough, roll it out to your desired thickness, and place it on a pizza stone or baking sheet dusted with cornmeal. Add your favorite toppings and bake for 12-15 minutes, or until the crust is golden brown.
Extra Tips:
To enhance the flavor of your pizza crust, consider adding dried herbs such as oregano or basil directly to the flour mixture. If you prefer a chewier crust, try using bread flour instead of all-purpose flour. For an extra crispy bottom, preheat your pizza stone in the oven for at least 30 minutes before baking. Always keep an eye on the crust while it’s baking, as oven temperatures can vary, and you want to achieve that perfect golden-brown finish. Enjoy your pizza night!
Cooking Steps
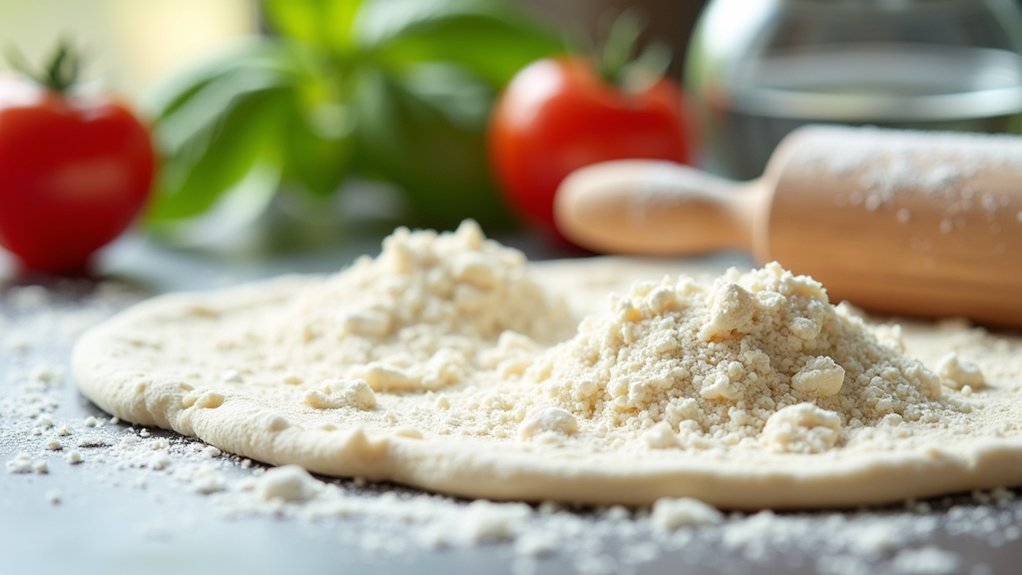
Now that we have our ingredients ready, it’s time to get cooking! First, I’ll show you how to activate the yeast mixture, which is the key to a fluffy crust. After that, we’ll knead the dough thoroughly and let it rise, so it’s nice and airy when we shape it into a perfect circle.
Step 1. Activate Yeast Mixture
To kick things off, I love the moment when the yeast comes to life, transforming a simple mixture into something magical. For yeast activation, I start by combining warm water and sugar, stirring it gently until the sugar dissolves. I then sprinkle the yeast on top, letting it sit for about five to ten minutes. Watching those tiny bubbles form is pure excitement! It’s essential to maintain the right rising temperature; too hot or too cold can ruin the process. Once I see that frothy layer, I know it’s time to mix it into my flour and salt. This step is where the real fun begins, as I can feel the energy of the dough ready to rise and become a delicious pizza crust!
Step 2. Knead Dough Thoroughly
With flour dusting my hands and the dough sitting before me, I can’t help but feel a surge of anticipation. Kneading the dough is where the magic truly begins. I press down, fold, and turn, using various kneading techniques to create that perfect dough consistency. It’s all about getting that elasticity right; I want it to bounce back when I poke it. I often find myself lost in the rhythm, each motion building flavor and texture. Don’t rush this step! Aim for about 8 to 10 minutes of kneading. Trust me, your wrist will thank you later when you taste that beautifully chewy crust. It’s a hands-on experience that connects you to the art of pizza making!
Step 3. Let Dough Rise Warmly
After kneading the dough to perfection, it’s time for the next exciting step: letting it rise warmly. I love finding a cozy spot in my kitchen where I can create a warm environment for my dough. This is vital because warmth activates the yeast, making it puff up beautifully. I typically cover the dough with a damp cloth and let it rest for about 1 to 2 hours. During this rising time, you can almost feel the anticipation building! As the dough doubles in size, it releases that delightful aroma that’s hard to resist. Trust me, giving your dough this time to rise is essential for achieving that airy, chewy crust we all crave in a perfect pizza.
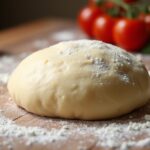
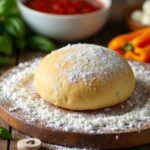
Step 4. Shape Dough Into Circle
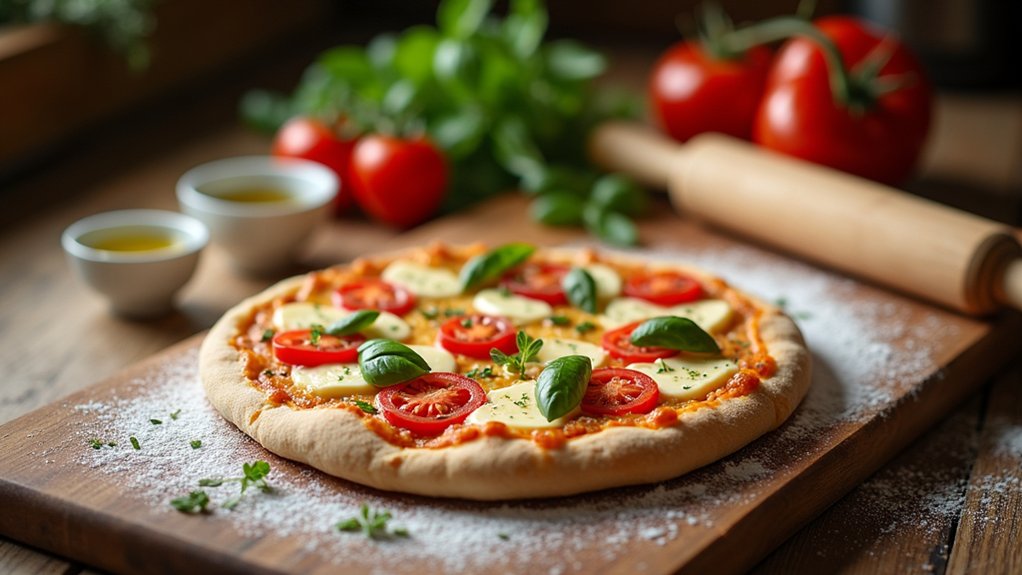
Once the dough has risen and is full of life, it’s time to shape it into a circle, which is one of the most satisfying steps in the pizza-making process. I like to start by gently pressing the dough down on a floured surface, releasing some of that built-up air. Then, using dough shaping techniques, I stretch and pull the edges while rotating the dough. This helps create an even circle. If you prefer, you can toss it in the air, but be careful not to drop it! Keep working until you achieve that perfect round shape, about 12 inches in diameter. Trust me, your pizza will look stunning, and that circle will be the foundation for all those delicious toppings to come!
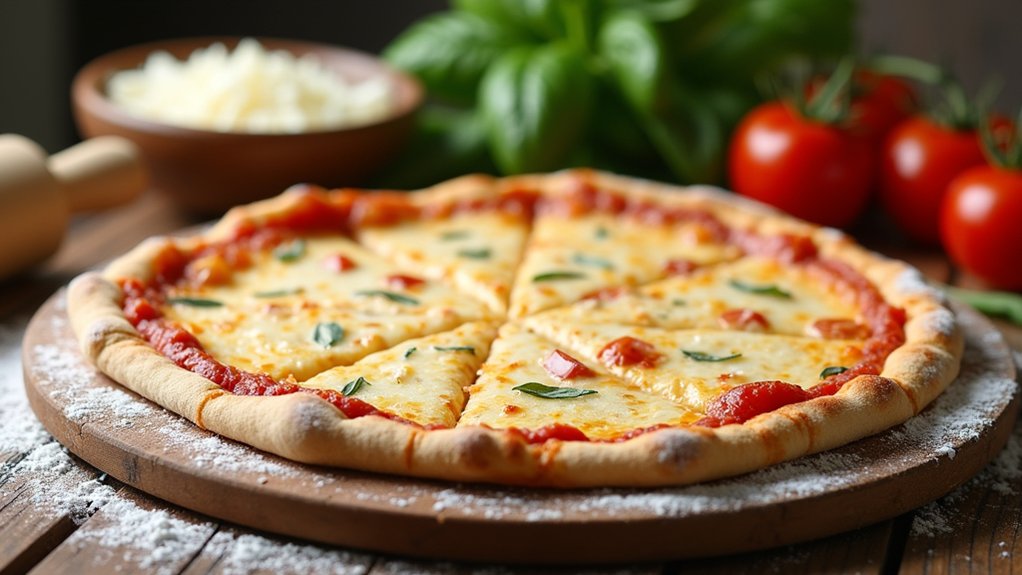
Step 5. Add Toppings Generously
Now comes the fun part—adding toppings generously! I love getting creative with topping combinations that cater to my ingredient preferences. Start with a solid layer of sauce, then sprinkle on a generous amount of cheese, because who doesn’t love gooey goodness? From there, let your imagination run wild! Think fresh veggies, spicy pepperoni, or even sweet pineapple. I like to mix textures, so I might throw in some crunchy bell peppers alongside creamy goat cheese. Don’t forget to add herbs like fresh basil or oregano for that extra zing! Remember, the more colorful and diverse your toppings, the more inviting your pizza will look. So go ahead, pile it on, and let your culinary creativity shine!
Nutritional Guide
When it comes to whipping up a delicious pizza, understanding the nutritional aspects of your crust can make all the difference. Knowing the nutritional benefits of your ingredients and exploring ingredient alternatives can elevate your pizza experience. For instance, using whole wheat flour can boost fiber content, while cauliflower crust offers a low-carb option. Here’s a quick reference table to help you navigate your options:
| Ingredient | Nutritional Benefit |
|---|---|
| Whole Wheat Flour | High in fiber and nutrients |
| Cauliflower | Low in carbs, rich in vitamins |
| Almond Flour | Gluten-free, packed with protein |
| Greek Yogurt | Adds protein and moisture |
Experiment with these alternatives, and you’ll create a pizza crust that’s not only tasty but also nourishing!
Final Thoughts
As you wrap up your journey in creating the perfect pizza crust, I can’t help but feel a sense of excitement about the possibilities that lie ahead. This crust isn’t just a base; it’s a canvas for your culinary creativity. Whether you’re dreaming of classic pepperoni or adventurous pizza variations like barbecue chicken or veggie-loaded delights, the options are endless. Don’t be afraid to explore crust alternatives, too! Cauliflower or chickpea crusts can add a healthy twist without sacrificing flavor. Experimenting with different toppings and techniques can transform your pizza nights into something extraordinary. So, gather your loved ones, share your creations, and let the deliciousness inspire more fun in the kitchen. Happy pizza-making!
Frequently Asked Questions
Can I Freeze Leftover Pizza Crust?
Absolutely, I freeze leftover pizza crust! I wrap it tightly using various freezing methods, ensuring it’s airtight for proper pizza storage. It’s a fantastic way to enjoy homemade goodness later without losing flavor or texture.
What Can I Substitute for All-Purpose Flour?
When I’m in a pinch, I swap all-purpose flour for whole wheat, almond flour, coconut flour, or oat flour. Each option offers a unique twist, perfect for innovative culinary creations. Let’s get experimenting!
How Can I Make Gluten-Free Pizza Crust?
I love using a mix of gluten-free flours like almond and tapioca. It creates a great base for my favorite pizza toppings. Experimenting with these flours really opens up delicious possibilities for gluten-free pizza!
How Long Does Pizza Crust Last in the Fridge?
I’ve found that pizza crust lasts about three to five days in the fridge. While it’s tempting to keep it longer, freshness is key for that delightful bite—trust me, it’s worth the short storage!
Can I Use a Stand Mixer for This Dough?
Absolutely, I use my stand mixer for this dough! Just adjust the mixer settings to low initially, then increase speed gradually. You’ll achieve perfect dough consistency without the hassle of hand-kneading. Enjoy innovating!
Conclusion
In the end, making your own pizza crust is like crafting a little piece of joy in your kitchen. With just a few simple ingredients and a bit of love, you can create something that brings family and friends together. So, why not roll up your sleeves and give it a try? You’ll not only impress everyone with your delicious creation but also create memories that will last long after the last slice is gone! Happy baking!