To create a balanced homemade bread with the 50 50 recipe, use equal parts bread and whole wheat flour. Follow exact measurements for desired texture. Activate yeast in warm 110°F water for proper rising. Knead dough vigorously for gluten. Let it rise in a warm spot. Shape properly for even bake. Handle gently without over-proofing. Score dough for controlled expansion. For excellent rise, activate yeast right and shape with care. Master these steps for the perfect 50 50 bread. Explore further for additional expert tips and techniques for stellar results.
Contents
- 1 Key Takeaways
- 2 Ingredients Needed for 50 50 Bread Recipe
- 3 Step-By-Step Instructions for Making the Dough
- 4 Kneading and Proofing the Bread
- 5 Shaping and Scoring the Loaf
- 6 Baking the 50 50 Bread
- 7 50 50 Bread Recipe
- 8 Tips for Storing and Serving the Bread
- 9 Frequently Asked Questions
- 10 Conclusion-50 50 Bread Recipe
Key Takeaways
- Combine equal parts bread flour and whole wheat flour for the base.
- Activate yeast in warm water for proper rising.
- Knead vigorously to develop gluten structure.
- Allow dough to rise in ideal conditions for best flavor.
- Follow shaping and baking techniques for perfect 50 50 bread.
Ingredients Needed for 50 50 Bread Recipe
To create the 50 50 Bread Recipe, you’ll need a precise combination of equal parts bread flour and whole wheat flour. Proper measurements of these flours are essential to achieving the desired texture and taste of the bread.
Additionally, activating the yeast correctly is vital for the bread to rise properly and develop the right crumb structure.
When it comes to flour measurements, make sure to use a kitchen scale for accuracy. Weigh out the bread flour and whole wheat flour in equal amounts, typically around 250 grams each for a standard-sized loaf. This precision ensures that the gluten content is balanced, resulting in a well-structured bread with a good crumb.
For yeast activation, you’ll need warm water around 110°F (43°C) to dissolve the yeast properly. This step kickstarts the fermentation process, allowing the dough to rise and develop flavor.
Step-By-Step Instructions for Making the Dough
Prepare the necessary tools and ingredients for making the dough. Begin by activating the yeast. Dissolve the yeast in warm water with a pinch of sugar to kickstart fermentation. Let it sit for about 5-10 minutes until it becomes frothy, indicating that the yeast is active and ready for use.
Next, focus on developing the gluten in the dough. Combine the yeast mixture with flour and salt in a mixing bowl. Knead the dough vigorously for about 10-15 minutes until it becomes smooth and elastic. This process helps to establish the structure necessary for the bread to rise properly.
After kneading, allow the dough to rise in a warm, draft-free place. Cover the bowl with a damp cloth or plastic wrap to prevent the dough from drying out. Let it double in size, which usually takes about 1-2 hours depending on the room temperature.
Once the dough has risen, it’s time to shape it according to your desired bread type. Whether you’re making loaves, rolls, or specialty shapes, shaping the dough correctly guarantees an even bake and a pleasing final appearance.
Kneading and Proofing the Bread
After shaping the dough according to your desired bread type, the next essential step involves kneading and proofing the bread to promote ideal texture and flavor development. To guarantee your bread turns out just right, follow these steps:
- Vital Kneading Techniques: Kneading is pivotal for developing gluten, which gives the bread structure and elasticity. Use the heel of your hand to push the dough away from you, then fold it back over itself. Rotate the dough a quarter turn and repeat. Continue this process until the dough is smooth and elastic.
- Optimal Proofing Conditions: Proofing, or allowing the dough to rise, is essential for developing flavor and a light, airy texture. Find a warm, draft-free spot for the dough to rise. Cover it with a damp cloth to prevent the surface from drying out.
- Avoid Over-Proofing: Be mindful not to let the dough proof for too long, as this can cause it to collapse during baking.
- Check for Doneness: After proofing, gently press your finger into the dough. If it springs back slowly, it’s ready for baking.
Shaping and Scoring the Loaf
When shaping your loaf, make sure you use proper techniques to create a well-formed structure that allows for even baking.
Scoring the bread before baking is vital as it controls the expansion of the dough during baking, preventing it from bursting in unexpected places.
To achieve a uniform rise, pay attention to shaping details and scoring depth to promote consistent oven spring.
Loaf Shaping Techniques
To achieve peak loaf shaping results, make sure the dough is sufficiently proofed before beginning the shaping process.
When shaping your bread dough, remember these key techniques:
- Pre-shaping: Gently shape the dough into a round or oval shape, creating surface tension.
- Resting: Allow the dough to rest for a short period to relax the gluten before final shaping.
- Final shaping: Use artisanal techniques like rolling or folding to create the final loaf shape.
- Tension: Guarantee a tight surface tension on the dough by shaping it properly to aid in crust formation during baking.
Importance of Scoring
Once the dough has been properly shaped, scoring the loaf is a critical step in baking that allows for controlled expansion during the baking process. Scoring serves multiple purposes, primarily affecting the rise and appearance of the bread.
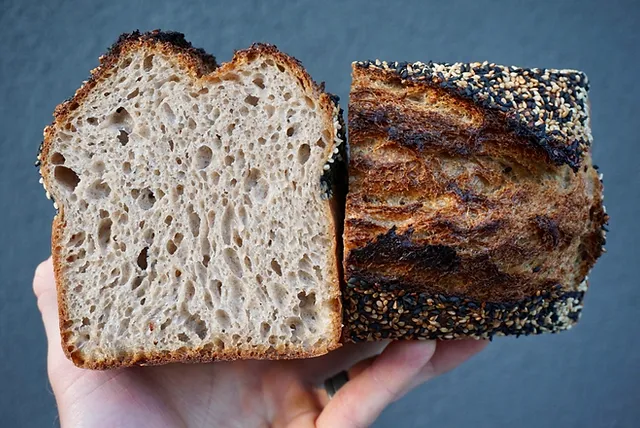
The technique involves using a sharp blade to make precise cuts on the surface of the dough before baking. These cuts control where the bread will expand during baking, preventing it from bursting in unpredictable ways. Proper scoring also helps release steam from the dough, which contributes to a better rise and a crispier crust.
Aesthetically, scoring creates intricate patterns on the bread’s surface, enhancing its visual appeal. Mastering this technique is essential for achieving consistent and professional-looking loaves.
Tips for Even Rise
For achieving an even rise in your bread, mastering the art of shaping and scoring the loaf is crucial. To guarantee rise consistency and a beautifully shaped loaf, follow these tips:
- Yeast Activation: Activate your yeast properly to secure a good rise. Use water at the right temperature and allow enough time for the yeast to bubble and foam.
- Dough Handling: Handle the dough gently to preserve the gas bubbles created by the yeast. Avoid over-kneading, which can deflate the dough and hinder the rise.
- Shaping Techniques: Use proper shaping techniques to create surface tension on the loaf, helping it rise evenly. Tuck and roll the dough tightly to create a smooth top.
- Scoring the Loaf: Make deliberate and swift cuts on the dough’s surface before baking to control the rise and prevent uneven bursting.
Mastering these techniques will help you achieve a beautifully risen loaf every time.
Baking the 50 50 Bread
When baking the 50/50 bread, start by thoroughly mixing the dough ingredients to guarantee proper gluten development.
Allow the dough to proof until it has doubled in size, indicating that the yeast has fermented the sugars.
Mixing Dough Ingredients
Mixing the dough ingredients for baking the 50 50 Bread demands precise measurements and thorough incorporation to guarantee a well-developed dough structure. When preparing the dough, follow these essential steps:
- Mixing Techniques: Employ the folding method to evenly distribute ingredients.
- Dough Consistency: Aim for a slightly tacky dough that holds together without being overly sticky.
- Dough Hydration: Adjust water content gradually to achieve the desired consistency.
- Gluten Development: Knead the dough adequately to promote gluten formation, ensuring elasticity and structure.
Proofing and Baking
To guarantee ideal fermentation and oven spring, carefully monitor the proofing and baking process when making the 50 50 Bread. After shaping the dough, place it in a warm, draft-free area to proof. Proper proofing guarantees a light, airy texture in the final loaf. The ideal proofing time may vary based on factors such as room temperature and dough consistency, but generally, it takes around 1 to 1.5 hours.
When it’s time to bake, preheat your oven to a high temperature, typically around 450°F (232°C), to create a burst of heat that helps with oven spring. This initial high heat is essential for achieving a crispy crust texture. Reduce the temperature after a few minutes to allow the bread to finish baking evenly.
50 50 Bread Recipe
Course: Breakfast, SnackCuisine: InternationalDifficulty: Beginner12
servings15
minutes30
minutes150
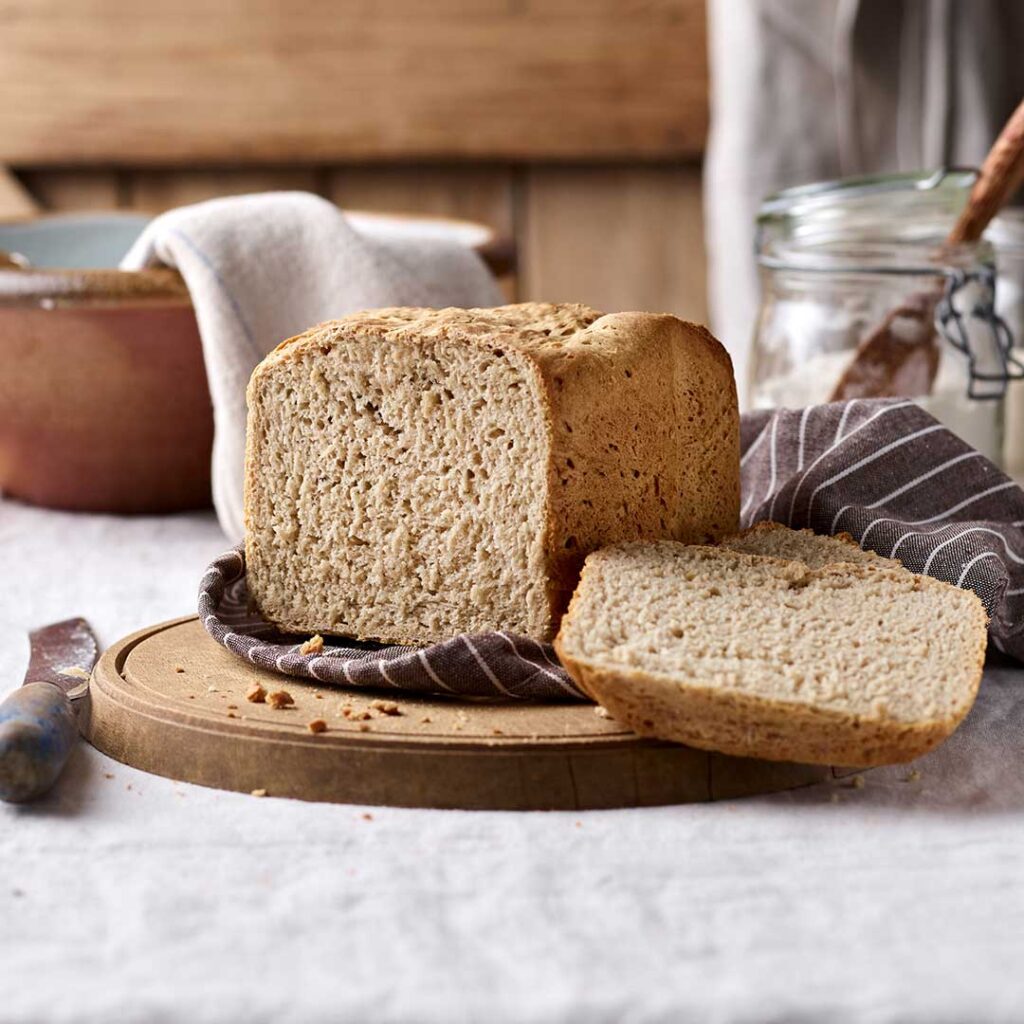
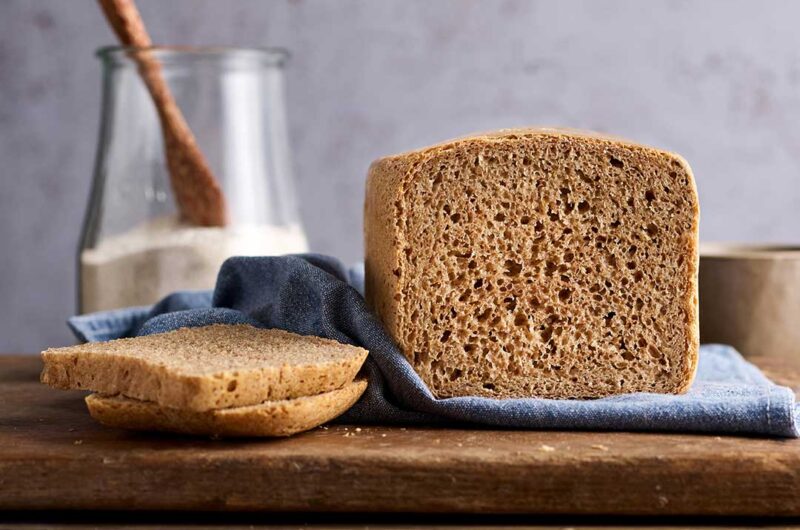
kcalThe 50 50 Bread Recipe offers a perfect balance between white and whole wheat flours, resulting in a deliciously wholesome loaf. Easy to prepare, this bread is ideal for breakfast or as a snack, providing a satisfyingly hearty texture and flavor.
Ingredients
250g strong white bread flour
250g whole wheat flour
7g instant yeast
10g salt
15g sugar
300ml warm water
30ml olive oil
Directions
- In a large mixing bowl, combine the white flour, whole wheat flour, yeast, salt, and sugar.
- Make a well in the center and pour in the warm water and olive oil.
- Mix until a dough forms, then turn it out onto a floured surface and knead for 10 minutes until smooth and elastic.
- Place the dough in a lightly oiled bowl, cover with a clean tea towel, and leave to rise in a warm place for about 1 hour or until doubled in size.
- Preheat the oven to 200°C (390°F/Gas 6).
- Punch down the risen dough and shape it into a loaf. Place it on a baking tray lined with parchment paper.
- Cover the loaf loosely with oiled cling film and leave to rise for a further 30 minutes.
- Remove the cling film and bake the loaf in the preheated oven for 25-30 minutes, or until golden brown and sounds hollow when tapped on the bottom.
- Allow the bread to cool on a wire rack before slicing and serving. Enjoy!
Tips for Storing and Serving the Bread
For best freshness and taste, store the bread in a cool, dry place in an airtight container. Here are some tips to guarantee your bread stays delicious for longer:
- Bread Storage: Keep your bread in a cool, dry place to prevent it from getting soggy or moldy. Storing it in an airtight container helps maintain its moisture content and texture.
- Crust Care: If you prefer a crispy crust, store the bread unwrapped or in a paper bag. To maintain a soft crust, wrap the bread in a clean kitchen towel before placing it in the container.
- Freshness: To prolong the freshness of your bread, avoid storing it in the refrigerator, as it can make the bread go stale faster. Instead, freeze any portions you won’t consume within a few days. When ready to eat, simply thaw and reheat for a freshly baked taste.
- Serving: When serving the bread, consider toasting slices for a warm and crunchy experience. Pair it with butter, jam, or your favorite spreads for a delightful treat.
Frequently Asked Questions
Can I Substitute Whole Wheat Flour in the 50 50 Bread Recipe?
Yes, you can substitute whole wheat flour in the 50/50 bread recipe. However, baking adjustments are necessary due to differences in moisture absorption. Increase liquid content slightly and allow for longer rise times to make sure the bread’s texture is not compromised.
How Can I Adjust the Baking Time for a Smaller Loaf?
To adjust the baking time for a smaller loaf, reduce the time by approximately 25-30%. Monitor the crust for desired browning, ensuring a crustier texture by extending baking time or covering the loaf for a softer finish.
What Type of Yeast Works Best for This Bread Recipe?
For the bread recipe, instant yeast is the ideal choice. It provides quick rise times and convenience. Active dry yeast can also be used, but it requires proofing. Instant yeast simplifies the process.
Can I Add Nuts or Seeds to the Dough for Extra Flavor?
You can definitely enhance your dough with nuts or seeds for added flavor and texture. Experiment with different varieties to find the perfect combination that suits your taste. It’s a great way to elevate your bread recipe.
How Can I Make a Vegan Version of the 50 50 Bread?
To make a vegan version of the 50 50 bread, you can use vegan substitutes like plant-based milk and vegan butter. Adjust the baking time and temperature accordingly to guarantee proper rise and texture.
Conclusion-50 50 Bread Recipe
To sum up, the 50 50 bread recipe offers a balanced blend of whole wheat and white flour for a unique and flavorful loaf. By following the step-by-step instructions provided, you can easily create a delicious homemade bread that’s perfect for any occasion.
Remember, practice makes perfect, so don’t be discouraged if your first attempt isn’t picture-perfect – Rome wasn’t built in a day. Keep honing your skills and enjoy the process of baking your own bread from scratch.


