If you’re looking to make a smash cake for your little one’s first birthday, I’ve got a simple recipe for you! It uses wholesome ingredients like applesauce, honey, and a dash of baking powder. Just mix, bake, and let your baby explore this delightful treat! It’s less sweet than traditional cakes, focusing on flavor and safety. Plus, you can customize it with their favorite toppings. Want to learn more about the baking process and additional tips?
Contents
History

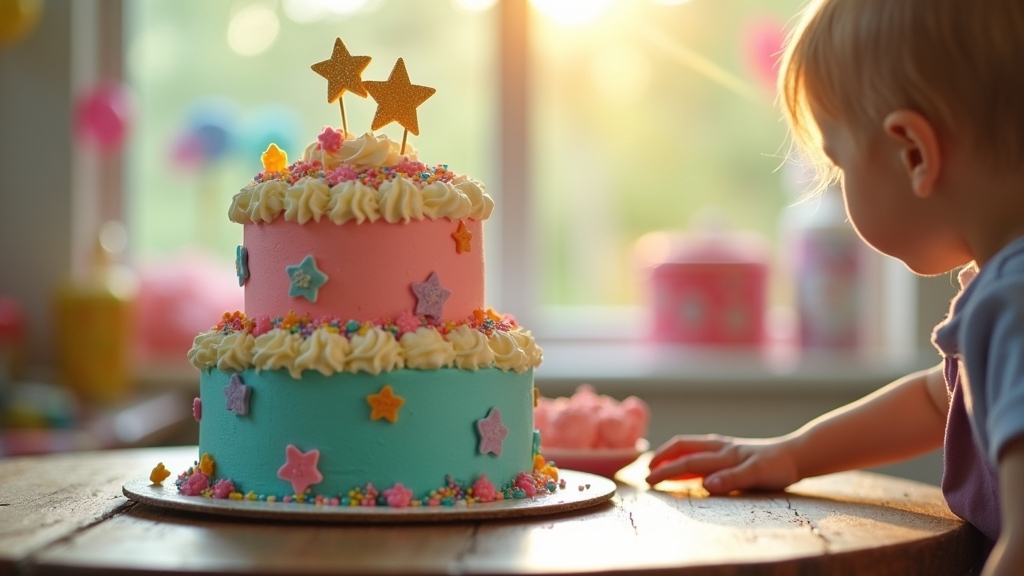
When I think about smash cakes, I can’t help but smile at the fun memories they create during a baby’s first birthday celebration. The history of smash cakes is quite fascinating, rooted in cake traditions that celebrate milestones. Originally, cakes were meant to symbolize prosperity and joy, but as birthday celebrations evolved, the idea of a smaller, personal cake for the little ones emerged. This innovation allows babies to explore flavors and textures, creating a mess that’s both delightful and heartwarming. Parents enthusiastically capture these moments, making it a cherished part of the experience. Today, smash cakes represent more than just dessert; they embody the joy of childhood and the excitement of new beginnings. It’s a sweet tradition worth celebrating!
Recipe

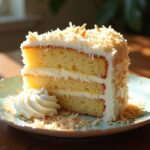
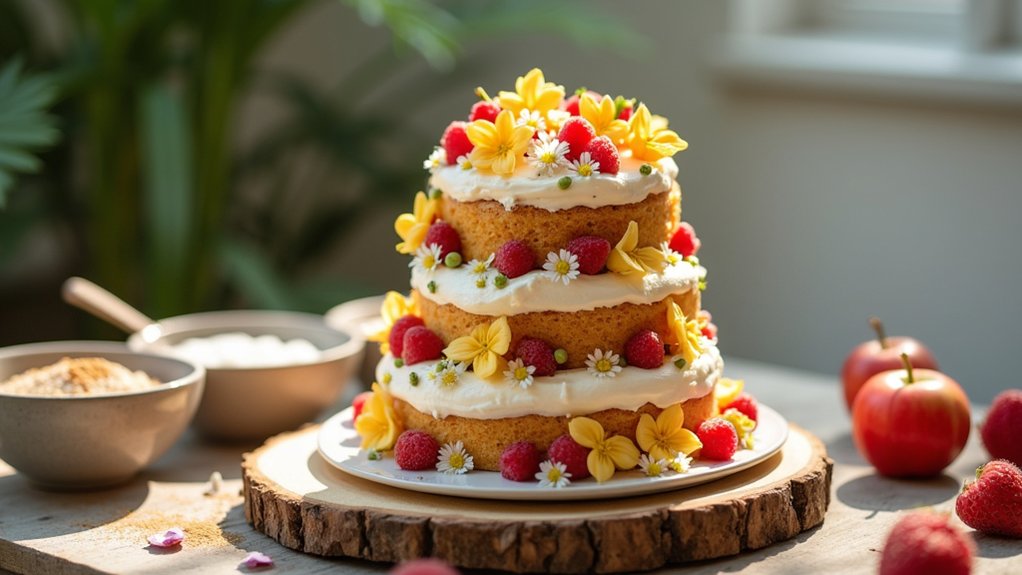
Creating a smash cake is a delightful way to celebrate your little one’s first birthday or any special occasion. This miniature cake is designed to be both visually appealing and perfectly safe for little hands to dig into. Made with simple, wholesome ingredients, a smash cake is often less sweet than traditional cakes, making it a great choice for your child’s first taste of cake. The fun of a smash cake is not only in its creation but also in the joyous mess that follows when your baby gets to enjoy it!
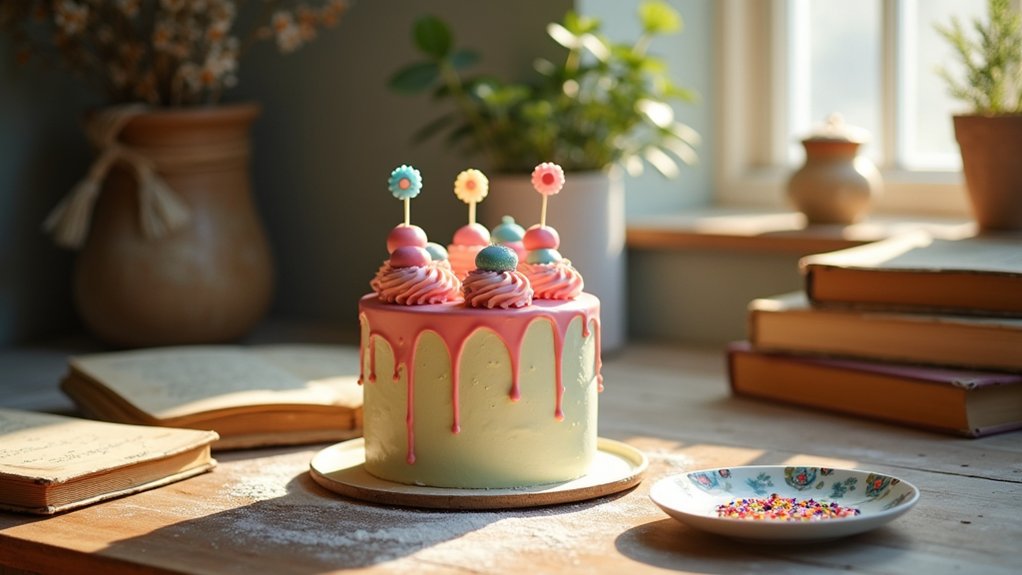
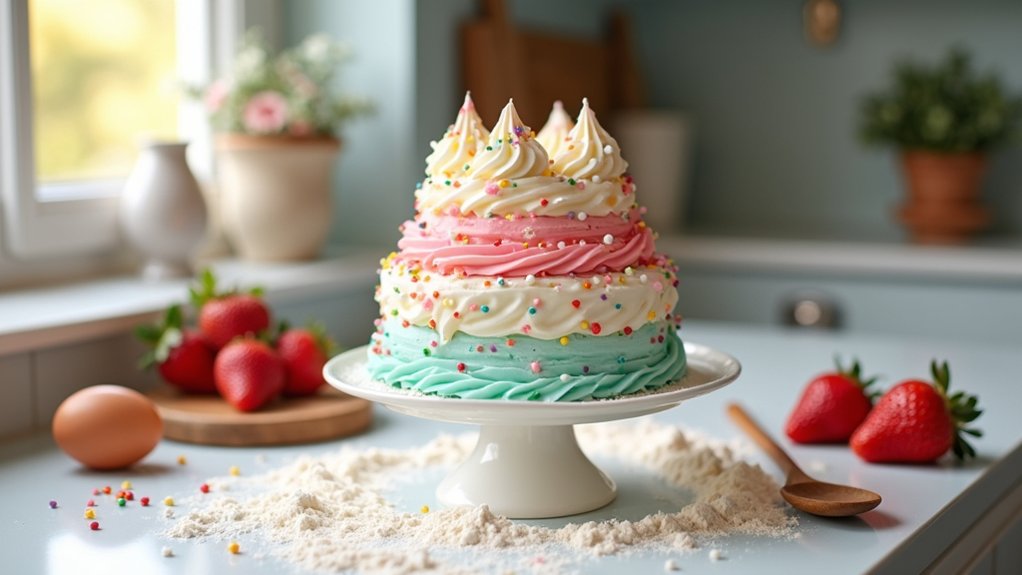
When preparing a smash cake, you can customize the flavors and decorations to suit your child’s preferences or the theme of the party. From vanilla to banana, the possibilities are endless! Consider using natural food coloring or fresh fruit for decorations to keep things healthy and vibrant. With a bit of creativity, this cake can be a showstopper at your party while still being a safe treat for your little one.
Ingredients:
- 1 cup all-purpose flour
- 1/2 cup unsweetened applesauce
- 1/4 cup honey or maple syrup
- 1/2 teaspoon baking powder
- 1/4 teaspoon baking soda
- 1/4 teaspoon salt
- 1/2 teaspoon vanilla extract
- Optional: 1/4 cup mashed banana or pureed carrot for added flavor
Instructions:
Preheat your oven to 350°F (175°C) and grease a small cake pan (6-inch round works well). In a mixing bowl, combine all the dry ingredients: flour, baking powder, baking soda, and salt. In another bowl, mix the wet ingredients: applesauce, honey (or maple syrup), vanilla extract, and optional mashed banana or pureed carrot. Gradually add the dry mixture into the wet mixture, stirring until just combined. Pour the batter into the prepared cake pan and bake for 20-25 minutes or until a toothpick inserted into the center comes out clean. Let the cake cool completely before removing it from the pan.
Extra Tips:
When decorating the smash cake, consider using a light layer of whipped cream or yogurt as frosting to keep it healthy. Avoid using traditional frosting, which can be overly sweet for a baby’s palate. You can also add fresh fruit on top for color and flavor! Confirm that all decorations are safe for your little one to consume. Additionally, have a camera ready for those adorable moments when your baby takes their first bite and makes a delightful mess!
Cooking Steps
Let’s get started on making this delicious smash cake! First, I’ll preheat the oven to guarantee it’s nice and hot when we’re ready to bake. Then, I’ll mix the dry ingredients together, setting the stage for a perfectly fluffy cake.
Step 1. Preheat the Oven
Preheating the oven is an essential step that sets the stage for your smash cake to bake evenly and rise perfectly. I usually set my oven temperature to 350°F, which is ideal for a moist and fluffy cake. While that’s happening, I can gather my ingredients and get excited about the baking process. Preheating not only guarantees that the cake bakes consistently, but it also enhances the effectiveness of baking techniques, like creating a beautiful rise and golden crust. Trust me, there’s nothing like the aroma of a cake baking in a warm oven to evoke fond memories. Once the oven’s ready, I’m all set to plunge into mixing those dry ingredients and creating a smash cake that’s sure to delight!
Step 2. Mix Dry Ingredients Together
With the oven now warmed up and ready, it’s time to focus on the dry ingredients, which form the backbone of our smash cake. First, I grab a mixing bowl and combine the flour, baking powder, and a pinch of salt, ensuring I get the dry ingredient ratios just right. This step is essential; too much or too little can throw off the whole cake. I like to use a whisk for mixing techniques, blending everything until it’s light and fluffy. This not only aerates the mixture but also helps distribute the leavening agents evenly. Once I see a uniform blend, I feel a rush of excitement, knowing I’m one step closer to creating a delightful cake that’ll bring smiles to everyone!
Step 3. Add Wet Ingredients Gradually
Now that the dry ingredients are perfectly mixed, it’s time to incorporate the wet ingredients, which will bring our cake to life. I like to add them gradually, starting with the eggs, then the milk, and finally the oil or melted butter. This method allows each component to meld beautifully, enhancing the cake texture. As I mix, I can feel the batter transforming into something magical—smooth and inviting. It’s essential not to rush this step; letting the wet ingredients blend slowly guarantees a moist, fluffy cake. Remember, a well-combined batter is key to a smash cake that not only looks fantastic but tastes divine. So, take your time, and enjoy the process!
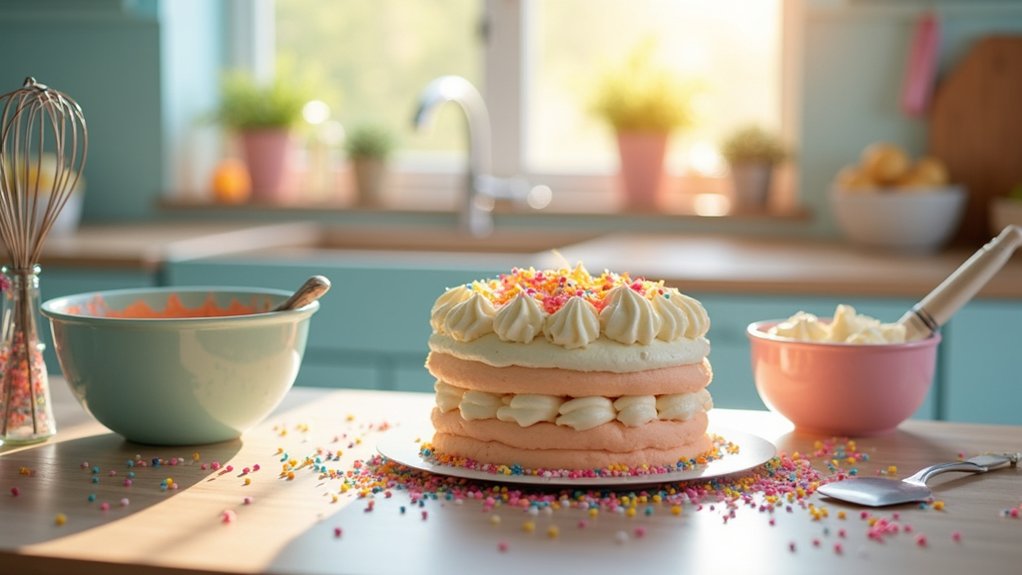
Step 4. Fold in Cake Batter
Gently folding in the cake batter is like wrapping a cozy blanket around a warm loaf of bread—it’s all about creating a delicate balance. As I approach this step, I find that using simple folding techniques can truly transform the cake textures. I start by adding a third of the batter to the wet ingredients, then carefully scoop from the bottom and bring it over the top, repeating until it’s just combined. It’s important not to overmix, as that can lead to a dense cake instead of the light, airy treat we want. Each fold feels like a dance, coaxing the ingredients together while keeping that lovely fluffiness intact. I’m always amazed at how this gentle process creates such delightful results!
Step 5. Bake for 25 Minutes
After that gentle folding dance, it’s time to bring our cake closer to life by baking it. Preheat your oven to 350°F (175°C) and gently place the cake pan inside. Set a timer for 25 minutes and let the magic happen! This is where the batter transforms into a delightful treat, developing those beautiful cake textures we all love. Keep an eye on it, though; every oven behaves differently. A great baking tip is to poke the center with a toothpick—if it comes out clean, it’s done! Once baked, let it cool a bit before removing it from the pan. Trust me, the anticipation makes it all the more delicious. Your little one’s smash cake adventure is just around the corner!
Nutritional Guide
While baking a smash cake is all about fun and celebration, it’s also important to contemplate the nutritional aspects of what you’re creating. A thoughtful nutrient breakdown can enhance the experience for both the little one and the adults at the party. Here’s a quick guide to help you navigate the cake’s nutritional content:
| Nutrient | Amount per Serving | Serving Suggestions |
|---|---|---|
| Calories | 150 | Pair with fresh fruit |
| Sugar | 10g | Serve with yogurt dip |
| Protein | 2g | Top with whipped cream |
Final Thoughts
As you wrap up your smash cake adventure, it’s easy to feel a mix of excitement and nostalgia about the sweet moments ahead. Creating a smash cake isn’t just about the cake itself; it’s about the celebration ideas you bring to life. Whether you opt for vibrant cake decoration or a more subtle theme, your creativity shines through. I love how a simple cake can transform any gathering into a memorable event. Think about incorporating unique flavors or fun toppings that reflect your little one’s personality. As you prepare for the big day, remember that it’s all about joy and laughter. So, go ahead, release your culinary imagination, and make this celebration unforgettable! Happy baking!
Frequently Asked Questions
Can I Use Gluten-Free Flour in My Smash Cake?
Absolutely, I’ve used gluten-free flour in my cakes! The texture changes a bit, but with the right gluten-free alternatives, you can still achieve a delicious, innovative cake that everyone will enjoy. Give it a try!
How Far in Advance Can I Make a Smash Cake?
I usually make my smash cake up to three days in advance. Did you know that properly frozen cake can last up to three months? Just guarantee you store it airtight for the best results!
What Size Cake Is Best for a Smash Cake?
I recommend a mini cake, around 4 to 6 inches, for a smash cake. It’s perfect for little hands and allows for creative cake flavors, making the experience exciting and memorable for your baby!
Can I Decorate the Smash Cake With Fruit?
Absolutely, I love decorating with fruit! It transforms cake aesthetics into a masterpiece. Fresh fruit toppings not only look stunning but also add delightful flavors, making the entire experience even more unforgettable. You’ll adore the results!
Is It Safe for Babies to Eat Cake?
Yes, it’s safe for babies to eat cake, but I always check the ingredients. I focus on baby nutrition, using wholesome, natural ingredients to guarantee it’s enjoyable and healthy for my little one’s special moments.
Conclusion
So there you have it—a smash cake recipe that’ll leave your little one giggling and covered in frosting! Just imagine their face, smeared with cake as they plunge into this sugary masterpiece, looking like a tiny, delightful monster. It’s a moment worth capturing, and trust me, you’ll want to relive it through photos (and maybe a few giggles). Now, roll up your sleeves, grab those ingredients, and let the cake-smashing fun begin! Happy baking!