
To make scrumptious red velvet cookies, I start by mixing 2 1/2 cups of flour with baking soda, salt, and cocoa powder. Then, I cream together 1 cup of softened butter, sugar, and an egg, adding vibrant red food coloring and vanilla for that signature flavor. After chilling the dough, I scoop it onto a baking sheet and bake until perfectly soft. Trust me, these cookies are not just pretty; they’re a taste sensation that you won’t want to miss!
Contents
History

When I think about the history of red velvet cookies, I can’t help but be drawn into the rich tapestry of flavors and traditions that have shaped this delightful treat. Originating from the South, these cookies reflect a culinary evolution that marries classic ingredients with a vibrant color. Initially celebrated as festive treats, red velvet desserts gained popularity for their striking hue and unique flavor profile—an alluring blend of cocoa and buttermilk, with a hint of vanilla. Over time, bakers began experimenting, creating variations that embraced creativity and innovation. Each bite embodies not just a taste, but also a piece of Southern heritage, reminding us that every cookie tells a story worth savoring.
Recipe
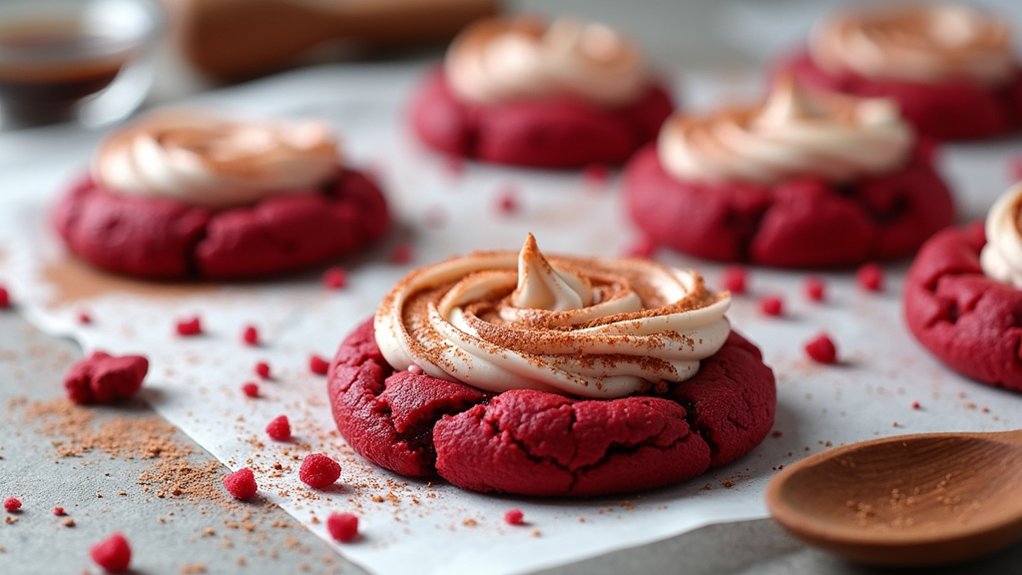
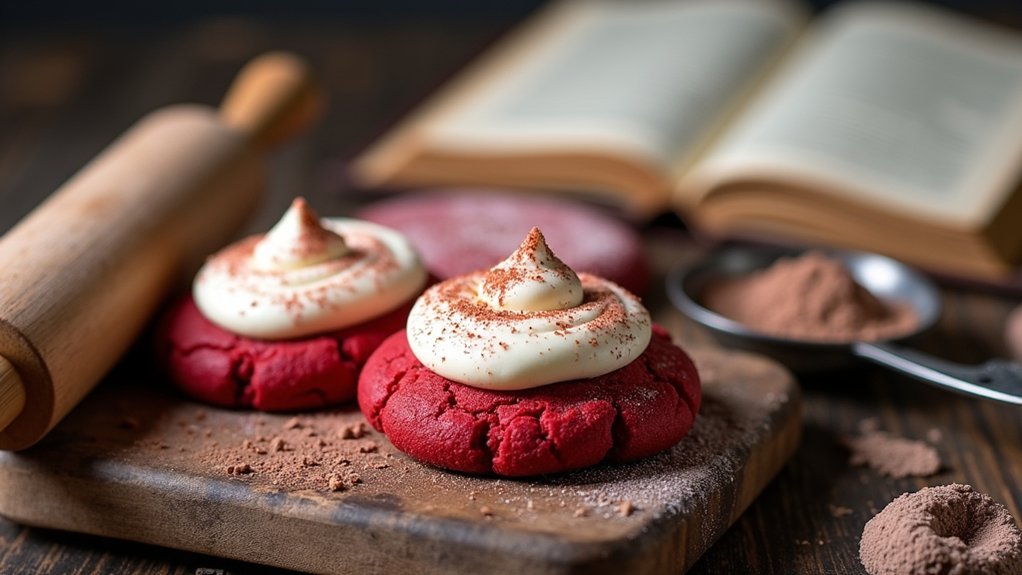
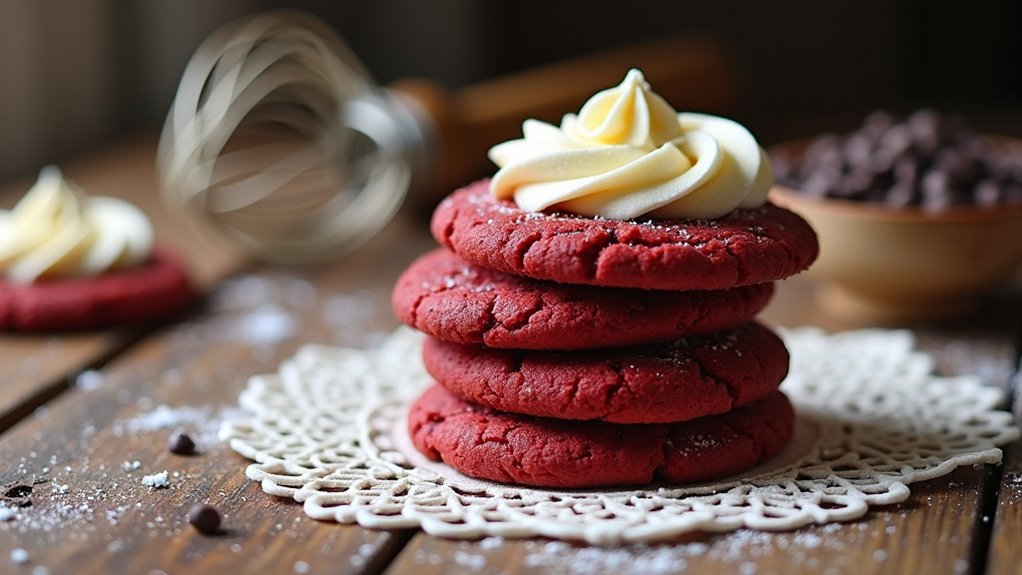
Red velvet cookies are a delightful twist on the classic red velvet cake, combining the rich, velvety texture with the convenience of a cookie. These treats are perfect for any occasion, whether you’re hosting a party, celebrating a holiday, or just indulging yourself. With their vibrant red hue and cream cheese frosting, these cookies not only taste amazing but also look stunning on any dessert table.
The key to achieving the perfect red velvet flavor is in the balance of cocoa powder, buttermilk, and a hint of vanilla. The cream cheese frosting adds an extra layer of richness that complements the cookie’s soft and chewy texture. Once you make these cookies, they will quickly become a favorite in your baking repertoire, so gather your ingredients and get ready to impress your friends and family with these delectable treats!
Achieve the perfect red velvet flavor with a balanced blend of cocoa, buttermilk, and vanilla for irresistible cookies!
Ingredients:
- 2 1/2 cups all-purpose flour
- 1 teaspoon baking soda
- 1/2 teaspoon salt
- 1 tablespoon unsweetened cocoa powder
- 1 cup unsalted butter, softened
- 1 1/2 cups granulated sugar
- 1 large egg
- 1 tablespoon red food coloring
- 1 teaspoon vanilla extract
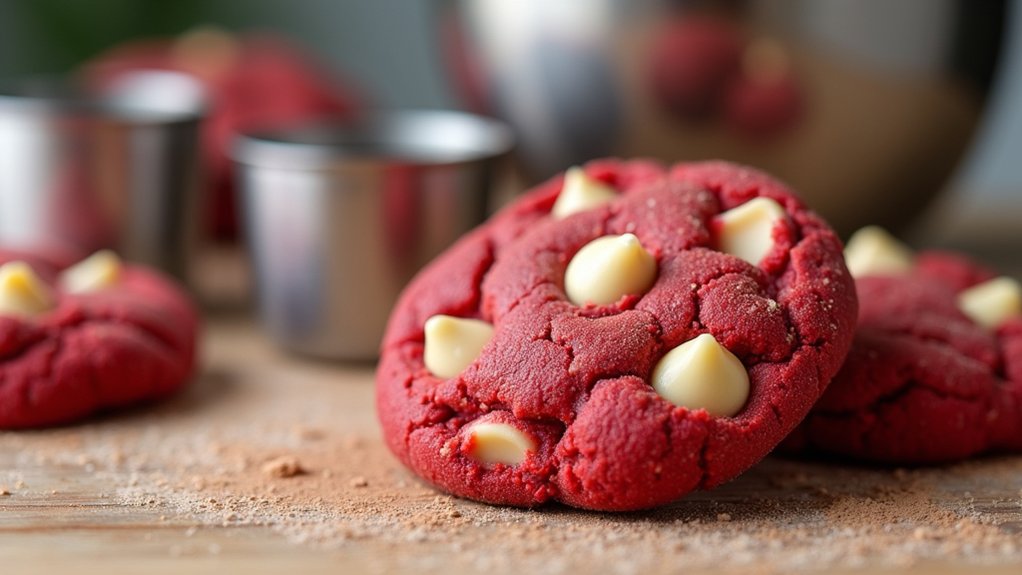
- 1 cup white chocolate chips (optional)
Instructions:
Preheat your oven to 350°F (175°C) and line a baking sheet with parchment paper. In a medium bowl, whisk together the flour, baking soda, salt, and cocoa powder. In a large mixing bowl, cream the softened butter and sugar together until light and fluffy. Beat in the egg, red food coloring, and vanilla extract until well combined. Gradually add the dry ingredients to the wet mixture, stirring until just combined. If desired, fold in the white chocolate chips. Scoop tablespoon-sized amounts of dough onto the prepared baking sheet, spacing them about 2 inches apart. Bake for 10-12 minutes, or until the edges are set and the centers are slightly soft. Allow the cookies to cool on the baking sheet for a few minutes before transferring them to a wire rack to cool completely.
Extra Tips:
For an extra touch of flavor, you can add a pinch of cinnamon or a splash of almond extract to the cookie dough. If you prefer your cookies to have a more pronounced cream cheese flavor, consider making a simple cream cheese frosting to pipe on top of the cooled cookies. To store your cookies, keep them in an airtight container at room temperature for up to a week, or freeze them for longer-lasting freshness. Enjoy your red velvet cookies with a glass of milk or your favorite beverage for the ultimate treat!
Cooking Steps
Let’s get started on making these delicious red velvet cookies! First, I’ll preheat my oven to 350°F and gather all the ingredients to guarantee everything’s ready. Mixing the dry ingredients together is the perfect way to kick off this baking adventure, so let’s jump right in!
Step 1. Preheat Oven to 350°F
Before diving into mixing your ingredients, I always make sure to preheat my oven to 350°F. This essential step sets the perfect oven temperature for baking my red velvet cookies, ensuring they rise beautifully and develop that delightful texture. While the oven warms up, I can gather my ingredients and prepare to unleash my creativity in the kitchen. Proper baking techniques rely on accurate temperatures, and a preheated oven helps achieve that consistent, even bake. As the heat envelops the oven, I can almost smell the rich, cocoa-infused goodness that awaits. Trust me, taking this simple step not only enhances your baking experience but also elevates the final result, making each cookie a scrumptious delight!
Step 2. Mix Dry Ingredients Together
To create the perfect base for my red velvet cookies, I start by mixing together the dry ingredients. Accurate measuring flour is essential here, as it guarantees the right texture and taste. I use a few mixing techniques to blend everything smoothly:
- 2 cups all-purpose flour
- 1 tablespoon cocoa powder
- 1 teaspoon baking soda
- ½ teaspoon salt
I sift the flour and cocoa powder together to eliminate lumps, then whisk in the baking soda and salt. This not only combines the ingredients but also aerates the mixture, which helps my cookies rise beautifully. By using these methods, I’m setting myself up for a delicious, tender cookie that has that signature red velvet flavor. Now, onto the next step!
Step 3. Add Wet Ingredients Gradually
As I begin adding the wet ingredients, I make sure to do it gradually, allowing the mixture to come together seamlessly. This baking technique is essential; it helps maintain the perfect ingredient ratios for that luscious, red velvet texture. I start with the eggs, letting them blend in before introducing the buttermilk and vanilla. Each addition is a dance, ensuring everything is evenly distributed and creating that rich, velvety base. I can almost feel the anticipation building as the colors swirl and the aroma begins to emerge. By taking my time, I’m not just mixing; I’m crafting a masterpiece that’s both innovative and delicious. This careful approach sets the stage for cookies that are truly extraordinary.
Step 4. Chill Dough for 30 Minutes
Chilling the dough for 30 minutes is an essential step that I never skip. This process offers several chilling benefits that elevate the overall quality of my red velvet cookies. By allowing the dough to rest, I achieve a better dough consistency that leads to perfectly textured cookies. Here are some key advantages:
- Enhanced Flavor: The ingredients meld, intensifying the rich flavor.
- Improved Texture: A firmer dough results in chewy centers with crisp edges.
- Easier Handling: Chilled dough is less sticky, making it a breeze to scoop.
- Controlled Spread: It prevents excessive spreading during baking, yielding beautiful cookies.
Trust me, taking this time will transform your cookies into a delightful treat!
Step 5. Scoop Dough Onto Baking Sheet
With a trusty cookie scoop in hand, I’m ready to portion out the chilled dough onto the baking sheet. I carefully choose to create uniform cookie sizes, ensuring they bake evenly—a significant baking technique that can’t be overlooked. As I scoop, I feel the dough’s rich, velvety texture, and I can’t help but admire the vibrant reddish hue. I space the dough balls about two inches apart, giving them room to spread as they bake. This step is essential, as crowding the cookies can lead to an unappetizing, flat result. Once I’ve filled the sheet, I step back and marvel at the perfect arrangement, ready to transform these little mounds into delicious, chewy red velvet cookies!
Nutritional Guide
While indulging in the delightful taste of red velvet cookies, it’s essential to take into account their nutritional profile. These treats can be a bit rich, so knowing the caloric content helps you enjoy them mindfully. For those seeking healthier options, ingredient substitutions can make a significant difference.
Here’s a quick look at the nutritional breakdown:
| Nutrient | Per Cookie | With Substitutions |
|---|---|---|
| Calories | 150 | 120 |
| Sugar (g) | 12 | 8 |
| Fat (g) | 7 | 4 |
| Protein (g) | 2 | 3 |
Final Thoughts
As I reflect on the joy of baking red velvet cookies, I realize how these treats can elevate any occasion with their vibrant color and rich flavor. They’re not just a feast for the eyes, but also a delightful experience for the taste buds. Here are some baking tips and flavor variations to contemplate:
- Add a hint of espresso for a deeper flavor profile.
- Incorporate white chocolate chips for a creamy contrast.
- Experiment with flavored extracts, like almond or orange, to personalize your cookies.
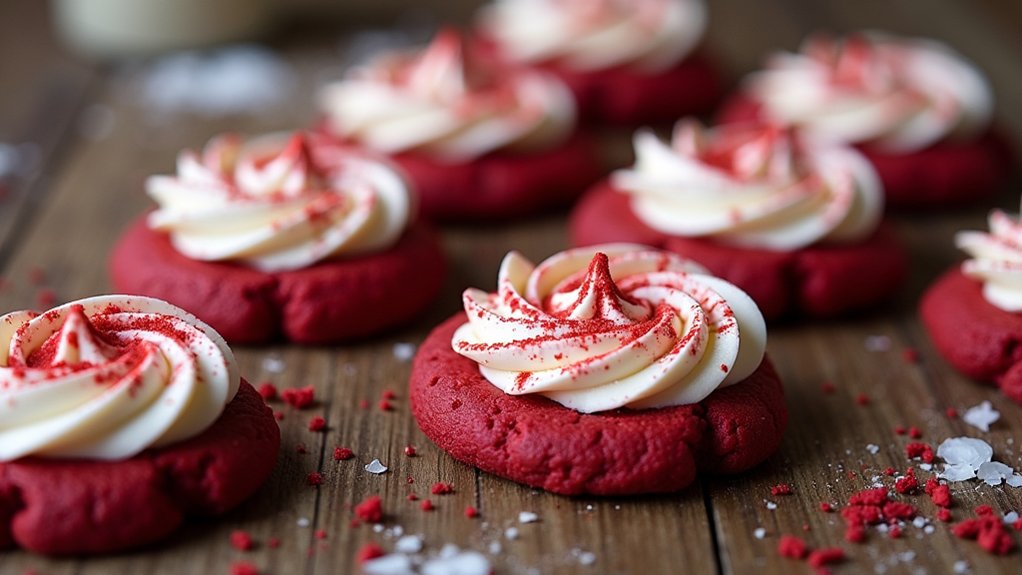
- Top with cream cheese frosting to elevate them into a decadent dessert.
These innovative twists can transform your red velvet cookies into something truly special. So, let your creativity flow, and happy baking!
Frequently Asked Questions
Can I Substitute Ingredients for a Gluten-Free Version?
I love experimenting with gluten-free flours. Just remember to adjust ingredient ratios, as they differ from regular flour. Almond or oat flour can work wonders, giving your treats a delightful texture and flavor.
How Should I Store Leftover Red Velvet Cookies?
Storing leftover cookies is like tucking them into a cozy blanket. For ideal freshness, I suggest using airtight cookie jars or containers. Follow these storage tips, and they’ll stay delicious for days!
What Can I Use Instead of Food Coloring?
You can use natural colorants like beet juice for vibrant red, cocoa powder for a deeper hue, or raspberry puree for a sweet twist. Each adds a unique flavor while keeping your cookies visually appealing.
Can I Freeze Red Velvet Cookie Dough?
You can freeze red velvet cookie dough. Just wrap it tightly in plastic wrap and store it in an airtight container. That way, it’ll keep its delicious flavor and texture for when you’re ready to bake!
How Long Do These Cookies Stay Fresh?
These cookies usually stay fresh for about a week. I’ve noticed they retain their soft, chewy texture when stored properly. Just keep them in an airtight container to maintain that delightful freshness duration!
Conclusion
In the end, baking red velvet cookies isn’t just about the ingredients; it’s about the joy of creating, the warmth of sharing, and the delight of indulging. With every bite, you’ll taste the rich history, enjoy the vibrant color, and savor the sweet flavor that brings smiles. So, gather your supplies, embrace the process, and let these cookies become a cherished treat in your home. Trust me, once you try them, you’ll want to make them again and again!