Making an easy pizza crust at home is a fun way to connect with the love of cooking! I start by mixing 2 ¼ teaspoons of active dry yeast with 1 ½ cups of warm water, then add 3 ½ to 4 cups of all-purpose flour, some olive oil, sugar, and salt. After kneading and letting the dough rise, I shape it into a circle, ready for toppings. Trust me, once you try it, you’ll want to explore all the possibilities!
Contents
History

When I think about the history of pizza crust, I can’t help but feel a sense of connection to the generations of cooks who have come before us. Pizza’s ancient origins trace back to flatbreads enjoyed in various cultures, from the Egyptians to the Greeks. Each culture added its flair, creating a tapestry of flavors and techniques. I find it fascinating how these cultural variations shaped what we now consider pizza crust. From the crispy Neapolitan base to the deep-dish style of Chicago, every version tells a story. This rich history inspires me to innovate, pushing the boundaries of what pizza can be. So, as you begin your own pizza-making journey, remember, you’re part of this delicious legacy.
Recipe
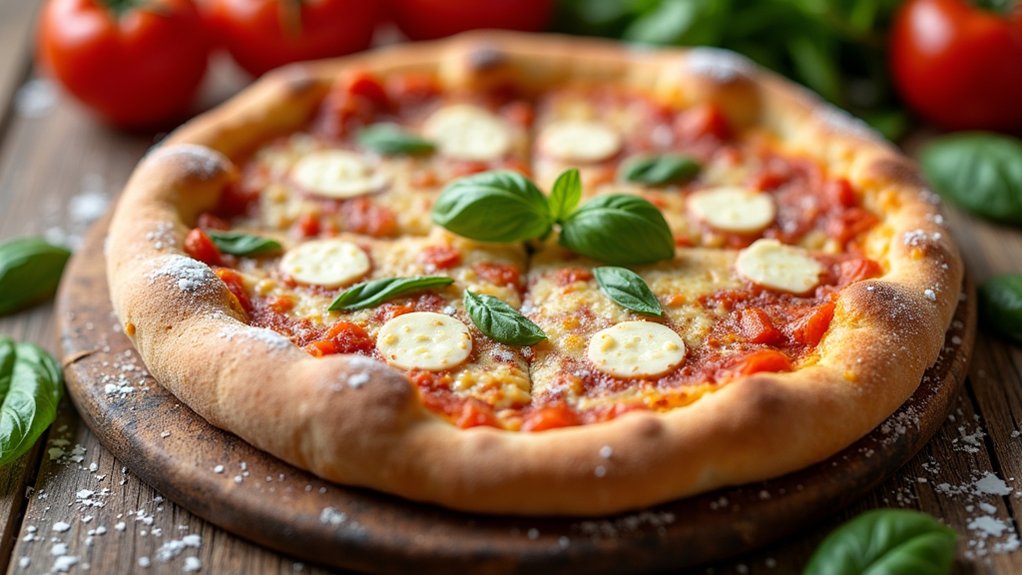
Making the perfect pizza crust is an essential skill for any home cook or pizza lover. A good crust serves as the foundation for all your favorite toppings, providing a delightful crunch and a chewy interior that complements the sauce and cheese beautifully. This recipe is simple, requiring just a few basic ingredients and a little bit of time for the dough to rise, resulting in a deliciously homemade crust that will impress your family and friends.
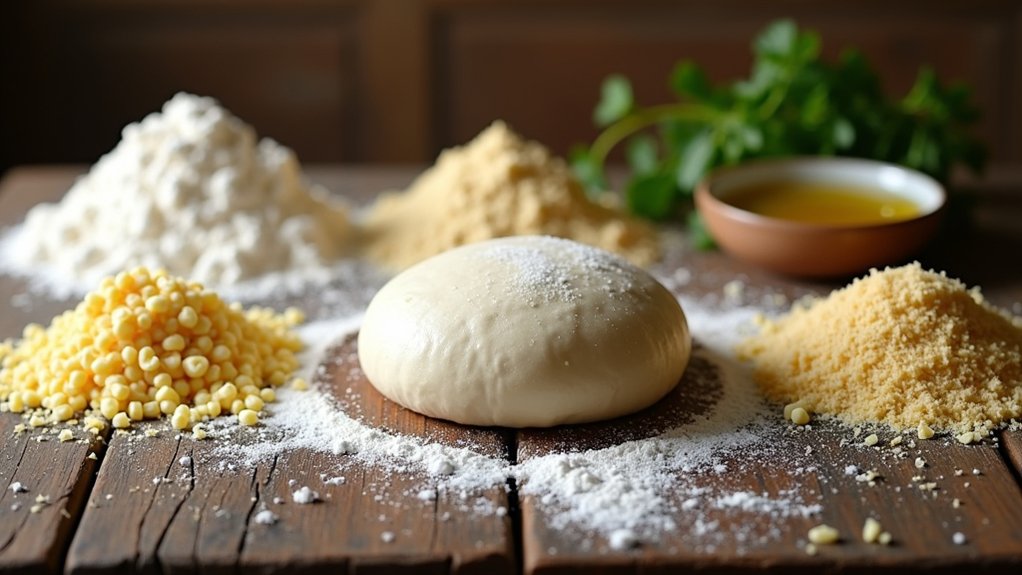
To make this pizza crust, you’ll want to start by gathering your ingredients. The key to a great crust is not only the quality of your ingredients but also the technique used in the preparation. This recipe is versatile; you can adjust the thickness of the crust according to your preference, whether you like it thin and crispy or thick and chewy. Get ready to roll up your sleeves and create a base that will elevate your pizza game!
Gather your ingredients and get ready to create the perfect pizza crust, tailored to your preferred thickness and style!
Ingredients:
- 2 ¼ teaspoons active dry yeast
- 1 ½ cups warm water (about 110°F)
- 3 ½ to 4 cups all-purpose flour
- 2 tablespoons olive oil
- 1 teaspoon sugar
- 1 teaspoon salt
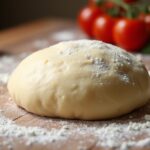
To prepare the pizza crust, start by dissolving the yeast and sugar in warm water. Let it sit for about 5-10 minutes until it becomes frothy. In a large bowl, combine 3 ½ cups of flour and salt. Create a well in the center and pour in the yeast mixture and olive oil. Stir until the dough begins to come together, then transfer it to a floured surface. Knead the dough for about 8-10 minutes until it is smooth and elastic, gradually adding more flour if necessary. Place the dough in a greased bowl, cover with a damp cloth, and let it rise in a warm area for about 1 hour or until it doubles in size.
When making pizza crust, there are a few important tips to keep in mind. Always make sure your yeast is fresh and active for the best rise. If you prefer a more flavorful crust, consider allowing the dough to rise slowly in the refrigerator overnight. This will enhance the flavor and texture. Additionally, preheating your oven to a high temperature (around 475°F) before baking will help achieve that perfect crispiness. And finally, feel free to experiment with different flours, such as bread flour or whole wheat flour, to customize the taste and texture of your crust!
Cooking Steps
Now that we have our ingredients ready, let’s get into the cooking steps that’ll bring our pizza crust to life. First, I’ll mix the flour and water to create our base, then knead the dough thoroughly to get that perfect texture. After letting it rise in a warm spot, we’ll shape it into a circle and preheat the oven to 475°F for that crispy finish.
Step 1. Mix Flour and Water
Grab a large mixing bowl and let’s plunge into the essential step of mixing flour and water. First, choose your flour type—whether it’s all-purpose, bread, or even whole wheat—to set the foundation for your crust. I usually gravitate toward all-purpose for its versatility. Next, warm your water to about 110°F; this temperature activates the yeast and enhances flavor. Slowly pour the water into the flour while stirring with a wooden spoon or your hands. You’ll see the dry ingredients begin to absorb the water, creating a shaggy mixture. This is where the magic starts! The right balance of flour and water is vital, so adjust as needed—too dry or too wet will change everything. Let’s keep going!
Step 2. Knead Dough Thoroughly
Kneading dough is where the real fun begins—and trust me, it’s an essential step for that perfect pizza crust! I like to start by dusting my countertop with a bit of flour before turning out the dough. Using my palms, I push down and fold the dough, repeating this motion to develop its texture. You’ll notice it become smoother and more elastic with each knead. Aim for about 8 to 10 minutes of this rhythmic action. If you’re feeling adventurous, experiment with different kneading techniques, like the slap and fold method, to really get that dough working. The goal is a supple, springy dough that feels just right. Trust me, the results are worth it!
Step 3. Let Dough Rise Warmly
After you’ve kneaded the dough to perfection, it’s time to let it rise warmly. This step is essential for achieving that light, airy crust we all love. I usually find a cozy spot in my kitchen, where the dough can bask in a warm environment. Aim for a dough temperature around 75 to 80 degrees Fahrenheit, as this promotes yeast activity. Cover the bowl with a damp cloth to keep the moisture in, and let it rest for about one to two hours—this is your rising time. You’ll notice the dough expanding, creating those delightful bubbles. Trust me, this transformation is where the magic happens. So, grab a cup of coffee and let the dough do its thing!
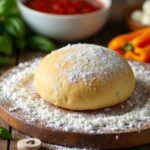
Step 4. Shape Dough Into Circle
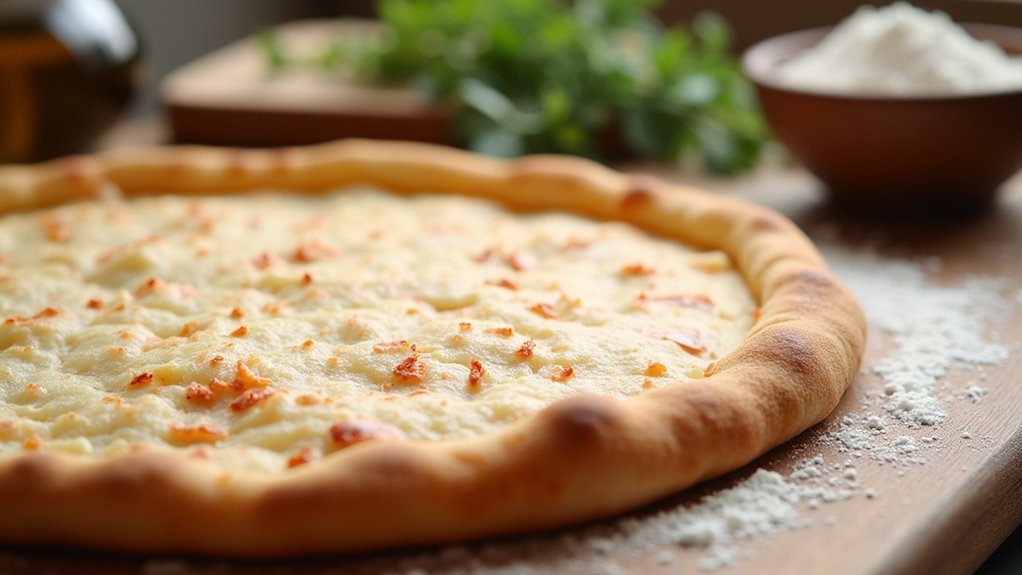
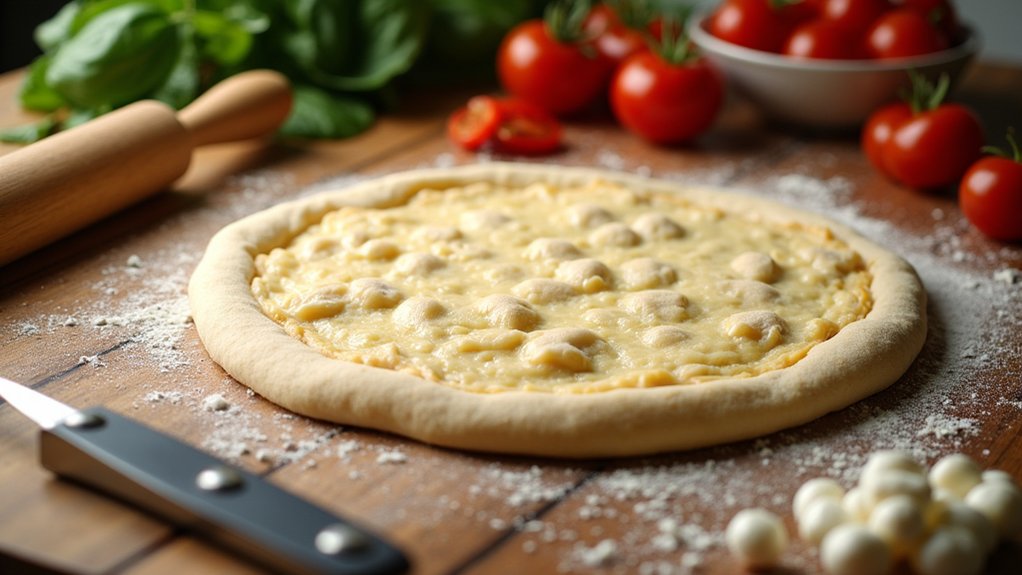
Now that your dough has risen beautifully, it’s time to shape it into a circle. First, lightly flour your work surface to prevent sticking. I like to gently press the dough down with my fingertips, creating a flat disc. For perfect circle formation, keep your hands in a cupped shape as you stretch the edges outward. Don’t worry if it’s not a perfect circle—embrace those rustic vibes! You can also try some innovative dough shaping techniques, like using a rolling pin for an even thickness. Just remember, the key is to be gentle to preserve that airy texture. Once you’ve achieved your desired shape, you’re one step closer to pizza perfection. Let’s keep the excitement rolling!
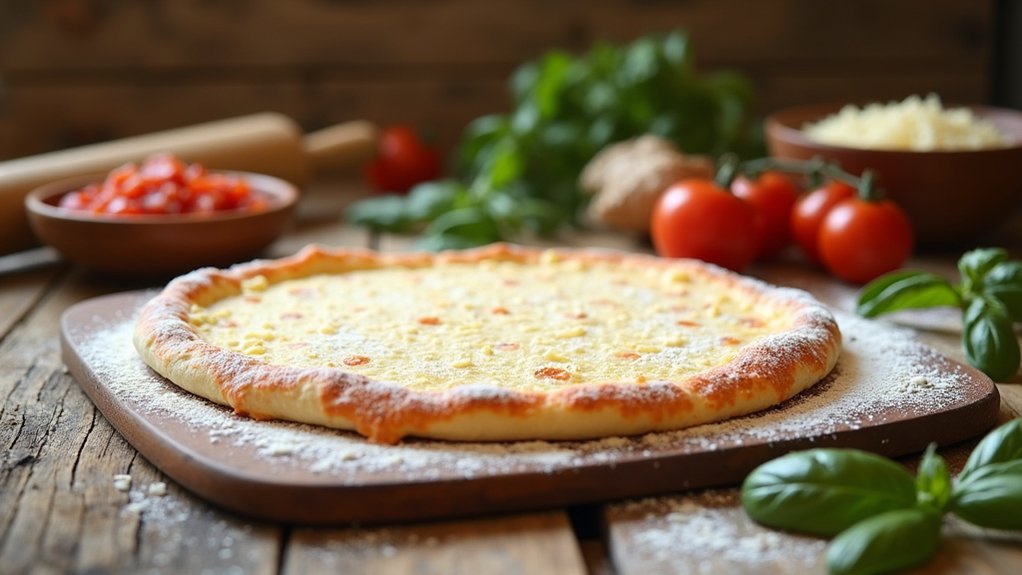
Step 5. Preheat Oven to 475°F
Preheating your oven to 475°F is an essential step in achieving that perfect pizza crust. This oven temperature helps create a crispy exterior while keeping the inside soft and chewy. Here’s how I do it:
- Clear the space: Make sure your oven is clean and free of anything that could catch fire.
- Adjust the racks: Position your oven rack in the middle to guarantee even baking.
- Set the temperature: Turn the dial or push the button to reach 475°F, and don’t forget to wait for it to fully preheat.
- Use a baking stone or pan: This enhances your baking techniques by distributing heat evenly.
Once it’s ready, you’re on your way to pizza perfection!
Nutritional Guide
When it comes to enjoying a delicious homemade pizza, understanding the nutritional aspects of your crust can really enhance the experience. Knowing the nutritional benefits and calorie count helps me make informed choices. This way, I can indulge without guilt, and maybe even impress my friends!
Here’s a quick guide to give you a clearer picture:
| Nutrient | Amount per Slice |
|---|---|
| Calories | 150 |
| Protein | 4g |
| Carbohydrates | 30g |
| Fat | 3g |
| Fiber | 1g |
With this information, I feel empowered to tweak my crust recipe for both flavor and health. It’s all about balance, right? Let’s create something delicious together!
Final Thoughts
As I reflect on the journey of making our pizza crust, I can’t help but feel excited about the endless possibilities that lie ahead. Crafting the perfect pizza isn’t just about the crust; it’s about bringing your unique vision to life. Here are some ideas to inspire your next creation:
Reflecting on our pizza crust journey, I’m thrilled by the endless creative possibilities that await in crafting your perfect pie.
- Experiment with different pizza toppings—think beyond the classics.
- Try incorporating herbs and spices into your crust for an extra kick.
- Use cooking tips like par-baking for a crispier base.
- Share your masterpieces with friends and family for a fun pizza night!
Frequently Asked Questions
Can I Use Gluten-Free Flour for This Pizza Crust?
Absolutely, I’ve used gluten-free flour types for pizza crust, and they work great! Experimenting with various gluten-free options can lead to delicious results. Just remember to adjust your liquid levels for the best texture.
How Long Can I Store Leftover Pizza Crust?
I usually store leftover pizza crust in an airtight container for up to five days. For ideal freshness, I recommend wrapping it tightly in plastic wrap before refrigerating. Enjoy experimenting with different toppings when you reheat!
Can I Freeze the Pizza Crust?
Absolutely, I can freeze pizza crust! Did you know frozen dough can last up to three months? Using proper freezing techniques guarantees ideal dough storage, so my crusts are ready for delicious meals anytime I want.
What Toppings Pair Well With This Crust?
I love experimenting with topping combinations! My favorite sauces include a spicy arrabbiata or a tangy barbecue. For toppings, try roasted veggies, pepperoni, or even goat cheese for a deliciously innovative twist.
Is This Recipe Suitable for Beginners?
Absolutely, this recipe’s perfect for beginners! I remember my first attempt; I focused on dough consistency. One tip: mix until it’s slightly tacky. You’ll impress friends with your innovative pizza creations in no time!
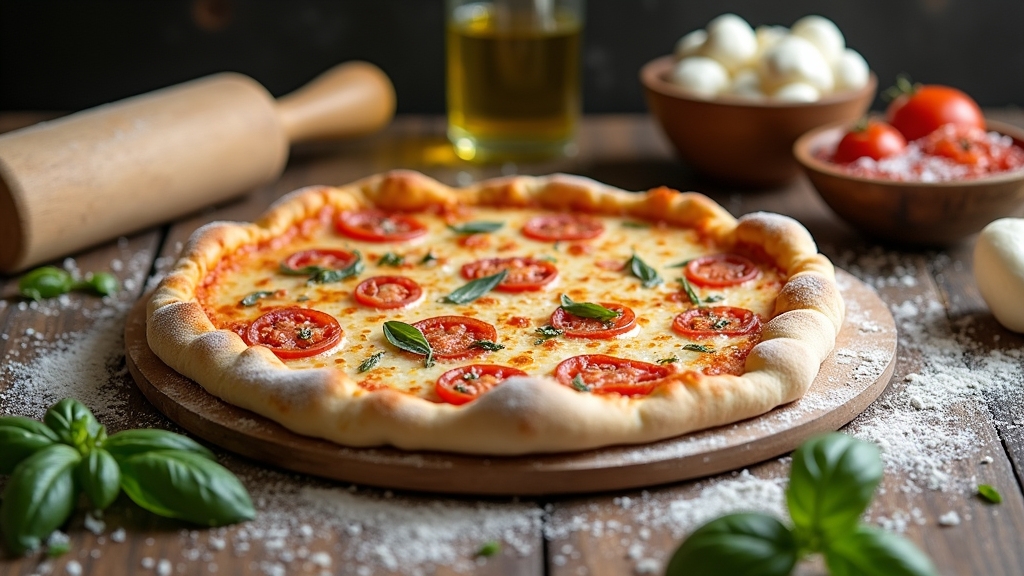
Conclusion
So there you have it—your very own easy pizza crust recipe! Imagine pulling that golden, crispy crust from the oven, the warm aroma filling your kitchen, and the joy of sharing a slice with family and friends. Cooking doesn’t just feed our bodies; it nourishes our hearts. I hope you immerse yourself in this experience, savor each step, and create memories that’ll last a lifetime. Happy baking, and may your pizza nights be filled with laughter and deliciousness!