I love making no bake cookies when I’m short on time! They come together in under 30 minutes and offer a delightful blend of chocolate and peanut butter flavors. Just gather oats, cocoa powder, peanut butter, sugar, and milk, mix them up, chill the mixture, and form your cookies. They’re versatile too, so feel free to add your favorite nuts or dried fruit. Stick around, and I’ll share some fun variations and serving ideas to elevate your treats!
Contents
History

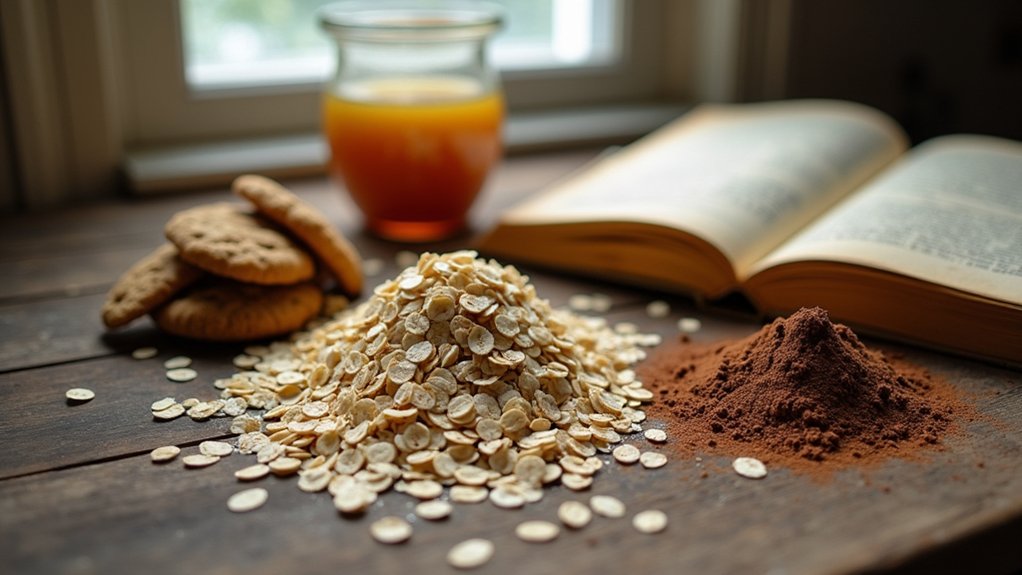
When I think about the history of no bake cookies, I can’t help but feel a sense of nostalgia. These delightful treats have roots deeply embedded in various cultures, often serving as a quick, satisfying dessert for families. The simplicity of their preparation mirrors the resourcefulness of home cooks over generations. I’ve marveled at how no bake cookies have evolved, with recipe variations popping up everywhere—from classic peanut butter and chocolate to creative twists using coconut or matcha. Each version tells a story of cultural significance, reflecting local ingredients and traditions. It’s fascinating to see how these cookies can unite people, transcending boundaries while inspiring innovation in kitchens around the world. They’re more than just a treat; they’re a celebration of creativity!
Recipe
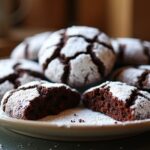
No bake cookies are a delightful treat that requires no oven, making them perfect for warm weather or when you’re short on time. These cookies are rich, chewy, and filled with the delicious flavors of chocolate and peanut butter, creating a perfect balance that will satisfy any sweet tooth. The simplicity of this recipe allows you to whip up a batch in under 30 minutes, and they can be stored for days, making them a great snack for any occasion.
No bake cookies offer a quick, delicious treat, combining rich chocolate and peanut butter flavors for a satisfying snack.
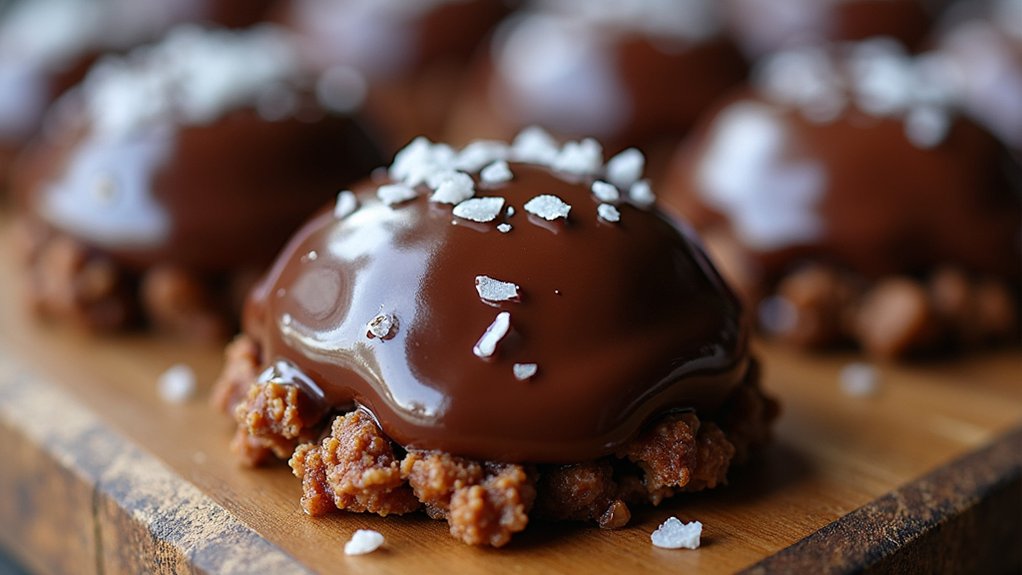
To prepare these cookies, you’ll need to gather a few common ingredients that you likely already have in your pantry. The best part is that you can customize them with your favorite additions, such as nuts, dried fruit, or even a sprinkle of sea salt on top for a gourmet touch. Let’s explore the ingredients and get started!
Ingredients:
- 1 cup granulated sugar
- 1/2 cup unsweetened cocoa powder
- 1/2 cup unsalted butter
- 1/2 cup milk
- 1 cup creamy peanut butter
- 3 cups quick-cooking oats
- 1 teaspoon vanilla extract
- A pinch of salt (optional)
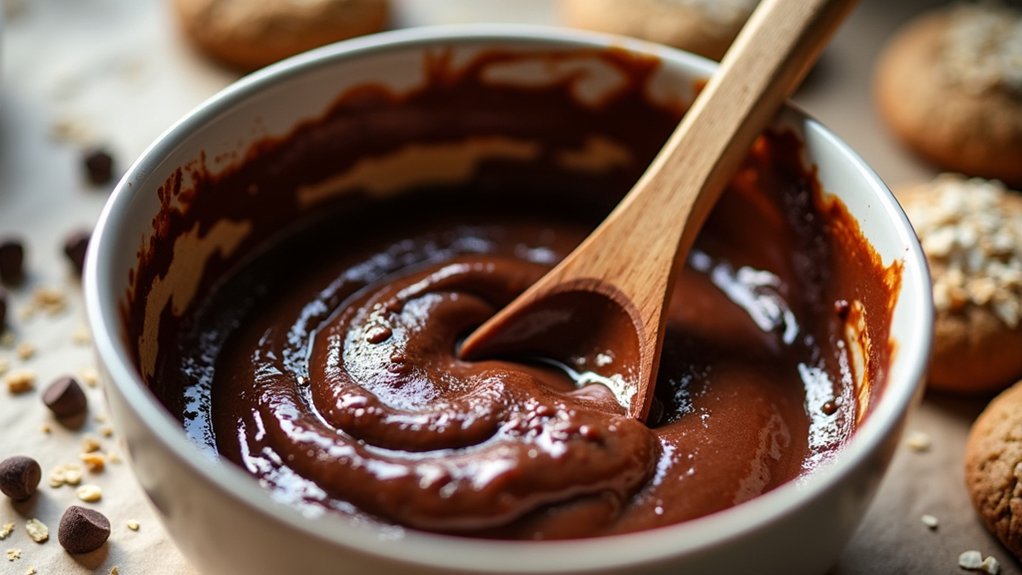
In a medium saucepan, combine the sugar, cocoa powder, butter, and milk. Cook over medium heat, stirring constantly until the mixture comes to a boil. Allow it to boil for about 1 minute, then remove from heat and stir in the peanut butter, oats, vanilla extract, and salt (if using). Mix well until all ingredients are combined, and the mixture is smooth and creamy. Using a spoon or cookie scoop, drop spoonfuls of the mixture onto a baking sheet lined with parchment paper. Let the cookies cool and set for at least 30 minutes at room temperature or in the refrigerator for quicker results.
When making no bake cookies, it’s important to work quickly after removing the mixture from the heat, as it will start to thicken as it cools. Make sure to use quick-cooking oats for the best texture, as rolled oats may not bind the cookies as well. Feel free to experiment with mix-ins such as chopped nuts, coconut flakes, or even a drizzle of melted chocolate on top for an extra special treat! Store your cookies in an airtight container to keep them fresh, and enjoy the deliciousness!
Cooking Steps
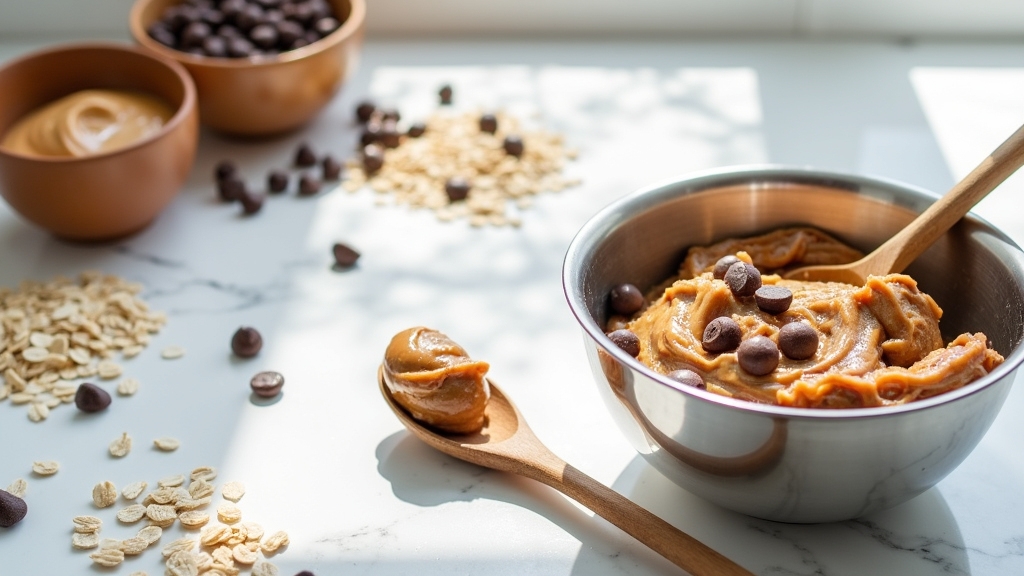
Let’s get started on these delicious no bake cookies! First, I always gather my ingredients to make certain I have everything I need at hand. Then, I’ll show you how to combine them perfectly for a treat that’s both easy and irresistible.
Step 1. Gather Your Ingredients First
Gathering your ingredients is the vital first step in making delicious no bake cookies. Before diving into the fun, I always recommend focusing on ingredient sourcing. Fresh and high-quality ingredients can elevate your cookies to the next level. For a classic no bake cookie, you’ll need oats, cocoa powder, peanut butter, sugar, and milk. I usually prefer organic peanut butter and pure vanilla extract for that extra richness.
Preparation tips are key here: measure everything out before you start. This not only saves time but guarantees you won’t miss a vital element in the process. Having all your ingredients ready and easily accessible makes the cooking experience smoother and more enjoyable, setting the stage for those delightful treats to come!
Step 2. Combine Dry Ingredients Thoroughly
With everything prepped and ready, it’s time to bring those dry ingredients together. I start by measuring out my flour, cocoa powder, and sugar, paying close attention to the dry ingredient ratios. It’s vital to get these proportions right for the perfect cookie texture. Using a whisk, I blend them together, incorporating air to avoid clumps. This mixing technique is fundamental; it guarantees even distribution of flavors and a uniform consistency. I can already see how the rich cocoa melds with the sweetness of the sugar, creating a delightful foundation. The aroma is irresistible! Once I’ve combined everything thoroughly, I know I’m one step closer to those indulgent no-bake cookies that everyone will love.
Step 3. Add Wet Ingredients Gradually
As I prepare to add the wet ingredients, I can’t help but feel excited about the transformation that’s about to happen. I start by carefully measuring my wet ingredient ratios, making sure that each component complements the dry mix perfectly. Slowly, I pour in the melted butter and vanilla extract, letting them cascade like a gentle waterfall. With each addition, I engage in gradual mixing, using a spatula to fold the ingredients together. This method prevents clumping and makes certain everything combines seamlessly. I can already smell the rich aroma blending together, hinting at the delicious cookies to come. By the time I finish, I know I’ve set the stage for something truly innovative and delightful.
Step 4. Chill Mixture Until Firm
After mixing the wet and dry ingredients, the next essential step is to chill the mixture until it firms up nicely. I usually pop it in the refrigerator for about 30 minutes, which allows the flavors to meld while enhancing cookie firmness. If you’re pressed for time, you can also use an ice bath as one of my favorite chilling techniques; simply place the bowl in a larger dish filled with ice and water. This speeds up the process while ensuring that the mixture thickens perfectly. Keep an eye on it; you want it to be firm enough to scoop but not overly solid. Trust me, this patience pays off when you finally shape those delicious no-bake cookies!
Step 5. Form Cookies and Let Set
Once the mixture has chilled and reached the right consistency, it’s time to form the cookies. I love using a few creative cookie shaping techniques to make them visually appealing. Here’s how I do it:
- Scoop and Drop: Use a spoon to scoop out the mixture and drop it onto parchment paper.
- Roll and Press: Roll small balls in your hands, then gently press them down for a classic look.
- Fork Criss-Cross: For a fun texture, use a fork to create a criss-cross pattern on top.
- Add Toppings: Sprinkle some sea salt or crushed nuts for added flair.
Once shaped, let them set for about 30 minutes. This setting time guarantees they firm up beautifully, ready for indulging!
Nutritional Guide
While indulging in a delicious batch of no bake cookies, it’s vital to contemplate their nutritional value. These treats can offer some impressive nutritional benefits, but it’s also important to keep dietary considerations in mind.
Here’s a quick breakdown of what you might find in a typical serving:
| Nutrient | Amount per Serving |
|---|---|
| Calories | 150 |
| Protein | 4g |
| Sugars | 10g |
These cookies can be a fun and satisfying snack, providing energy and some protein. However, be mindful of the sugar content, especially if you’re watching your intake. Balancing these treats with healthier options can guarantee you enjoy them guilt-free!
Final Thoughts

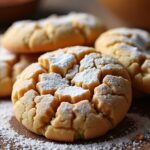
When it comes to no bake cookies, the enjoyment of these delightful treats often outweighs concerns about their nutritional profile. I love how versatile they are, allowing for endless cookie variations that suit any palate. Here are some exciting serving suggestions to elevate your no bake cookies:
- Drizzle with chocolate for an extra indulgence.
- Top with crushed nuts to add that perfect crunch.
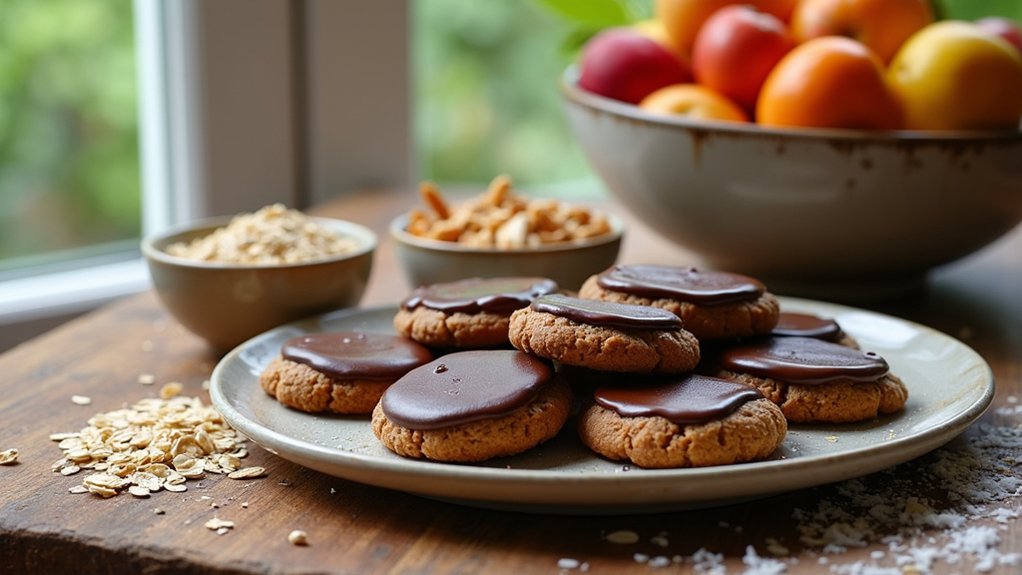
- Serve on a platter with fresh fruit for a colorful presentation.
- Pair with a scoop of ice cream for a decadent dessert.
These treats not only satisfy your sweet tooth but also invite creativity. So, whether you’re hosting a gathering or just treating yourself, no bake cookies are a fantastic choice that never disappoints!
Frequently Asked Questions
Can I Substitute Peanut Butter With Almond Butter?
I’ve substituted peanut butter with almond butter and loved the flavor variations. Almond butter adds a nuttier taste and creamier texture, making my treats uniquely delicious. It’s a fun twist to try!
How Long Do No Bake Cookies Last?
No bake cookies last about one week when stored properly. I’ve found that keeping them in an airtight container in the fridge not only extends their shelf life but also enhances their flavor. Enjoy every bite!
Can I Freeze No Bake Cookies?
Yes, I can freeze no bake cookies! For ideal freshness, I recommend using airtight containers. Layer parchment paper between cookies, and remember to label the storage method with the date for easy tracking. Enjoy!
What if My No Bake Cookies Are Too Sticky?
If your cookies cling like a stubborn friend, don’t fret! I’ve found sticky solutions—adding oats or chilling them can help. Texture adjustments are key; a little patience goes a long way in perfecting your treats!
Are There Gluten-Free Versions of No Bake Cookies?
I’ve made gluten-free no bake cookies using oat flour and various gluten substitutes like almond flour. They turn out deliciously chewy and satisfying, proving you don’t need gluten for a tasty treat.
Conclusion
As I took that first bite of my no-bake cookie, a rush of chocolate and peanut butter enveloped my senses, and I couldn’t help but wonder: what if I’d never discovered this simple recipe? The joy of creating something so delicious without turning on the oven is a thrill I can’t keep to myself. So, I urge you to try it for yourself—because you never know, this could become your new favorite treat, and you won’t want to miss it!