Making miso soup is super easy and a great way to warm up! Start by simmering dashi or vegetable broth, then mix miso paste with some hot broth separately until smooth. Add tofu and soaked wakame, heating for a few minutes. Finally, sprinkle sliced green onions on top before serving. This comforting dish is not only delicious but also packed with nutrients. If you’re curious about more ways to enhance your miso soup, keep exploring!
Contents
History
When you think about miso soup, it’s hard not to feel a little nostalgic, especially if you’ve ever enjoyed a warm bowl while sharing stories with family or friends. This iconic dish is a staple of Japanese cuisine, with roots dating back over a thousand years. It originally emerged from fermented soybean paste, known as miso, which carries deep cultural significance in Japan. Traditionally, families would prepare it for breakfast or special occasions, symbolizing warmth and togetherness. As we embrace innovation in our kitchens, it’s fascinating to see how modern chefs are experimenting with miso soup, incorporating unique ingredients while respecting its heritage. This blend of tradition and creativity invites us all to explore and share this timeless dish in new ways.
Recipe
Miso soup is a traditional Japanese dish that offers a comforting and umami-rich flavor profile, making it a beloved staple in many households. The base of this soup is dashi, a Japanese broth that can be made from kelp and bonito flakes, but for convenience, many cooks opt for instant dashi powder. The key ingredient, miso paste, is fermented soybean paste that comes in various types, with white and red being the most common. This versatility allows you to tailor the soup to your taste preferences, whether you prefer a lighter, sweeter flavor or a stronger, saltier profile.
Making miso soup is not only simple but also quick, making it perfect for busy weeknights or a soothing breakfast. The beauty of miso soup lies in its adaptability; you can add a variety of ingredients such as tofu, seaweed, green onions, and mushrooms to enhance its nutritional value and texture. Once you master the basic recipe, feel free to experiment with your favorite ingredients to create your unique version of this classic dish.
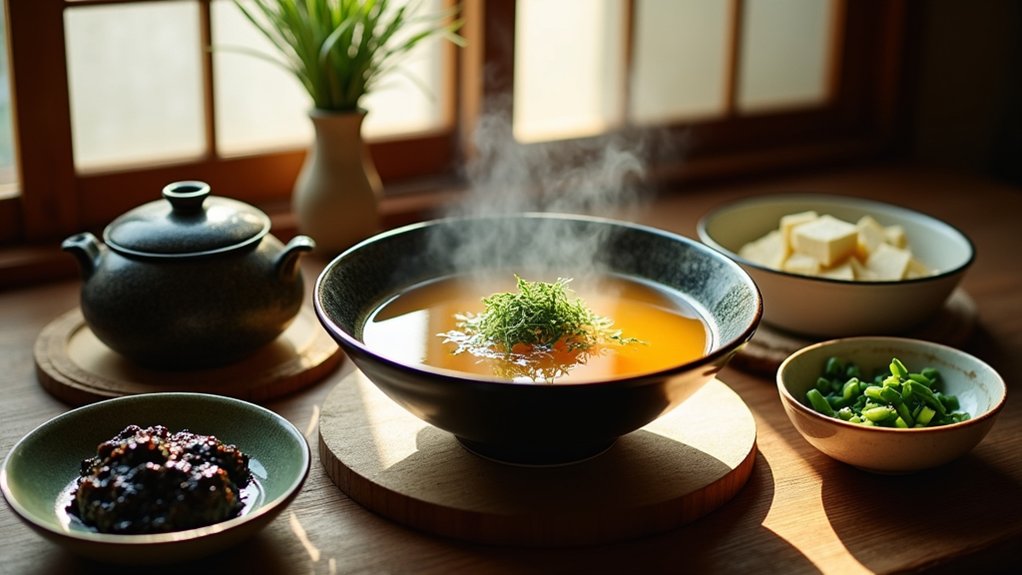
Ingredients:
- 4 cups dashi broth (homemade or instant)
- 3 tablespoons miso paste (white or red)
- 1 cup soft or firm tofu, diced
- 1 cup wakame (dried seaweed), soaked in water
- 2 green onions, thinly sliced
- Optional: mushrooms, such as shiitake or enoki
Cooking Instructions:
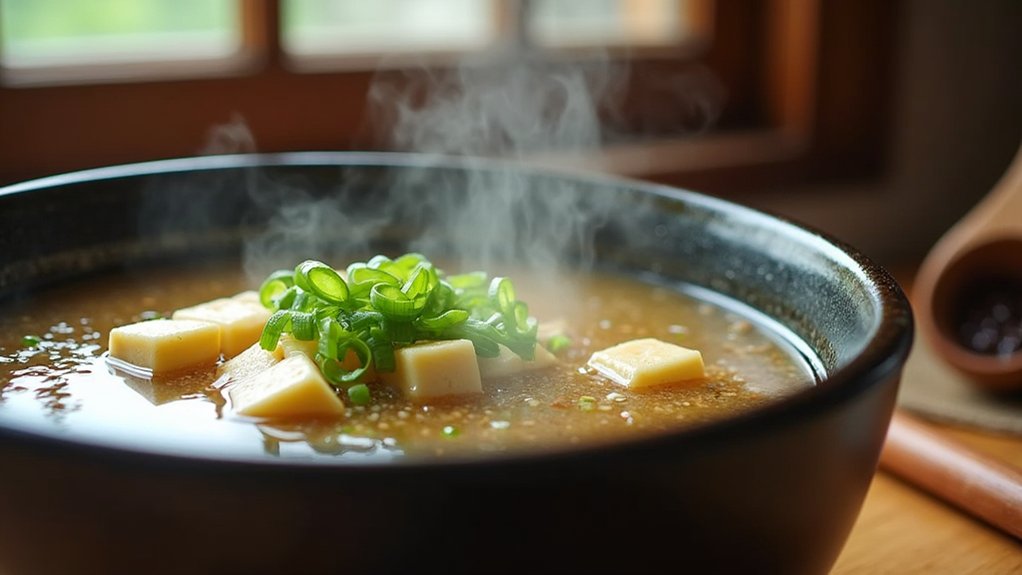
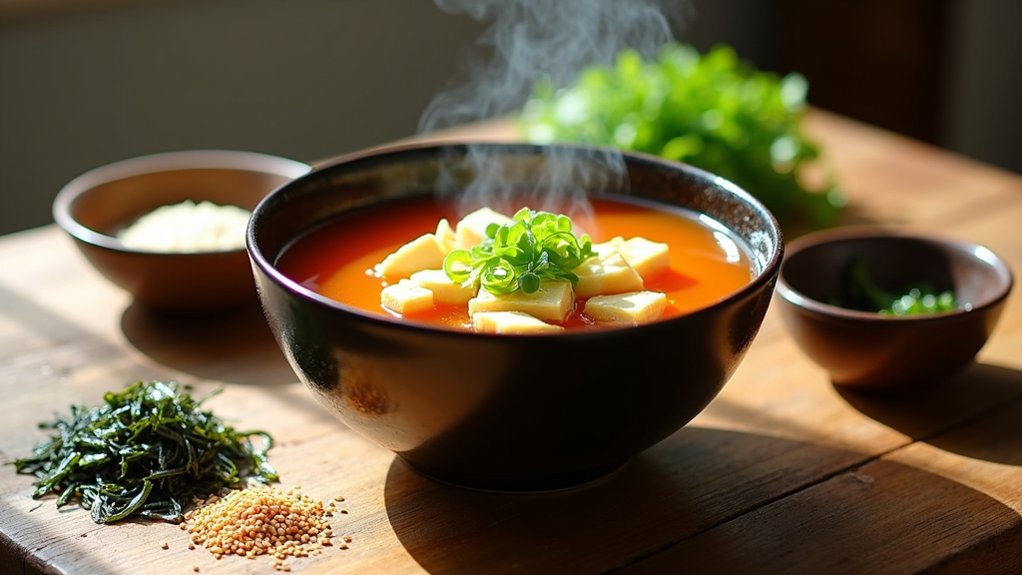
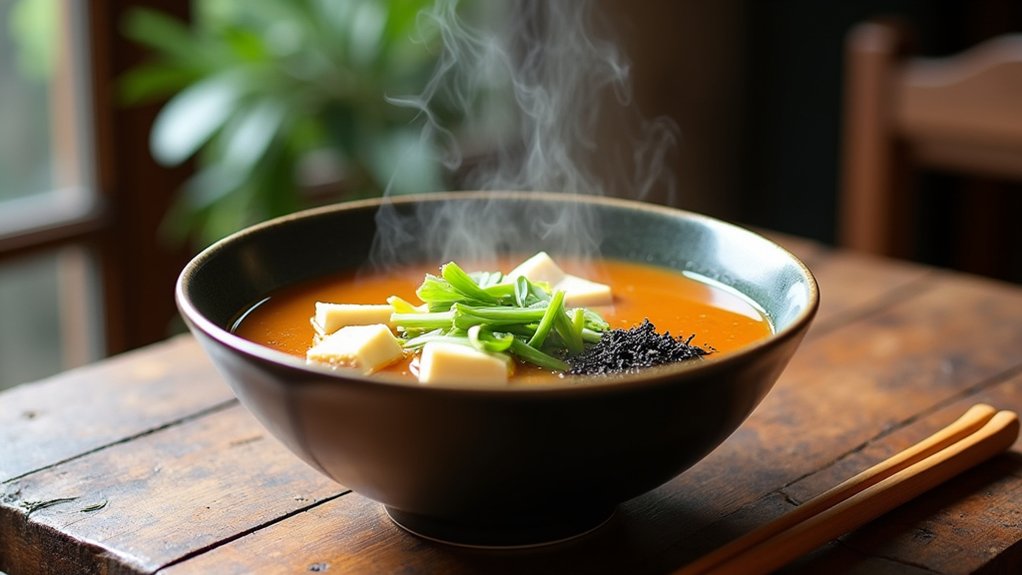
In a pot, bring the dashi broth to a gentle simmer. In a small bowl, mix the miso paste with a ladle of hot broth until fully dissolved, then return the mixture to the pot. Add the diced tofu and soaked wakame to the broth, allowing it to heat through for about 2-3 minutes. Finally, sprinkle in the sliced green onions right before serving to maintain their fresh flavor and crunch.
Extra Tips:
When preparing miso soup, it’s important not to boil the soup after adding the miso, as high heat can diminish its flavor and health benefits. Additionally, feel free to adjust the amount of miso paste according to your taste; start with less and gradually add more until you achieve your desired flavor. For added texture and nutrition, consider incorporating seasonal vegetables or other proteins like shrimp or clams. Enjoy your homemade miso soup as a warm starter or a fulfilling meal on its own!
Cooking Steps
Now that we’ve gathered our ingredients, let’s get into the fun part—cooking! First, I’ll share how I start by adding kombu to water, setting the stage for that rich umami flavor. From there, we’ll gradually mix in the miso paste, and I promise, it all comes together beautifully!
Step 1. Gather All Ingredients Needed
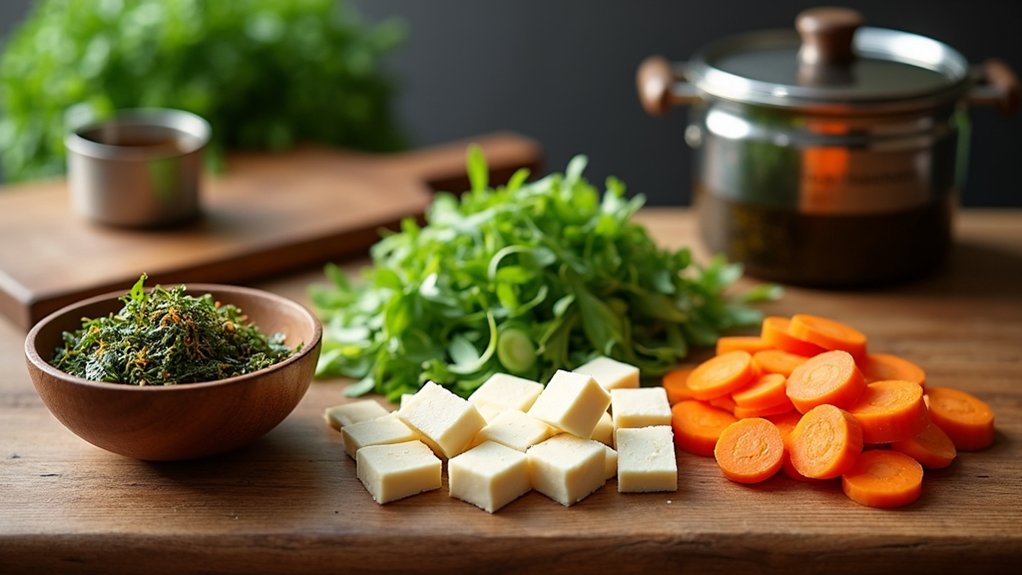
Gathering all the ingredients for a delicious miso soup is one of the most exciting parts of the cooking process, and it sets the stage for a comforting meal. I like to kick things off with thoughtful ingredient selection, so I gather high-quality miso paste, fresh tofu, seaweed, and scallions. Don’t forget dashi or vegetable broth for that umami kick! Essential tools like a sturdy pot, measuring cups, and a whisk make the process smoother. Once I’ve got everything laid out, it feels like I’m preparing for an adventure in taste. This moment of preparation not only sparks creativity but also connects me to the tradition of sharing a warm bowl of soup with loved ones. Let’s plunge into it!
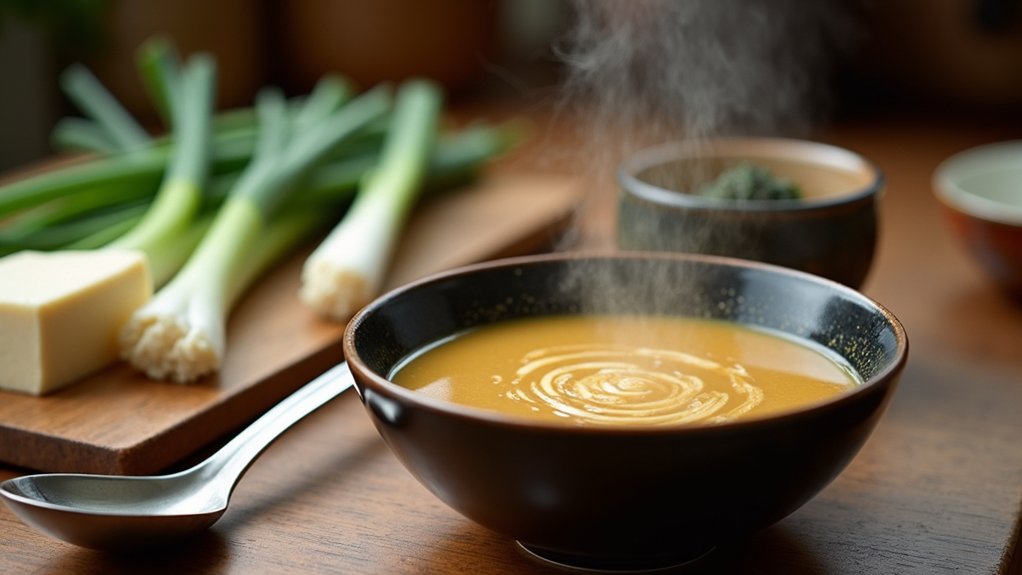
Step 2. Add Kombu to Water
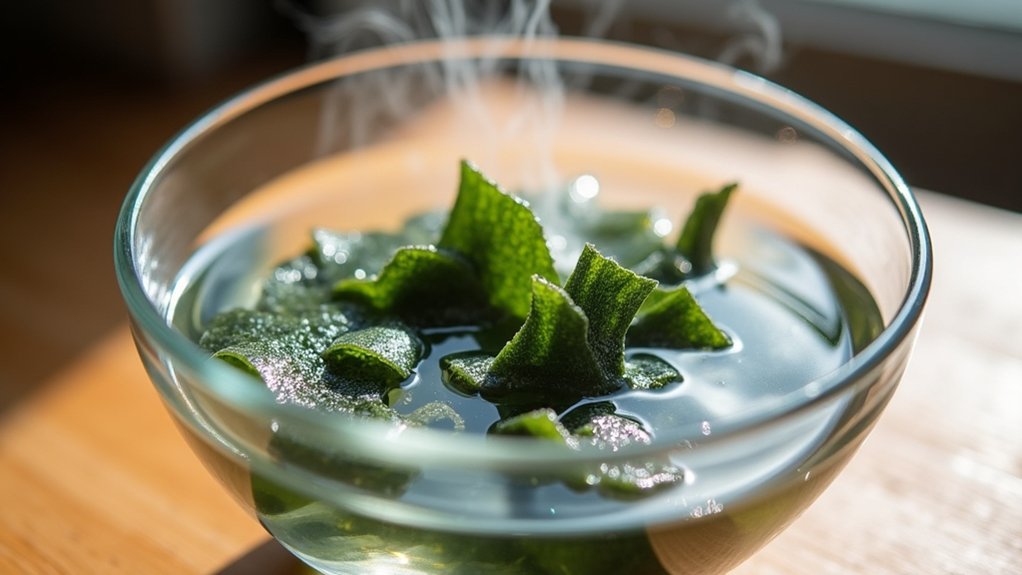
While you’re getting your pot ready, let’s plunge into the next step: adding kombu to the water. This seaweed is a game-changer for your miso soup, not just for its kombu benefits but also for the incredible flavor enhancement it brings. I usually take a piece about 5-6 inches long and toss it into the pot with cold water. As it heats up, the kombu releases umami goodness, creating a rich base that’s simply irresistible. Don’t rush this part; let it soak for at least 30 minutes. You’ll notice the water turning slightly darker, and trust me, it’s worth the wait. This step sets the stage for a comforting bowl of miso soup that’ll warm your soul!
Step 3. Add Miso Paste Gradually
As the rich broth from the kombu starts to bubble gently, it’s time to introduce the star of the show: miso paste. I like to add it gradually, which lets me control the flavor and guarantees it dissolves smoothly. Start by scooping a tablespoon of miso paste into a small bowl. Then, take a ladleful of that bubbling broth and mix it with the paste until it forms a smooth slurry. This gradual addition helps the flavors meld beautifully without clumps. Once it’s well combined, pour the mixture back into the pot and stir thoroughly. Taste your soup as you go; you can always add a bit more miso paste if you want a bolder flavor. Enjoy this delightful journey!
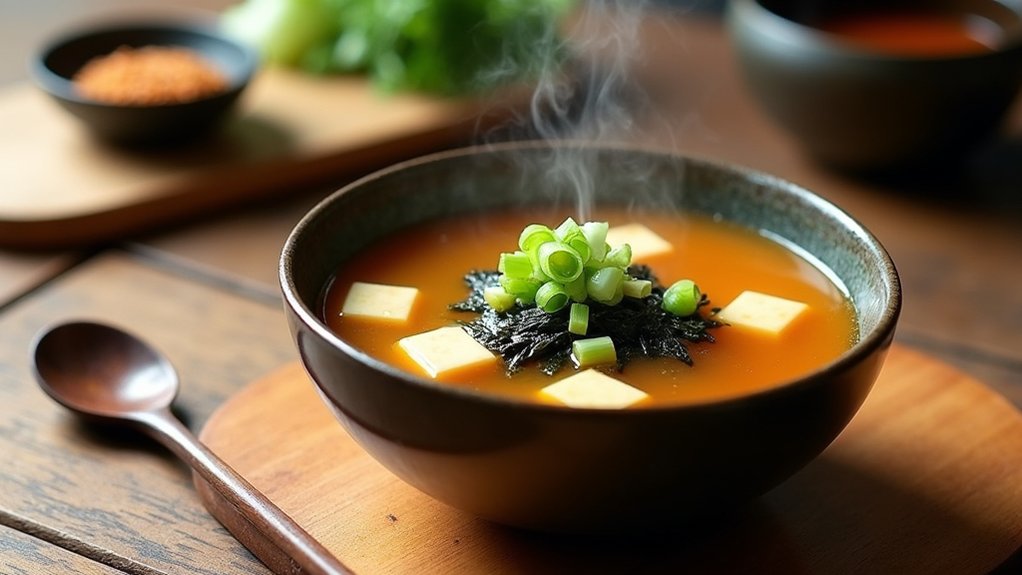
Step 4. Add Tofu and Green Onions
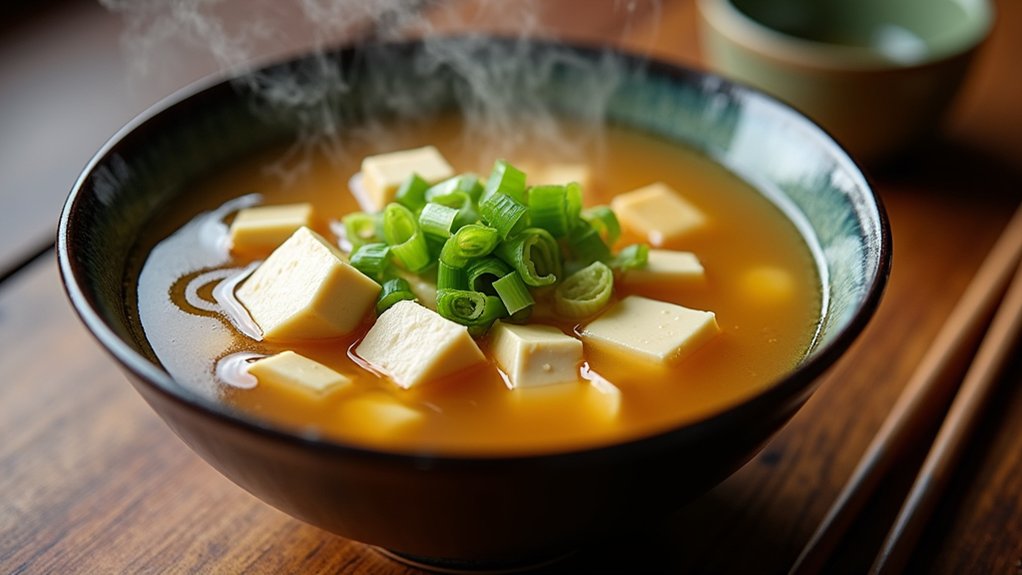
Now that your miso soup is starting to come together, it’s time to add the tofu and green onions for that perfect finishing touch. I love using different tofu varieties, like silken or firm, to create varied textures in my soup. Just cut them into bite-sized cubes, and gently add them to the pot. They’ll soak up all that delicious miso flavor!
Next, chop fresh green onions, which not only add a pop of color but also come packed with health benefits, such as boosting your immune system and enhancing digestion. Sprinkle them on top just before serving for a fresh, vibrant taste. Trust me, this simple addition elevates your miso soup from good to unforgettable!
Step 5. Simmer for Five Minutes
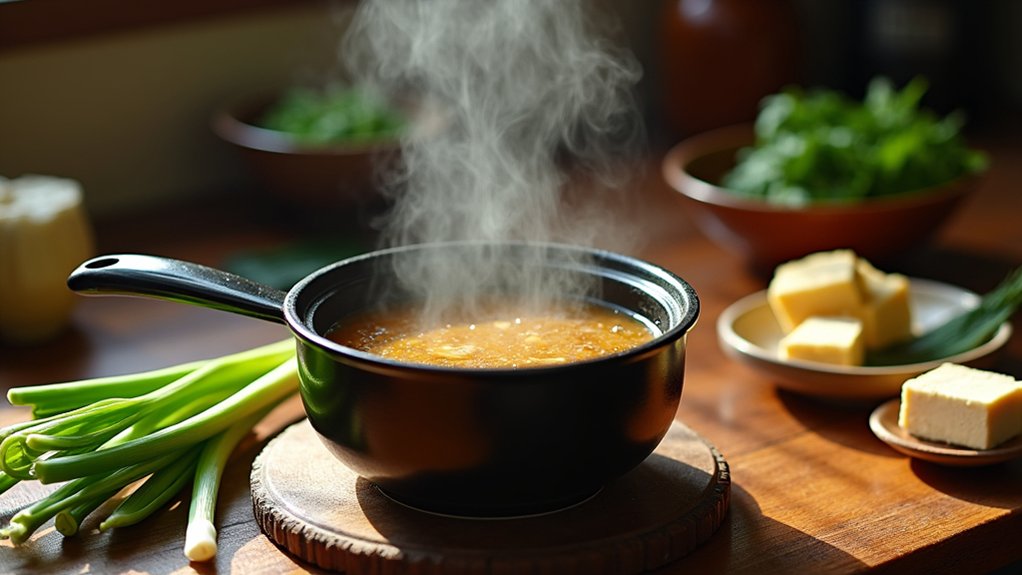
To bring everything together, let’s simmer the soup for five minutes. This step is essential for flavor enhancement, allowing all the ingredients to meld beautifully. Here are some simmer techniques to elevate your soup:
- Keep it covered – This helps retain heat and steam, intensifying flavors.
- Stir occasionally – Gently mixing guarantees even cooking and prevents sticking.
- Adjust the heat – Aim for a gentle simmer; too high can overcook delicate ingredients.
- Taste as you go – A quick taste test can help you decide if it needs more miso or seasoning.
After five minutes, you’ll notice the rich, savory aroma inviting you to enjoy a bowl. Trust me, the results are worth the wait!
Nutritional Guide
When you plunge into making miso soup, you’re not just creating a delicious dish; you’re also nourishing your body with a variety of health benefits. The nutritional benefits of miso are impressive, and the ingredient sources contribute to its wholesome nature.
Here’s a quick look at what makes miso soup a powerhouse:
| Nutrient | Source |
|---|---|
| Protein | Miso paste |
| Antioxidants | Seaweed |
| Vitamins B & K | Tofu and vegetables |
| Probiotics | Fermented ingredients |
Final Thoughts
As you wrap up your miso soup journey, it’s clear that this simple dish holds a treasure trove of flavors and health benefits. Whether you’re a seasoned cook or just starting, experimenting with soup variations can spark creativity in your kitchen. Here are a few ideas to elevate your miso experience:
- Add tofu for protein and texture.
- Toss in seasonal vegetables for extra nutrients.
- Experiment with different miso types for unique flavor profiles.
- Infuse your broth with spices like ginger or garlic for a kick.
Miso soup isn’t just a warm hug in a bowl; it’s a canvas for culinary innovation. So, don’t hesitate to make it your own and share it with loved ones!
Frequently Asked Questions
Can I Use Instant Miso Paste Instead of Traditional Miso?
Absolutely, I use instant miso paste often! Its convenience and quick preparation are instant miso benefits. While traditional miso has depth, the comparison shows instant miso’s innovation fits perfectly into my busy lifestyle.
What Is the Best Type of Miso for Soup?
When I make soup, I love using white miso for its delicate sweetness, but experimenting with different miso varieties reveals bold flavor profiles that elevate my dish. Have you tried red or mixed miso yet?
How Long Does Miso Soup Last in the Fridge?
Miso soup lasts about three to five days in the fridge. I always store it in an airtight container to maintain soup freshness. If you’re innovative, try adding fresh ingredients before serving for a delightful twist!
Can I Add Meat to Miso Soup?
I love adding various meat varieties to my miso soup. Imagine tender chicken or succulent pork enhancing the broth’s depth. It creates a protein-packed dish that’s both comforting and innovative, perfect for any meal!
Is Miso Soup Gluten-Free?
Yes, miso soup can be gluten-free! I love using gluten-free miso paste options, like chickpea or brown rice miso. They add unique flavors while keeping the dish innovative and delicious. Explore those gluten-free alternatives!
Conclusion
Making miso soup is not just about following a recipe; it’s an experience that connects us to tradition and warmth. Did you know that miso has been enjoyed for over a thousand years? That’s a lot of comforting bowls! I hope you feel inspired to whip up this simple dish and share it with loved ones. Whether it’s a chilly day or a cozy gathering, miso soup is sure to bring smiles and warmth to your table. Enjoy!