If you’re looking for a mini pancake recipe, you’ve come to the right place! I love mixing flour, sugar, baking powder, and salt, then adding milk, an egg, and melted butter. Heat a non-stick skillet and pour small dollops of the batter. Cook until golden, then flip. Top them with maple syrup, fresh fruit, or a dollop of whipped cream for a treat the whole family will enjoy! Stick around to discover tips and fun toppings that make these pancakes even better!
Contents
History
When I think about mini pancakes, I can’t help but feel a wave of nostalgia wash over me. These delightful treats have fascinating pancake origins that trace back centuries. Cultures worldwide have embraced pancakes, each adding their unique twist. For instance, the French have their delicate crêpes, while in Japan, they whip up fluffy soufflé pancakes. I find it exciting how mini pancakes represent a fusion of these cultural variations, allowing us to enjoy a global experience in just a few bites. With every mini pancake I flip, I’m reminded of family breakfasts and cozy gatherings. It’s amazing how a simple dish can connect us to diverse traditions and inspire innovation in our kitchens today. Let’s celebrate this delicious history together!
Recipe
Mini pancakes are a delightful treat perfect for breakfast, brunch, or even as a fun snack. These bite-sized versions of traditional pancakes are easy to make and can be customized with a variety of toppings. Whether you enjoy them with syrup, fresh fruit, or whipped cream, mini pancakes are sure to be a hit with both kids and adults alike.
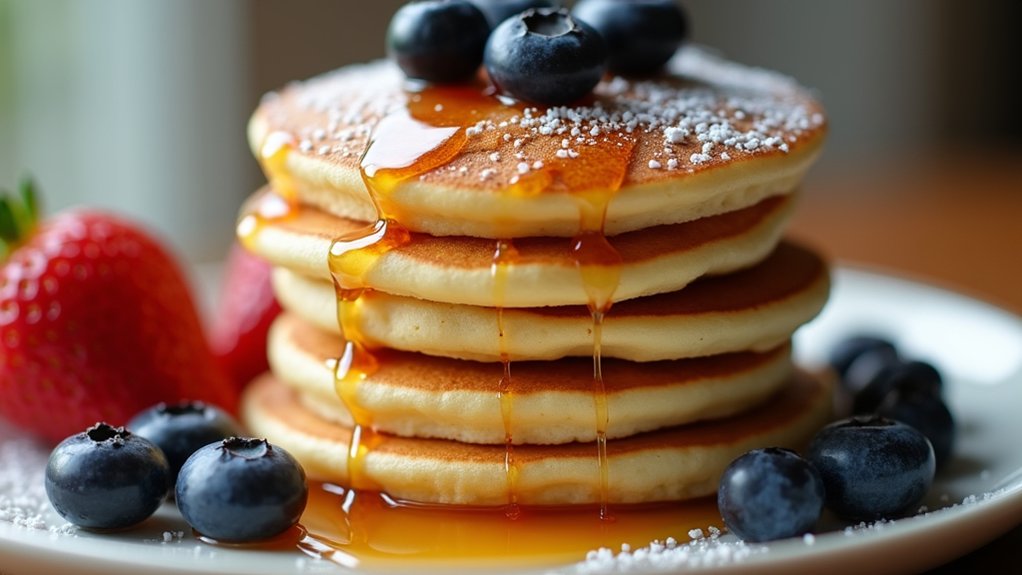
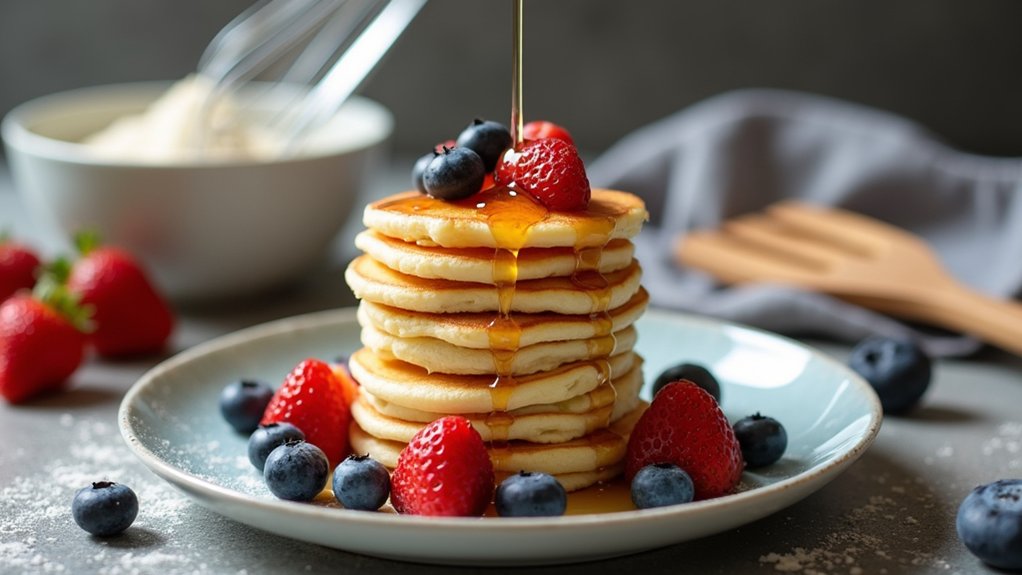
To make mini pancakes, you’ll need a simple batter that comes together quickly. The beauty of this recipe lies in its versatility; you can easily add ingredients like chocolate chips, blueberries, or nuts to the batter for added flavor. Once cooked, serve them stacked high on a plate, and don’t forget to drizzle your favorite syrup over the top for the perfect finishing touch.
Ingredients:
- 1 cup all-purpose flour
- 2 tablespoons sugar
- 1 tablespoon baking powder
- 1/4 teaspoon salt
- 1 cup milk
- 1 large egg
- 2 tablespoons melted butter
- Cooking spray or additional butter for the pan
To cook the mini pancakes, start by whisking together the flour, sugar, baking powder, and salt in a mixing bowl. In another bowl, combine the milk, egg, and melted butter. Pour the wet ingredients into the dry ingredients and stir until just combined; be careful not to overmix. Heat a non-stick skillet or griddle over medium heat and lightly grease it with cooking spray or butter. Pour small dollops of batter onto the skillet, about 1 to 2 tablespoons per pancake. Cook for 1-2 minutes on each side, or until golden brown, flipping them once bubbles form on the surface.
For extra tips, make sure to keep the heat at medium to prevent the pancakes from burning while ensuring they cook through. You can also keep the cooked mini pancakes warm in a low oven while you finish cooking the rest. Experiment with different toppings like yogurt, honey, or nut butter for added flavor. If you’re serving a crowd, consider doubling the recipe, as these little pancakes tend to disappear quickly!
Cooking Steps
Now that we’ve got our ingredients ready, let’s jump into the cooking steps for these delightful mini pancakes. I’ll guide you through mixing the dry and wet ingredients, cooking them to perfection on the griddle, and finally, serving them up with your favorite toppings. Get ready to enjoy a fun and tasty experience that’ll have everyone asking for seconds!
Step 1. Mix Dry Ingredients Together
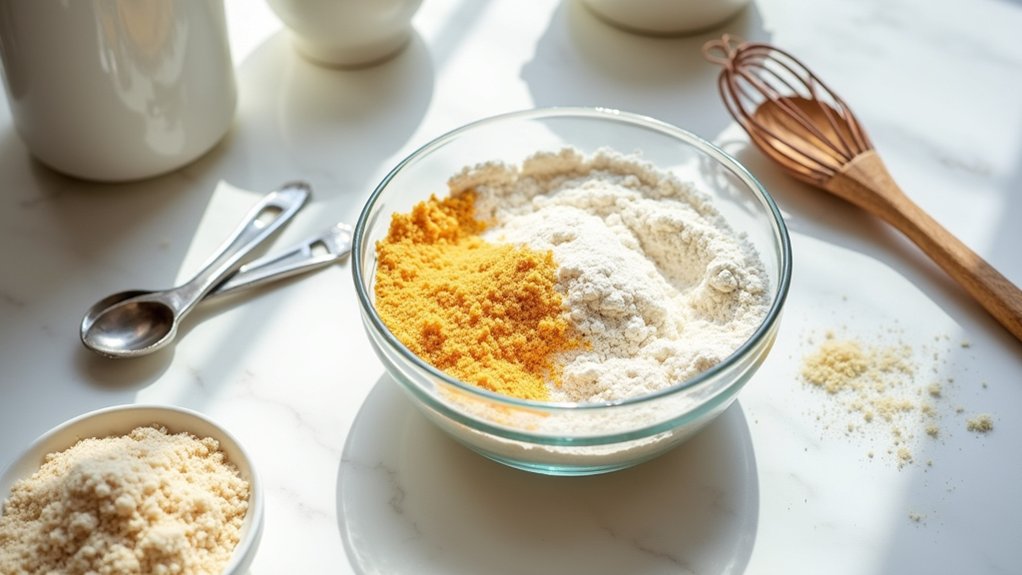
Before we plunge into mixing the dry ingredients, let me tell you how vital this step is for creating those fluffy mini pancakes we all love. First, I grab a mixing bowl and combine the flour, sugar, and baking powder. It’s essential to get the ingredient ratios just right; too much baking powder can lead to overly dense pancakes, while too little leaves them flat. I like to whisk these ingredients together thoroughly, ensuring there are no clumps. This aerates the mix, making it light and inviting. Plus, it’s a great way to get the kids involved—who doesn’t love a little whisking action? Trust me, nailing this step sets the foundation for pancake perfection that everyone will rave about!
Step 2. Add Wet Ingredients Slowly
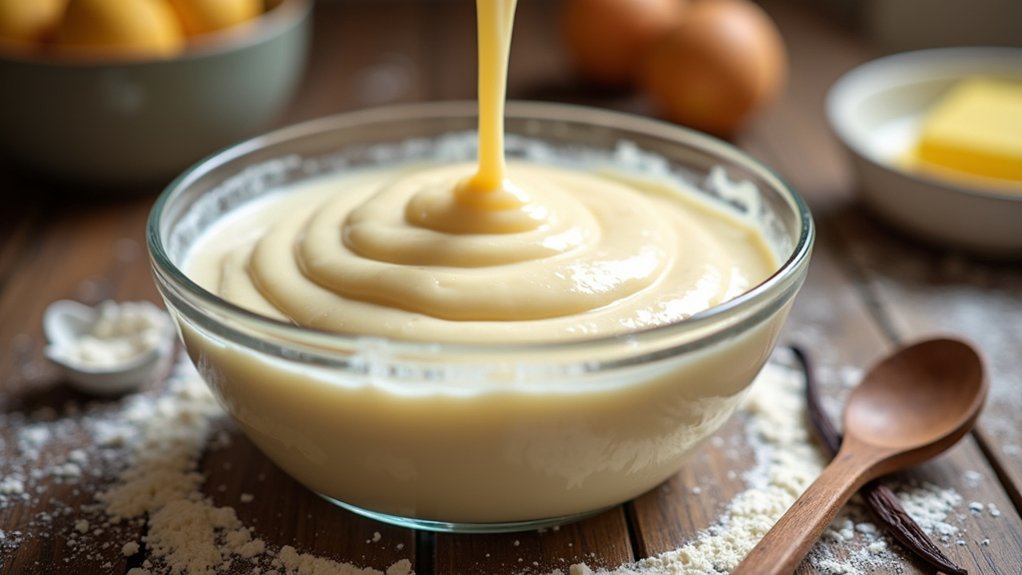
As we plunge into the next step, adding the wet ingredients slowly is essential for achieving that perfect batter consistency. I always start by creating a little well in the center of my dry mix, inviting the wet ingredients to join the party gently. This gradual incorporation is key; it allows for even blending and prevents pesky lumps. As I pour in the milk or buttermilk, I like to whisk continuously, ensuring that each drop adds moisture without overwhelming the mixture. You’ll notice how the batter transforms into a velvety texture, just right for mini pancakes. This method not only enhances flavor but also creates a delightful experience when you cook them. Trust me, your taste buds will thank you!
Step 3. Cook on Griddle Until Bubbly
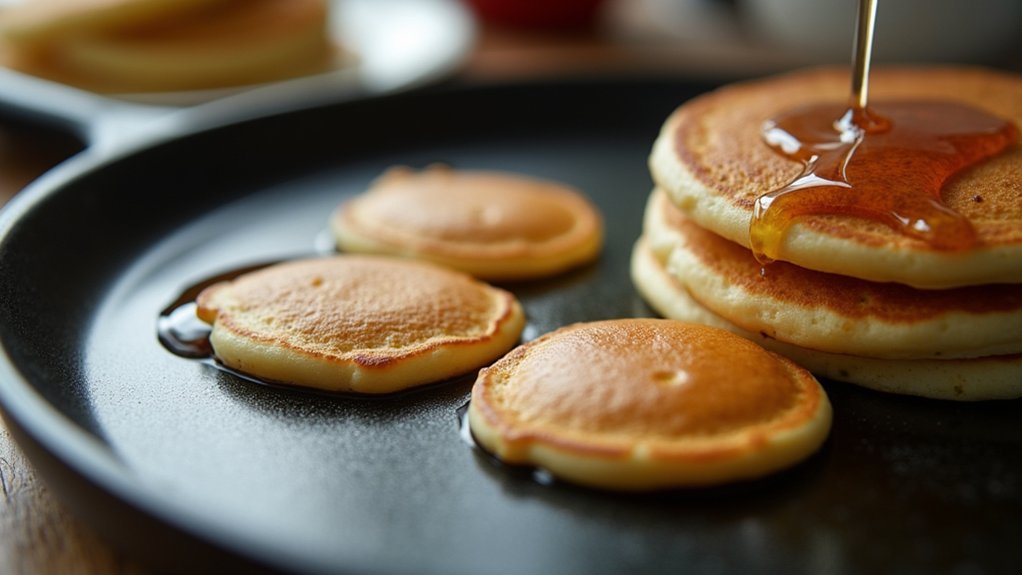
Once you’ve got your batter ready, it’s time to heat up the griddle and start cooking those mini pancakes. I usually set my griddle temperature to about 350°F; this guarantees that each pancake cooks evenly without burning. Pour a small amount of batter onto the griddle, and watch closely for those magical pancake bubbles. As they start to appear, you’ll know the bottom is perfectly cooked. This bubbling action is your cue that deliciousness is just moments away! I love the anticipation of flipping them, knowing they’ll be fluffy and golden. Keep an eye on them, and remember, the right griddle temperature is key to achieving that perfect texture. Happy cooking!
Step 4. Flip and Cook Other Side
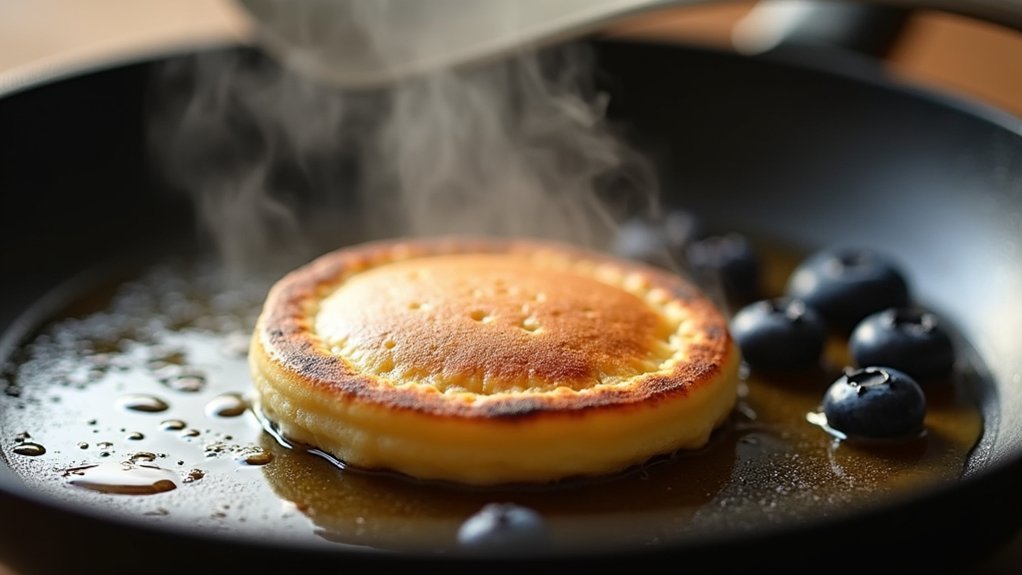
With a quick flick of the wrist, it’s time to flip those mini pancakes! As I prepare for this moment, I remind myself that mastering flipping techniques can really elevate my breakfast game. Gently slide a spatula underneath the pancake and give it a confident lift—don’t be shy! If you’ve timed it right, the surface will be golden brown and ready for its big reveal. Cook the other side for about 30 seconds to a minute, keeping an eye on those cooking times to verify perfection. You want them fluffy and cooked through, not charred. Once flipped, the aroma fills the kitchen, and I can’t help but smile, knowing the deliciousness is just moments away. Happy flipping!
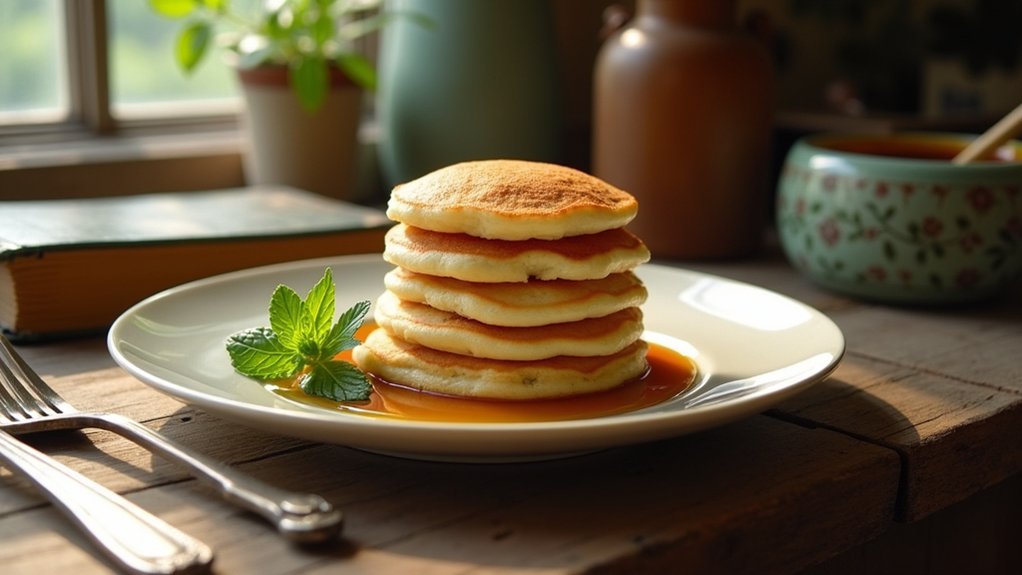
Step 5. Serve With Syrup and Toppings
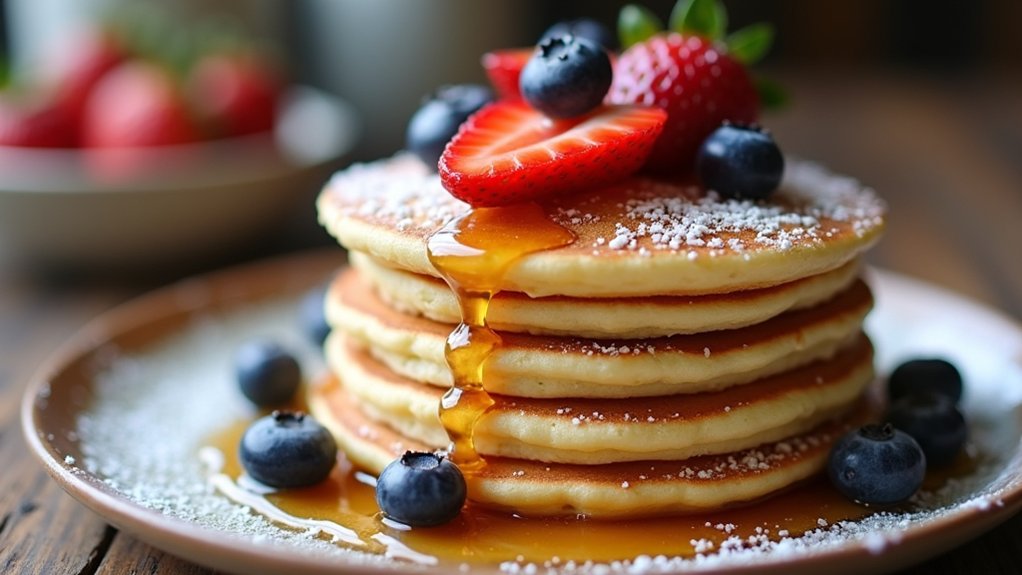
Serving up those mini pancakes is where the fun really begins! Once they’re golden brown and fluffy, it’s time to get creative. I love drizzling warm maple syrup over the top; it adds a sweet touch that’s hard to resist. But don’t stop there—think outside the syrup bottle! How about topping ideas like fresh fruit, whipped cream, or a sprinkle of chocolate chips? You can even mix it up with yogurt or a dollop of peanut butter for a protein boost. For a zesty twist, try a splash of lemon juice or a berry compote. The possibilities are endless, and it’s all about what makes your taste buds dance. Enjoy every delicious bite!
Nutritional Guide
When it comes to mini pancakes, I can’t help but feel a wave of joy thinking about those delightful, bite-sized treats. Not only are they fun to make, but they also pack a nutritional punch. Let’s explore their caloric content and dietary benefits.
| Nutrient | Amount per 3 mini pancakes | Benefits |
|---|---|---|
| Calories | 150 | Provides energy |
| Protein | 4g | Supports muscle growth |
| Fiber | 2g | Promotes digestive health |
These mini pancakes can be a great addition to a balanced breakfast. With the right toppings, they can be both indulgent and nutritious. So, go ahead and enjoy these little bites of happiness while feeling good about what you eat!
Final Thoughts
As you wrap up this mini pancake adventure, I can’t help but think about how these little treats can bring so much joy to your mornings. There’s so much room for creativity with pancake variations that’ll leave your family wowed. Whether you’re whipping up classic flavors or experimenting with something unique, the options are endless.
Here are some serving suggestions to elevate your mini pancakes:
- Drizzle with maple syrup or honey
- Top with fresh fruits like berries or bananas
- Add a dollop of whipped cream or yogurt
- Sprinkle with nuts or chocolate chips
- Serve with a side of flavored yogurt or nut butter
I can’t wait to see how you customize these delightful bites! Enjoy the process!
Frequently Asked Questions
Can I Make Mini Pancakes Ahead of Time?
Absolutely, I can make mini pancakes ahead of time! For meal prep, I recommend cooking them, then freezing in layers with parchment paper. This way, I can easily reheat whenever I need a quick breakfast!
What Toppings Pair Well With Mini Pancakes?
When I’m feeling adventurous, I love pairing mini pancakes with vibrant fruit toppings like strawberries or blueberries. Drizzling different syrup varieties, like maple or berry-infused, adds a delightful twist that elevates the entire experience!
How Can I Store Leftover Mini Pancakes?
I store leftover mini pancakes in an airtight container, then refrigerate them. For reheating, I use a toaster or microwave. These refrigeration tips keep them fresh and ready for a quick, innovative breakfast treat!
Are Mini Pancakes Suitable for Freezing?
Absolutely, mini pancakes are perfect for freezing! I use airtight containers to maintain their freshness. The best storage technique involves separating layers with parchment paper, ensuring they stay delicious and ready for a quick breakfast anytime.
Can I Use Alternative Flours for Mini Pancakes?
I love experimenting with alternative flour options like almond or oat flour. They create delicious gluten-free variations that add unique flavors and textures, making breakfast even more exciting. Don’t hesitate to try them out!
Conclusion
In the end, making mini pancakes is like creating little memories on a plate. Each fluffy bite brings back the warmth of childhood breakfasts and the joy of sharing meals with loved ones. I hope this recipe inspires you to whip up your own batch, whether it’s for a lazy weekend or a special occasion. So grab your ingredients, get cooking, and let the deliciousness unfold. Trust me, these tiny treats will bring a big smile to your face!