To craft delectable homemade bread effortlessly with your Breville Bread Maker, start by nailing down a dependable bread recipe designed specifically for this machine. Activate the yeast just right, weigh your flour accurately, and pay attention to those precise measurements for perfect bread texture and density. Get to know those bread maker settings inside out, experiment with various functions for unique loaves, and troubleshoot like a pro. Start by grasping the mixing and kneading process essentials, then nail the proofing and baking steps. You’re on your way to bread-baking mastery with every ingredient and function at your fingertips.
Contents
- 1 Key Takeaways
- 2 Ingredients for Bread Recipe
- 3 Bread Maker Settings Overview
- 4 Mixing and Kneading Process
- 5 Proofing and Baking Instructions
- 6 Bread Recipe for Breville Bread Maker
- 7 Tips for Perfect Bread Results
- 8 Serving and Enjoying Your Homemade Bread
- 9 Frequently Asked Questions
- 10 Conclusion-Bread Recipe for Breville Bread Maker
Key Takeaways
- Activate yeast properly for successful bread rise.
- Use a kitchen scale for accurate flour measurement.
- Understand and utilize the bread maker settings effectively.
- Ensure proper mixing and kneading processes.
- Follow precise proofing and baking instructions for optimal results.
Ingredients for Bread Recipe
For a perfect loaf of bread in your Breville Bread Maker, gather the essential ingredients listed below. To start, guarantee your yeast is activated properly. This is vital for a successful rise in your bread. Activate the yeast by mixing it with warm water and a pinch of sugar. Let it sit for a few minutes until it becomes frothy and bubbly.
Next, pay close attention to your flour measurement. Use a kitchen scale to weigh your flour accurately. Too much or too little flour can greatly affect the texture and density of your bread. Remember, baking is a science, and precise measurements are key to achieving the perfect loaf.
Bread Maker Settings Overview
You’re about to discover the key to mastering your Breville Bread Maker with our Setting Functions Overview and Program Selection Guide.
Explore the full potential of your bread maker as we investigate the various settings and programs that will elevate your baking game.
Get ready to create delicious loaves tailored to your taste preferences with confidence and precision.
Setting Functions Overview
Discover the wide range of setting functions available on your Breville Bread Maker with this detailed overview of the different bread maker settings.
Understanding the kneading techniques, troubleshooting tips, yeast activation, and dough consistency is essential for achieving the perfect loaf every time. Each setting plays an important role in the bread-making process, allowing you to customize your bread to suit your preferences.
From basic settings for white or whole wheat bread to specialty settings for gluten-free or sweet bread, the Breville Bread Maker offers versatility and convenience. Take control of your baking experience by experimenting with different settings to create unique and delicious loaves that cater to your tastes.
Mastering the functions of your bread maker will elevate your baking game and ensure consistent results with every use.
Program Selection Guide
Let’s now explore the Program Selection Guide on your Breville Bread Maker, offering a thorough overview of the various settings available for creating your perfect loaf.
When selecting a program, consider the type of bread you wish to bake. Whether you prefer a classic white loaf, hearty whole wheat, or a sweet fruit bread, the customizable programs on your Breville Bread Maker cater to all bread types. These settings allow you to adjust the crust darkness, loaf size, and even create your own unique programs for specialized recipes.
Embrace the freedom to experiment with different bread types and get creative with the customizable programs to make sure each loaf meets your exact preferences. Master the art of bread making with the versatile options at your fingertips.

Mixing and Kneading Process
Engage the bread maker’s mixing and kneading functions to effortlessly blend and develop the dough into the perfect consistency for your homemade bread. Start by confirming your flour consistency is just right, as it plays an essential role in the kneading process. The flour should be measured accurately to achieve the ideal balance in your dough. When adding yeast, activate it properly to guarantee a successful rise and a flavorful loaf. Allow the yeast to bloom in warm water before incorporating it into the flour mixture.
As the bread maker works its magic, observe the dough’s transformation. The kneading method is crucial for developing the gluten structure, leading to the desired dough elasticity. The machine’s mixing action will help evenly distribute the ingredients, creating a uniform texture. Feel the excitement as the dough comes together, becoming smooth and supple under the bread maker’s gentle yet powerful kneading process.
With each rotation, the ingredients meld into a harmonious blend, promising a delicious outcome. Trust in the bread maker to handle the mixing and kneading with finesse, allowing you the freedom to anticipate the delightful aroma of freshly baked bread.
Proofing and Baking Instructions
When proofing your dough, remember that the temperature plays a significant role in its rise.
Adjusting the baking time can result in a perfectly baked loaf tailored to your preferences.
You can experiment with different crust colors to find the ideal one for your taste buds.
Proofing Temperature Importance
Harness the power of precise proofing temperatures to elevate the quality of your homemade bread to new heights.
Yeast activation and dough rising are vital stages in bread making, and the temperature during proofing plays a significant role in ensuring these processes unfold perfectly.
Yeast, a living organism, thrives in a warm and stable environment. By maintaining the ideal proofing temperature, typically around 75-85°F (24-29°C), you provide the yeast with the perfect conditions to activate and multiply, leading to a light and airy bread texture.
On the other hand, if the temperature is too low, the yeast will be sluggish, resulting in a dense loaf.
Embrace the precision of temperature control to maximize the full potential of your bread dough.
Baking Time Adjustment
To achieve perfect bread texture and flavor, precise baking time adjustments during proofing and baking stages are essential for a successful outcome. Here’s how you can guarantee your bread turns out just right:
- Crust Texture: Adjusting the baking time can greatly impact the crust texture of your bread. A longer baking time will result in a thicker and crunchier crust, while a shorter time will yield a softer crust.
- Yeast Activation: Proper proofing and baking times are vital for yeast activation. If the bread is underbaked, the yeast mightn’t be fully activated, leading to a dense and doughy texture.
- Timing Precision: Pay close attention to the recommended baking times in the recipe and make adjustments based on your desired crust and yeast activation levels.
Crust Color Preferences
Enhance the golden hue of your bread crust by adjusting the proofing and baking instructions to achieve your desired color preference.
When it comes to crust color, everyone has their preferences. If you like a lighter crust, consider decreasing the baking time slightly. For a darker crust, let it bake a bit longer.
Keep in mind that the crust texture preferences can also impact the color outcome. If you prefer a softer crust, a lighter color may be more suitable. On the other hand, if you enjoy a chewier crust, a darker color might be ideal.

Bread Recipe for Breville Bread Maker
Course: Main CourseCuisine: VariesDifficulty: Easy to Moderate4
servings15
minutes40
minutes300
kcalThis Bread Recipe for Breville Bread Maker simplifies the bread-making process, offering a convenient way to enjoy freshly baked bread at home. With basic ingredients like flour, yeast, water, and salt, you can create a variety of bread types, from classic white loaves to whole wheat or specialty breads.
Ingredients
3 cups all-purpose flour (or bread flour)
1 1/2 teaspoons active dry yeast (or bread machine yeast)
1 1/4 cups warm water
1 1/2 teaspoons salt
Optional: additional ingredients like sugar, olive oil, herbs, or seeds for flavor variations
Directions
- Begin by adding the warm water to the bread maker's baking pan.
- Add the flour on top of the water, ensuring it covers the water completely.
- Make a small well in the center of the flour and add the yeast to the well.
- Sprinkle the salt evenly over the top of the flour.
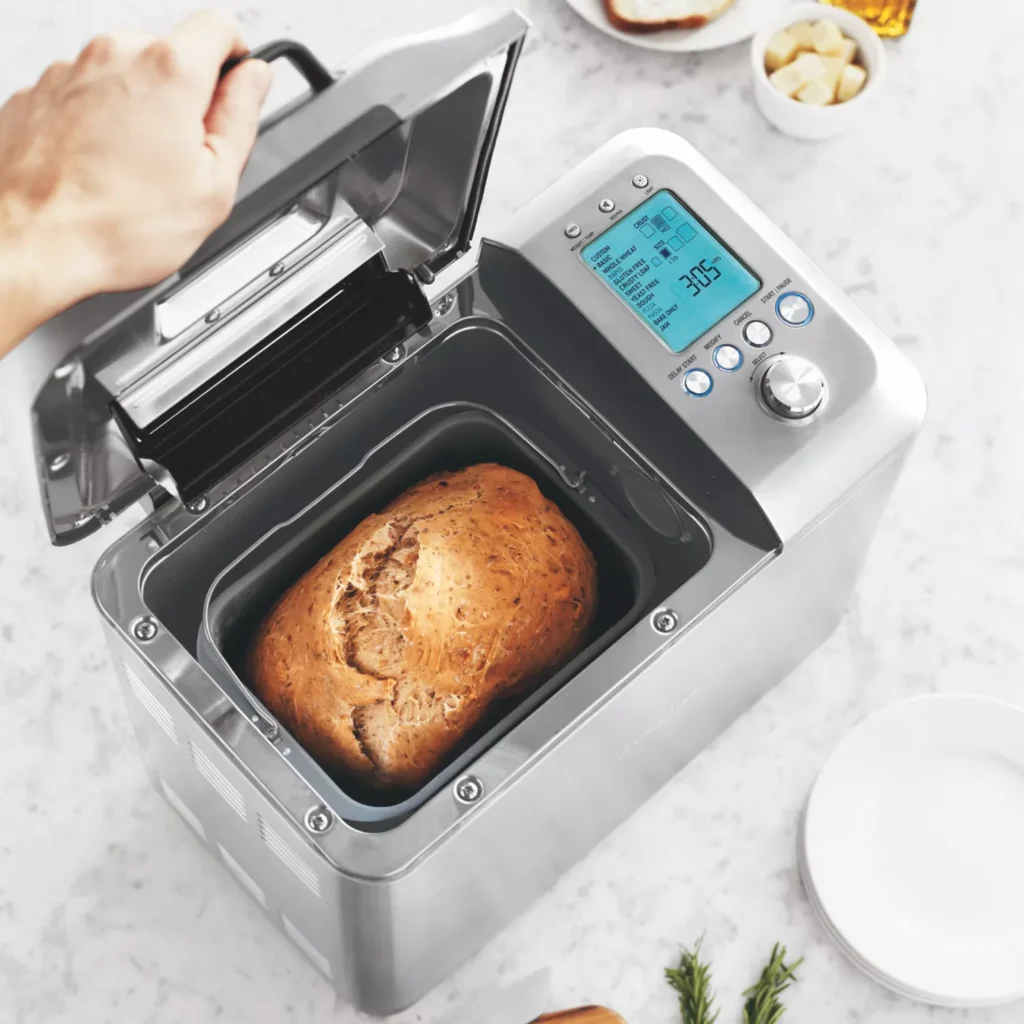
- Select the desired bread program on your Breville Bread Maker, such as "Basic," "Whole Wheat," or "Sweet," depending on the type of bread you're making.
- Close the lid of the bread maker and start the program.
- Once the bread is finished baking, carefully remove it from the bread maker and let it cool on a wire rack before slicing and serving.
- Enjoy your freshly baked bread with your favorite toppings or as a side to your meals.
Tips for Perfect Bread Results
For best results when using your Breville Bread Maker, prioritize precision in ingredient measurements and follow the recipe instructions attentively. Achieving the perfect loaf of bread requires attention to detail at every step of the baking process.
Here are some tips to help you master the art of breadmaking with your Breville Bread Maker:
- Yeast Activation: Ensure your yeast is fresh and activate it properly by dissolving it in warm water with a pinch of sugar. Let it sit for a few minutes until it becomes frothy, indicating that it’s ready to be mixed with the other ingredients.
- Dough Consistency: Pay close attention to the consistency of your dough throughout the kneading process. It should be smooth, elastic, and slightly tacky to the touch. Adjust the flour or water as needed to achieve the perfect balance.
- Rise Time: Allow your dough to rise in a warm, draft-free environment until it has doubled in size. This step is essential for developing the flavor and texture of your bread.
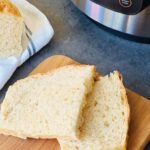
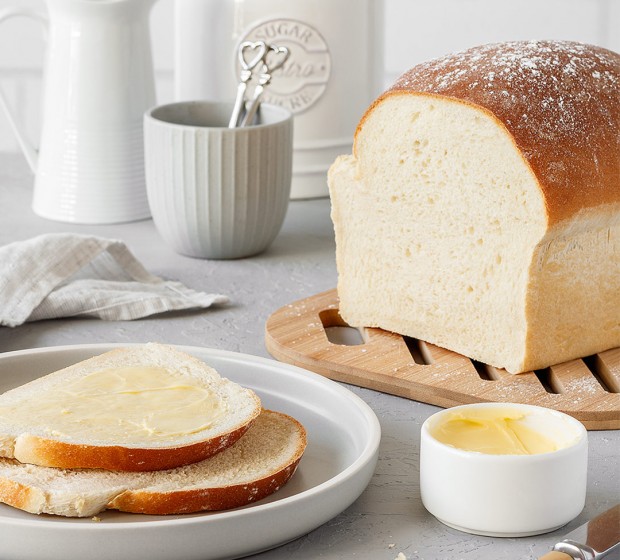
Serving and Enjoying Your Homemade Bread
Mastering the art of breadmaking with your Breville Bread Maker smoothly evolves into the rewarding experience of serving and savoring your freshly baked homemade bread. Once your bread is out of the oven and cooled, it’s important to store it correctly to maintain its freshness. To keep your homemade bread at its best, store it in a paper bag at room temperature for up to two days. If you want to enjoy it for longer, freeze the bread in a plastic bag, making sure to remove as much air as possible before sealing it.
Pairing your homemade bread with the right accompaniments can elevate the experience even further. For a classic pairing, slather a warm slice with butter or your favorite jam. If you’re feeling more adventurous, try serving your bread with a sharp cheese or a hearty bowl of soup. The versatility of homemade bread means the pairing possibilities are endless, so don’t be afraid to experiment and find your perfect combination.
Enjoy the fruits of your labor and savor every delicious bite of your freshly baked bread.
Frequently Asked Questions
Can I Use Gluten-Free Flour in This Bread Recipe?
Yes, you can use gluten-free flour in this bread recipe. Consider flour alternatives for baking modifications. Guarantee allergen considerations by checking ingredient substitutions. Enjoy creating a delicious loaf that suits your dietary needs.
How Do I Adjust the Recipe for High-Altitude Baking?
At high altitudes, adjust yeast activation for faster rise and flour hydration to combat dryness. Increase yeast by 25%, decrease rising time, and add a bit more water to keep your bread moist and fluffy.
Can I Make This Bread Recipe Without a Bread Maker?
You can absolutely make this bread recipe without a bread maker. Simply knead the dough by hand, activate the yeast, let it rise, then bake it in the oven. Experience the joy of creating homemade bread from scratch!
What Is the Best Way to Store Homemade Bread?
Store homemade bread like a pro by wrapping it in parchment paper, then sealing it in a ziplock bag for freshness. For long-term storage, freeze slices individually for quick access to that delicious homemade goodness.
Can I Add Nuts or Dried Fruits to This Bread Recipe?
Yes, you can absolutely enhance the bread recipe with nuts or dried fruits for delightful flavor variations. Not only will it add a delicious touch, but these additions also bring in extra nutritional benefits. Enjoy experimenting!
Conclusion-Bread Recipe for Breville Bread Maker
To sum up, with the Breville bread maker, you can create delicious homemade bread with ease. Follow the simple steps outlined in this recipe to achieve perfect results every time.
So, indulge in the aroma of freshly baked bread and savor the taste of your own creation. With the Breville bread maker, baking bread has never been simpler or more satisfying.