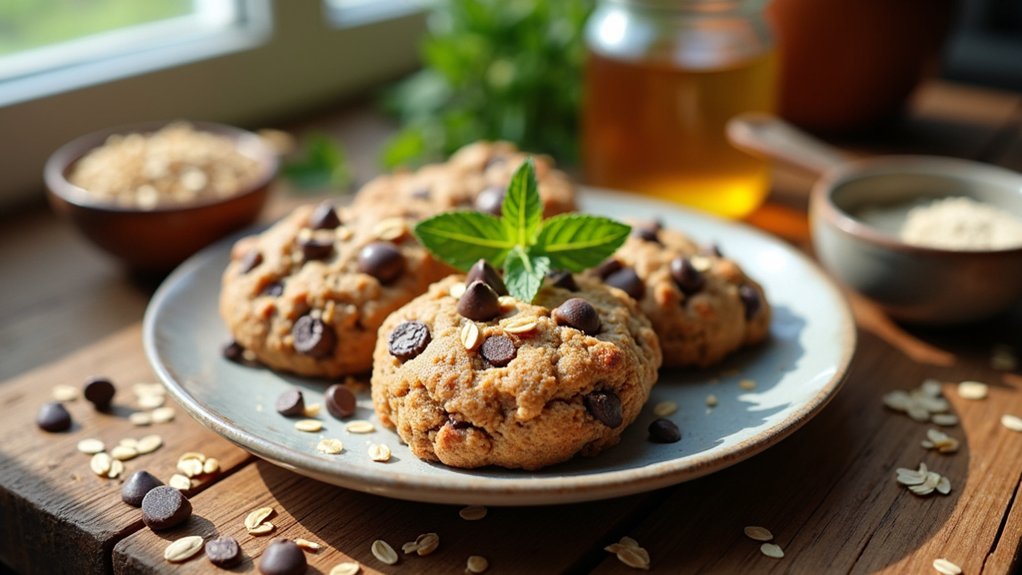
Lactation cookies are a nutritious snack I create to support breastfeeding mothers like myself. They boost milk production using wholesome ingredients like oats, flaxseed, and brewer’s yeast. I enjoy combining these ingredients with chocolate chips and nuts for added flavor. Baking them is simple: mix the dry ingredients, then add the wet ones, and scoop onto a baking sheet. These cookies not only satisfy cravings but also provide essential nutrients—there’s so much more to explore about their benefits!
Contents
History
When I explore the history of lactation cookies, I find it fascinating how these treats emerged from the age-old practice of supporting breastfeeding mothers. Their origins trace back to various cultures that recognized the lactation benefits of certain ingredients like oats, flaxseed, and brewer’s yeast. Traditionally, these foods were believed to enhance milk production, reflecting a deep understanding of nutrition among caregivers. In modern times, lactation cookies have evolved into a convenient snack, combining these beneficial ingredients in a delicious format. They cater to the needs of new mothers, offering not just nourishment but also a sense of comfort during a transformative time. It’s intriguing how these cookies bridge tradition and innovation, embodying both cultural wisdom and contemporary dietary preferences.
Recipe
Lactation cookies are a delicious and nutritious treat designed to support breastfeeding mothers by helping to boost milk production. Packed with wholesome ingredients, these cookies are not only beneficial but also incredibly satisfying. The combination of oats, flaxseed, and brewer’s yeast provides essential nutrients, while the chocolate chips and nuts add a delightful sweetness and crunch. Whether you’re a new mom or simply looking for a snack that’s both tasty and functional, these lactation cookies are a perfect choice.
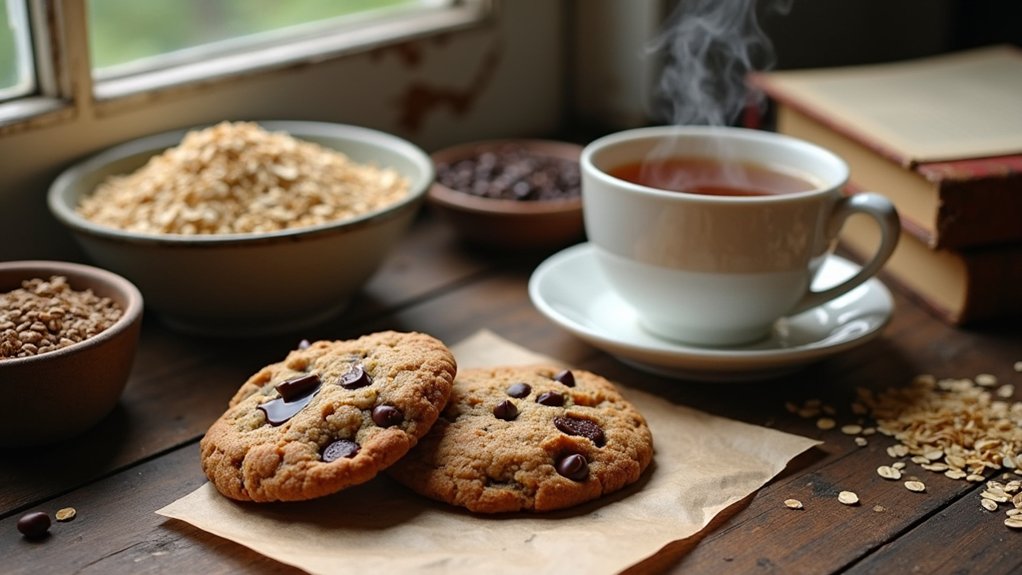
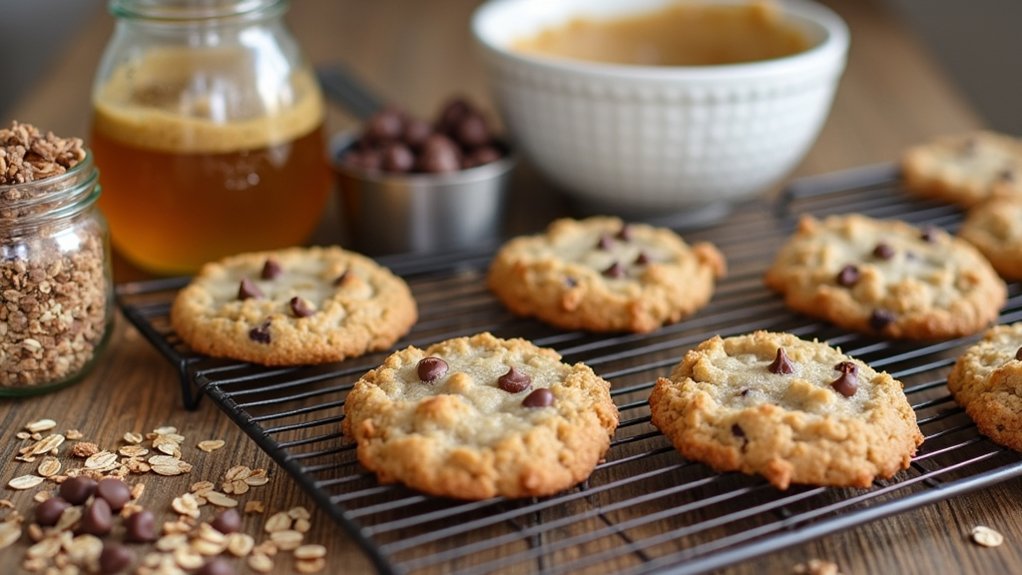
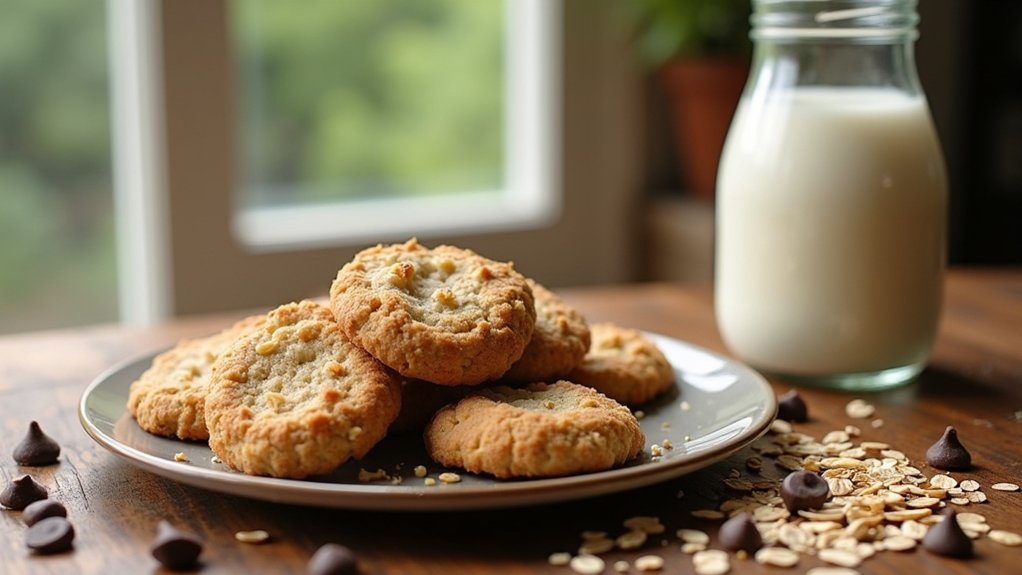
Making lactation cookies is a straightforward process that requires minimal effort. These cookies can be enjoyed fresh out of the oven or stored for later, making them a convenient option for busy days. With just a few simple ingredients and some easy steps, you’ll have a batch of delicious cookies ready to enjoy. Prepare to indulge in a guilt-free treat that not only satisfies your sweet tooth but also supports your breastfeeding journey.
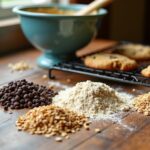
Ingredients:
- 1 cup unsalted butter, softened
- 1 cup brown sugar
- 1/2 cup granulated sugar
- 2 large eggs
- 1 teaspoon vanilla extract
- 1 1/2 cups all-purpose flour
- 1 teaspoon baking soda
- 1 teaspoon cinnamon
- 1/2 teaspoon salt
- 3 cups rolled oats
- 1/2 cup ground flaxseed
- 1/2 cup brewer’s yeast
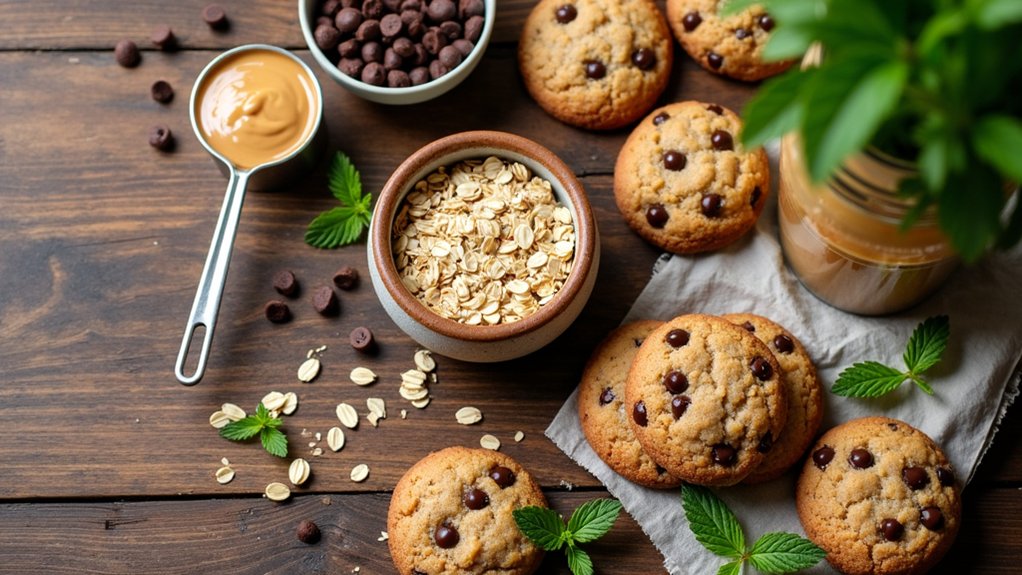
- 1 cup chocolate chips
- 1/2 cup chopped nuts (optional)
In a large mixing bowl, cream together the softened butter, brown sugar, and granulated sugar until light and fluffy. Add the eggs one at a time, mixing well after each addition, and then stir in the vanilla extract. In a separate bowl, combine the flour, baking soda, cinnamon, and salt. Gradually add the dry ingredients to the wet mixture, mixing until just combined. Fold in the rolled oats, ground flaxseed, brewer’s yeast, chocolate chips, and chopped nuts, if using. Preheat your oven to 350°F (175°C) and line a baking sheet with parchment paper. Drop rounded tablespoons of dough onto the prepared baking sheet, spacing them about 2 inches apart. Bake for 10-12 minutes or until the edges are lightly golden. Allow the cookies to cool on the baking sheet for a few minutes before transferring them to a wire rack to cool completely.
For the best results, make sure to use fresh ingredients, especially the brewer’s yeast, as it can lose its potency over time. If you find the dough too dry, you can add a splash of milk to achieve the desired consistency. Feel free to customize the recipe by adding your favorite mix-ins, such as dried fruits or seeds. Store any leftover cookies in an airtight container at room temperature for up to a week or freeze them for longer storage. Enjoy your lactation cookies as a snack during the day or as a sweet treat after meals!
Cooking Steps
Let’s get started on making these delicious lactation cookies! First, I recommend preheating the oven to guarantee a perfect bake. Then, we’ll mix the dry ingredients thoroughly before gradually incorporating the wet ingredients for a well-blended dough.
Step 1. Preheat the Oven
Preheating the oven is an important step that sets the stage for baking perfect lactation cookies. I typically set my oven to 350°F (175°C), which is the best oven temperature for achieving that golden-brown finish. Preheating not only guarantees consistent heat distribution but also helps to activate ingredients like baking soda, which is vital for the cookies’ rise. It’s necessary to allow the oven to reach the correct temperature before I slide in my cookie dough to guarantee peak baking time. If I skip this step, I risk uneven cookies that could end up too soft or overly crispy. So, while it might seem like a small detail, preheating my oven is fundamental to my cookie success!
Step 2. Mix Dry Ingredients Thoroughly
To mix the dry ingredients thoroughly, I start by sifting together the flour, oats, baking powder, baking soda, and salt in a large mixing bowl. Using a fine-mesh sieve helps break up clumps, ensuring even distribution of all components. I prefer a combination of all-purpose flour and whole wheat flour types, as this enhances both the nutritional profile and texture of the cookies. Next, I use a whisk for an effective mixing technique, gently incorporating the ingredients until well-combined. This method not only aerates the flour but also helps avoid pockets of baking powder or soda, which can lead to uneven rising. A thorough mix is key to achieving that perfect lactation cookie texture and flavor.
Step 3. Add Wet Ingredients Gradually
Once I’ve mixed the dry ingredients thoroughly, it’s essential to add the wet ingredients gradually to guarantee a smooth and cohesive dough. This step is significant, as the wet ingredient ratios directly affect the cookie’s texture. I start by pouring in a little of the wet mixture, then mixing it in until fully incorporated before adding more. This gradual mixing helps to prevent clumps and guarantees an even distribution of moisture throughout the dough. If I were to add all the wet ingredients at once, I risk creating a sticky mess and uneven consistency. By taking my time, I’m able to create a perfectly blended dough that will yield delicious lactation cookies with ideal flavor and texture.
Step 4. Fold in Chocolate Chips
Now that the wet ingredients are fully incorporated into the dry mix, it’s time to fold in the chocolate chips. I usually opt for dark chocolate, as it not only adds a rich flavor but also provides numerous chocolate benefits, like antioxidants that can boost mood and energy levels. Gently folding them in guarantees an even distribution without breaking the chips, preserving their delightful texture. If you’re feeling adventurous, consider cookie variations—like adding nuts or dried fruits along with the chocolate for added nutrition and taste. Remember to keep the folding motion light and careful; we want those chips to shine in every bite! This step elevates our lactation cookies, making them both enjoyable and nourishing.
Step 5. Scoop Dough Onto Baking Sheet
As I prepare to scoop the dough onto the baking sheet, I make certain my baking sheet is lined with parchment paper to prevent sticking and guarantee even baking. Choosing the right scoop size is essential; I typically use a medium cookie scoop for uniformity, ensuring that each cookie bakes evenly. Placing the dough balls about two inches apart allows for expansion during baking, preventing them from merging. If you prefer larger cookies, a larger scoop can be used, but be mindful to adjust the baking time accordingly. For a touch of innovation, consider adding a sprinkle of sea salt on top before baking. This enhances the flavor profile and makes these lactation cookies truly irresistible!
Nutritional Guide
While it’s easy to focus on delicious flavors when baking lactation cookies, understanding their nutritional value is essential for maximizing their benefits. Each ingredient you choose can bring distinct nutrient benefits, and exploring ingredient variations can enhance your cookie’s effectiveness.
Here’s a quick look at some key ingredients and their benefits:
| Ingredient | Nutrient Benefits | Variations |
|---|---|---|
| Oats | High in fiber and iron | Gluten-free options |
| Flaxseed | Rich in omega-3s | Chia seeds as a substitute |
| Brewer’s yeast | Boosts milk production | Nutritional yeast variant |
Final Thoughts
Although lactation cookies are often celebrated for their tasty flavors and comforting textures, it’s important to remember their primary purpose: supporting breastfeeding mothers. When I bake these delicious treats, I focus on the health benefits they offer. Ingredients like oats and flaxseed are known to promote milk production, providing valuable breastfeeding support. I find that enjoying lactation cookies not only satisfies my cravings but also boosts my confidence as a new mom. They serve as a convenient snack, packed with nutrients to help maintain energy levels during those demanding early days. Overall, incorporating lactation cookies into my routine has been a delightful and empowering experience, blending innovation with tradition to support my breastfeeding journey effectively.
Frequently Asked Questions
Can I Make These Cookies Gluten-Free?
Absolutely, I can make these cookies gluten-free! I often use gluten-free flours like almond or oat, adjusting the ratios to guarantee the cookie texture remains delightful. Experimenting with these options can yield delicious results!
How Long Do Lactation Cookies Stay Fresh?
Lactation cookies typically stay fresh for about a week at room temperature. For longer storage, freeze them. Freshness indicators include smell and texture—if they smell off or feel dry, it’s time to discard them.
Can I Freeze Lactation Cookies for Later?
Yes, I can freeze lactation cookies for later! Just use airtight storage containers, and I recommend labeling them with dates. For the best taste, consume within three months. Those freezing tips really help maintain freshness!
Are There Alternative Ingredients for Dairy-Free Options?
Sure, you can swap dairy for almond or coconut milk! These substitutions deliver nutritional benefits while keeping things innovative. Who knew being dairy-free could taste so good? Embrace ingredient substitutions and enjoy guilt-free deliciousness!
How Many Cookies Should I Eat Daily for Lactation?
I typically enjoy 1 to 3 cookies daily for ideal lactation benefits. Balancing portions helps me maintain energy while supporting milk production. Remember, moderation is key to reaping the rewards without overindulgence. Experiment and adjust!
Conclusion
To sum up, lactation cookies can be a delightful and nutritious way to support breastfeeding. For instance, a new mom named Sarah found that incorporating these cookies into her diet helped boost her milk supply during those challenging early weeks. With wholesome ingredients like oats and flaxseed, these treats not only satisfy cravings but also provide essential nutrients. So, whether you’re a new mom or know someone who is, these cookies can be a tasty ally in the breastfeeding journey.