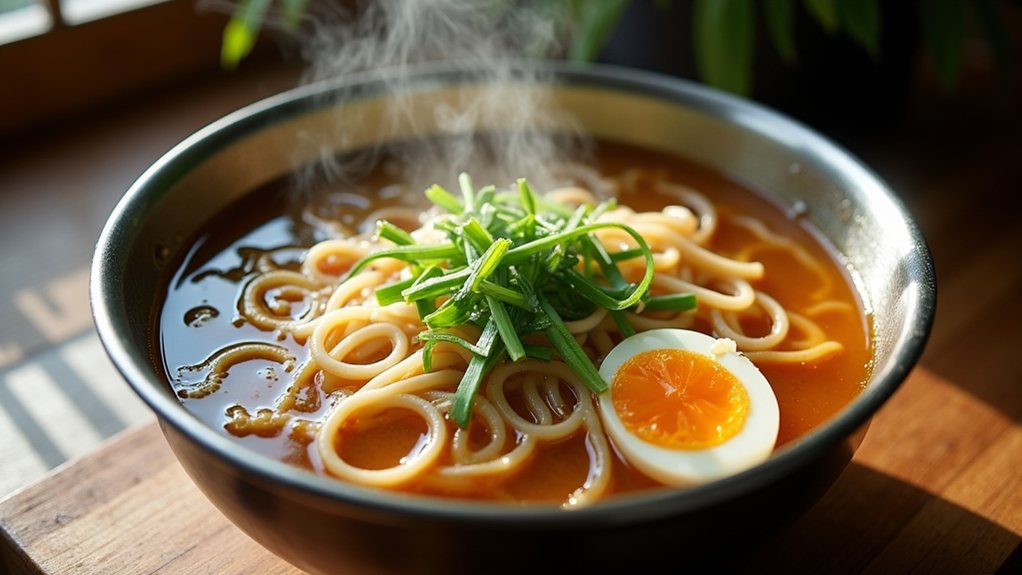
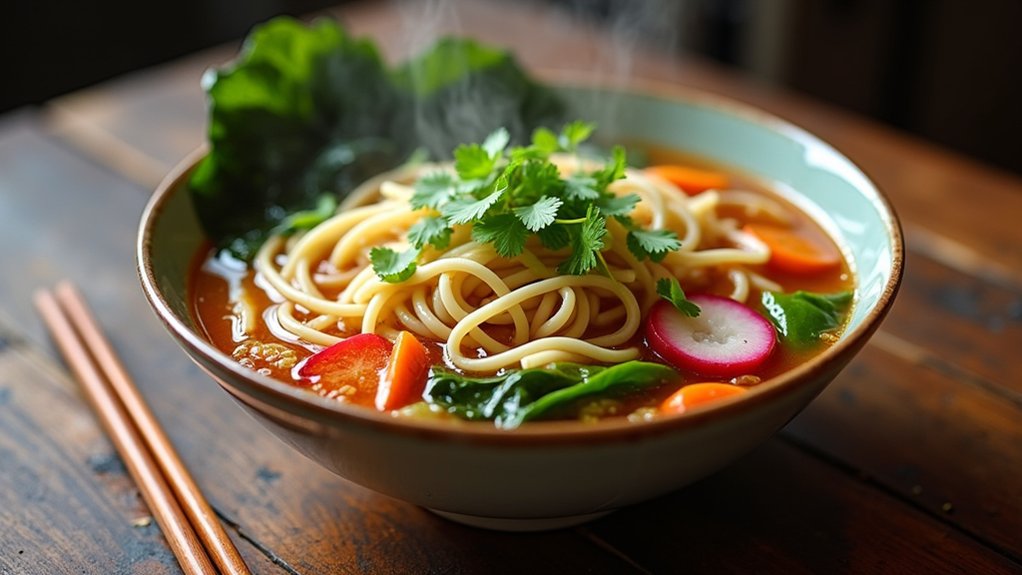
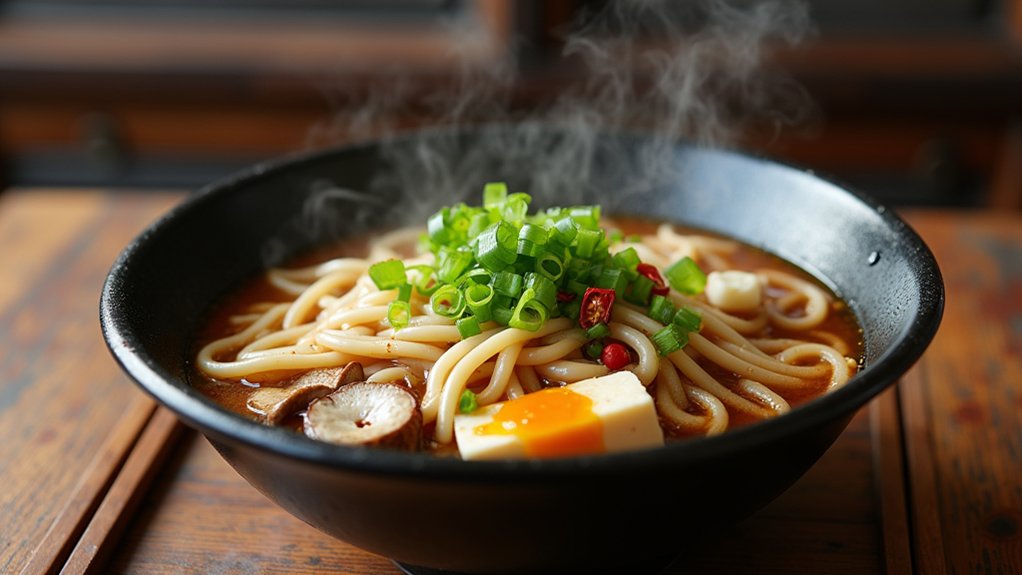
Udon noodle soup is one of my favorite comfort foods! You can start by cooking udon noodles in boiling water for about 3-5 minutes until they’re tender. For the broth, heat up dashi or miso with a splash of soy sauce for flavor. Don’t forget to top your soup with green onions, soft-boiled eggs, or whatever you love. It’s a fun and delicious way to create a meal that reflects your taste and style. If you want to explore more tips and variations, there’s plenty to discover!
Contents
History
When I think about udon noodles, I can’t help but feel a sense of tradition and warmth, as these thick, chewy noodles have a rich history that dates back centuries in Japan. The origins of udon can be traced to the early 9th century, when it was introduced by Buddhist monks. Over the years, udon has evolved into a beloved staple, reflecting Japan’s cultural significance. It’s not just about nourishment; it’s about gathering around the table with family and friends. Each bowl of udon tells a story, connecting us to the past while inspiring culinary creativity today. As we explore new recipes, we honor this tradition, blending old flavors with innovative twists that excite the palate and warm the heart.
Recipe
Udon noodles are a delightful Japanese dish made from wheat flour, salt, and water. Known for their thick, chewy texture, udon noodles can be enjoyed in a variety of ways, whether in a hearty soup, stir-fried with vegetables and protein, or served cold with a dipping sauce. Making udon from scratch can be a rewarding experience, allowing you to customize the thickness and texture to your liking. This recipe will guide you through the process of making fresh udon noodles at home.
Udon noodles are a versatile and delicious Japanese dish, perfect for soups, stir-fries, or cold servings.
In addition to being delicious, udon is incredibly versatile and can be paired with an array of ingredients, from vegetables to meats. Traditional udon dishes often feature a savory broth made with dashi, soy sauce, and mirin, but you can easily experiment with different flavors and toppings. Once you have mastered the basic udon noodle recipe, you can explore countless variations to suit your palate.
Ingredients:
- 2 cups all-purpose flour
- ½ cup water
- ¼ teaspoon salt
- Cornstarch (for dusting)
Cooking Instructions:
In a large mixing bowl, combine the flour and salt. Gradually add the water while mixing with your hands or a wooden spoon until a rough dough forms. Transfer the dough to a clean surface and knead for about 10 minutes until it becomes smooth and elastic. Wrap the dough in plastic wrap and let it rest for at least 30 minutes. After resting, roll out the dough to your desired thickness, then cut it into long strips to form the noodles. Dust with cornstarch to prevent them from sticking together. Cook the udon noodles in boiling water for about 5-8 minutes until they float to the surface and are tender. Drain and rinse under cold water if using for cold dishes.
Extra Tips:
When making udon noodles, it’s crucial to let the dough rest, as this helps develop the gluten and improves the texture. You can also adjust the water content slightly depending on the humidity in your environment. If you’re feeling adventurous, try adding a splash of soy sauce or a hint of sesame oil to the boiling water for extra flavor when cooking the noodles. Finally, feel free to experiment with different toppings and broths—udon is incredibly adaptable to your taste preferences!
Cooking Steps
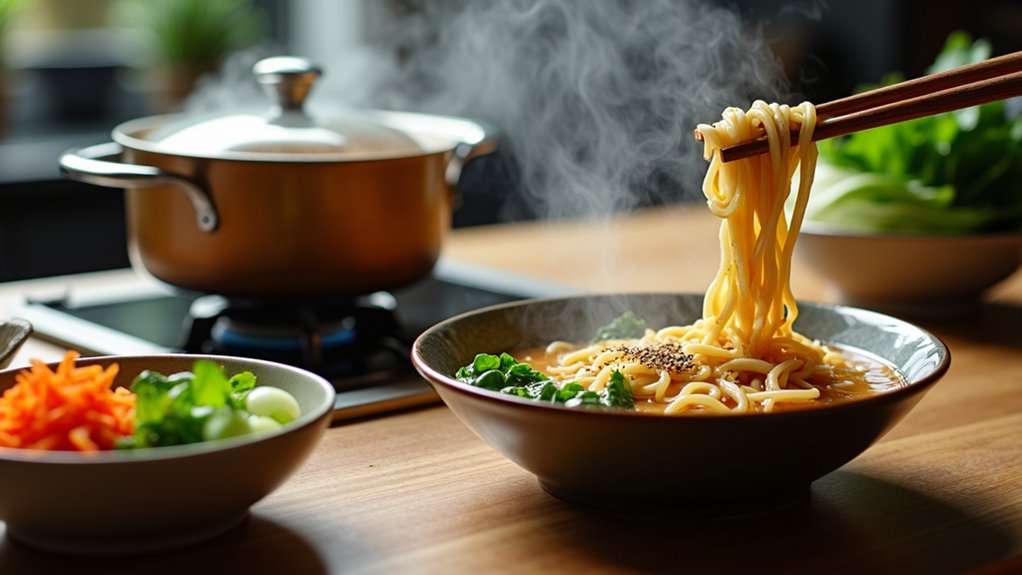
Now that we’ve got our ingredients ready, let’s jump into the cooking steps for our delicious udon noodles. First, I’ll boil some water for the noodles, which is always an exciting start. Once that’s bubbling, we can add the udon noodles and get things rolling!
Step 1. Boil Water for Noodles
To kick things off, I’ve found that boiling water is one of the most essential steps in making perfect udon noodles. Getting the water temperature just right is key; you want it at a rolling boil. This means using effective boiling techniques, like keeping the lid on until it heats up, which saves time and energy. Once the water’s bubbling away, it’s almost like a mini celebration—you’re one step closer to that delicious bowl of noodles! Just make sure you’ve got a big enough pot, so the noodles have room to dance around. Trust me, this little tweak can make all the difference in achieving that perfect, chewy texture we all crave in udon. Now, let’s get cooking!
Step 2. Add Udon Noodles to Pot
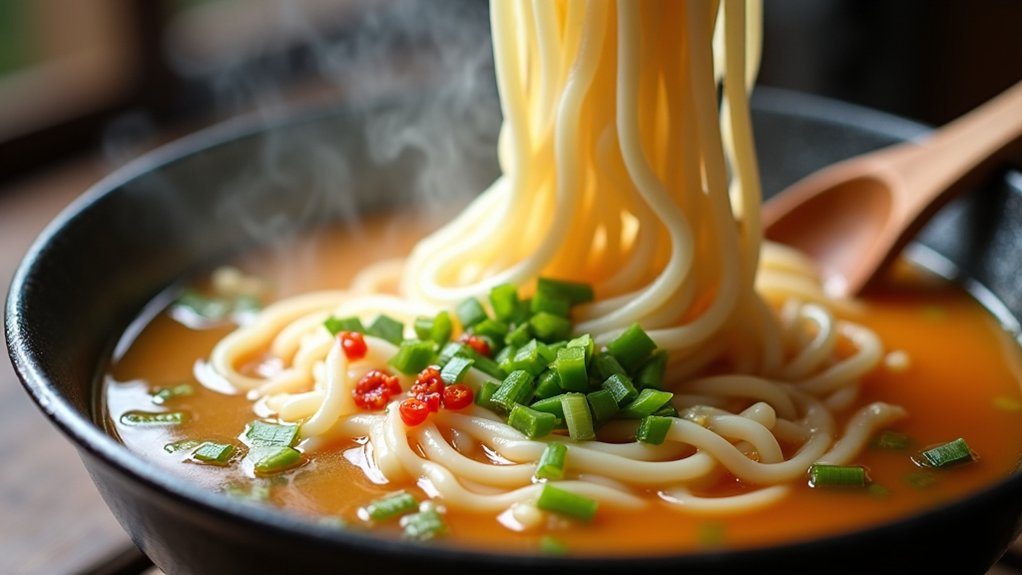
Once that water’s boiling like a champion, it’s time to add the udon noodles to the pot. I love the versatility of udon types, from thick and chewy to smooth and silky. Here’s how to get those noodles cooking perfectly:
- Gently slide the noodles into the boiling water—this helps maintain their noodle textures.
- Stir them lightly to prevent sticking; I always find this step critical for even cooking.
- Keep an eye on the clock! Most fresh udon noodles take about 3-5 minutes, while dried ones may require a bit longer.
- Taste a noodle to verify it’s just the right level of tenderness before draining. Trust me, you want them to be deliciously al dente!
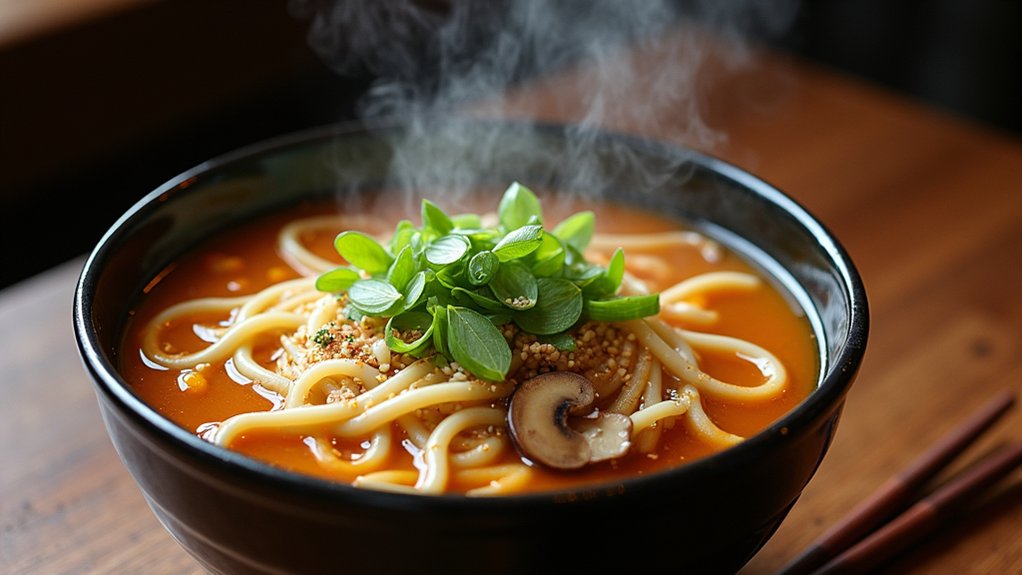
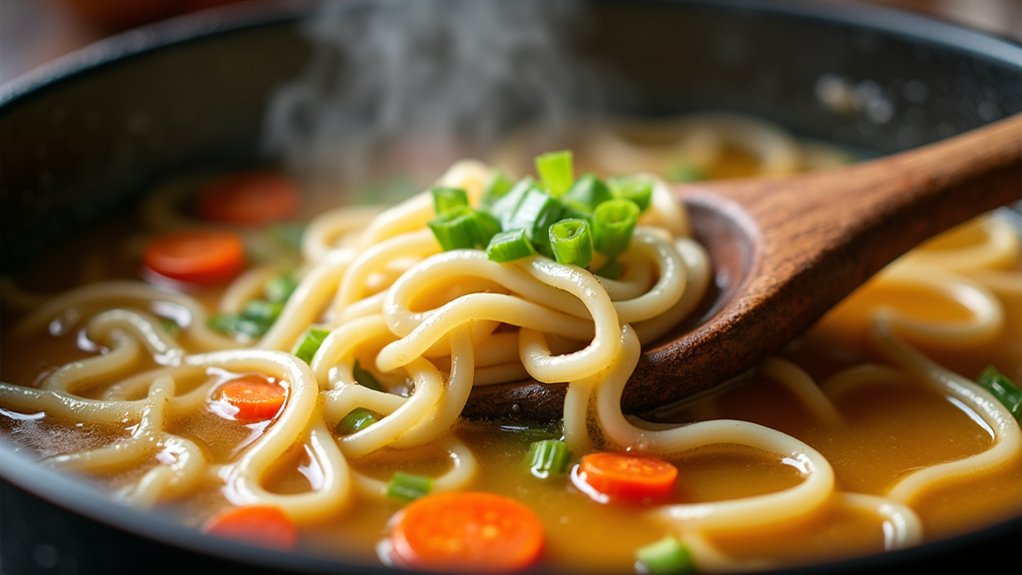
Step 3. Add Broth and Seasonings
With the udon noodles cooked to perfection, it’s time to elevate your dish by adding broth and seasonings. I love experimenting with different broth varieties, like a rich dashi or a savory miso, to bring depth to my soup. Start by heating your chosen broth in a pot, letting the aromas fill the kitchen. As it warms up, I add seasoning tips like soy sauce, a splash of sesame oil, and a pinch of salt to enhance the flavor profile. Don’t hesitate to taste and adjust; cooking is all about personal preferences! You can even throw in a dash of chili flakes for a little kick. This step transforms your simple noodles into a delightful, comforting bowl of udon soup.
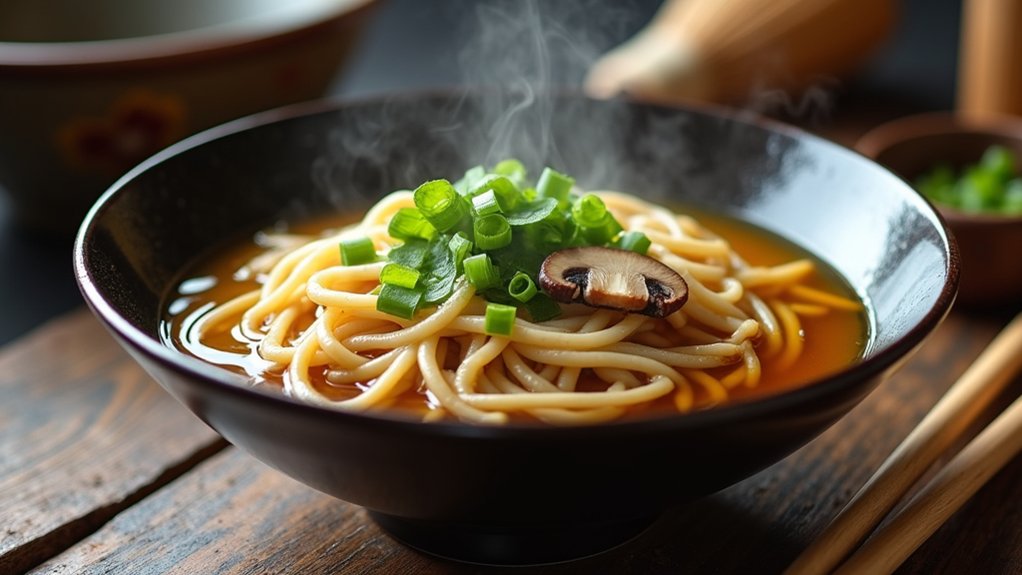
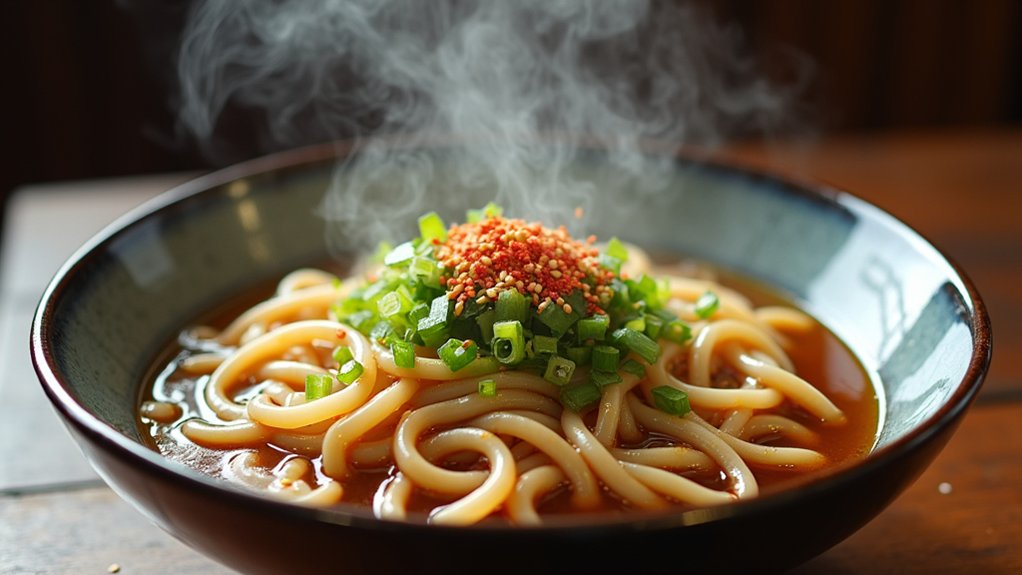
Step 4. Add Toppings and Garnishes
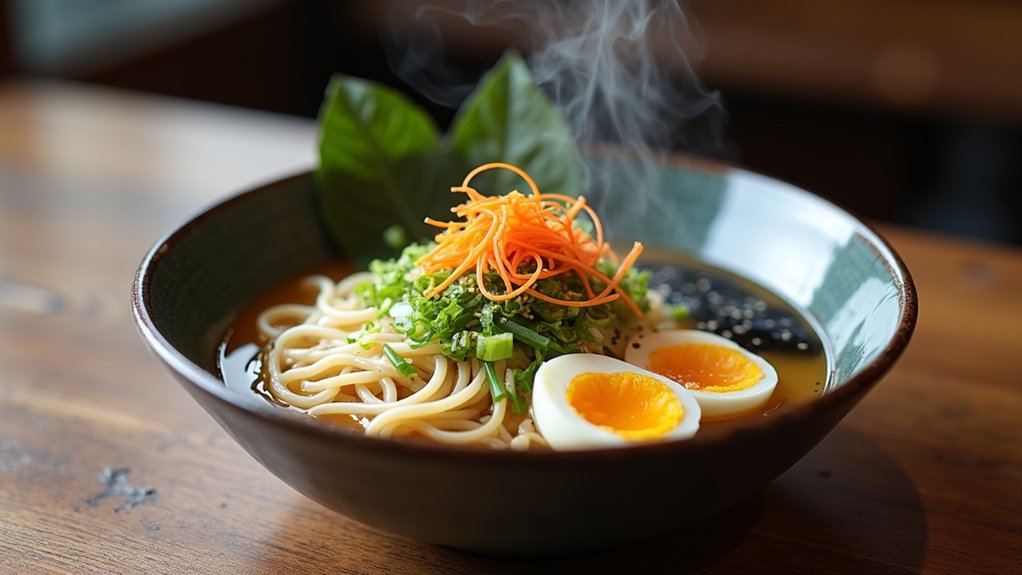
As you plunge into the final touches of your udon soup, adding toppings and garnishes can really elevate the dish in both flavor and presentation. It’s time to get creative! Here are some topping suggestions and garnish ideas that’ll make your soup shine:
- Chopped Green Onions – They add a fresh crunch and vibrant color.
- Soft Boiled Eggs – Their creamy yolk brings richness to each spoonful.
- Nori Strips – These seaweed pieces offer a savory umami kick.
- Sesame Seeds – Sprinkling them on top adds a nutty flavor and a lovely texture.
Feel free to mix and match these toppings to suit your taste. The result? A beautiful, delicious bowl of udon that’s sure to impress!
Step 5. Simmer for Flavor Integration
To truly bring out the rich flavors of your udon soup, simmering is key. After adding your carefully selected ingredients, turn down the heat and let them mingle for about 20 to 30 minutes. This gentle simmer isn’t just about cooking; it’s all about flavor enhancement and ingredient synergy. You’ll notice how the broth transforms, absorbing the essence of each element, from earthy mushrooms to vibrant green onions. As the flavors deepen, I like to taste and adjust seasoning, ensuring every bowl is balanced and satisfying. Don’t rush this step; the magic happens when you allow those ingredients to dance together. Trust me, the result will be a bowl of udon soup that warms your heart and soul.
Nutritional Guide
When it comes to enjoying udon noodles, understanding their nutritional value can make your meal even more satisfying. These chewy noodles not only fill your belly but also offer some great nutritional benefits! They’re typically low in calories, making them a fantastic base for a healthy meal.
Here’s a quick look at the nutritional content:
| Nutrient | Amount per Serving |
|---|---|
| Calories | 200 |
| Carbohydrates | 40g |
| Protein | 7g |
| Fiber | 2g |
Incorporating udon noodles into your meals can help you balance taste and nutrition. So, whether you’re cooking for yourself or sharing with friends, enjoy the goodness of udon!
Final Thoughts
Cooking with udon noodles is more than just a meal; it’s a delightful experience that brings people together. Whether you’re a seasoned chef or a curious beginner, there’s something magical about creating a warm bowl of udon soup. Here are a few ideas to spark your creativity:
- Experiment with soup variations: Try adding miso or spicy kimchi for a twist.
- Play with different noodle types: Soba or rice noodles can offer new textures.
- Incorporate seasonal veggies: Fresh ingredients make each bowl unique.
- Invite friends over: Cooking together can turn dinner into a fun event.
Frequently Asked Questions
Can I Substitute Udon Noodles With Another Type of Noodle?
Absolutely, you can substitute udon noodles! I often use rice noodles for a lighter dish or soba noodles for a nutty flavor. It’s a fun way to innovate your meals while keeping things delicious!
How Should I Store Leftover Udon Noodle Soup?
Storing leftover soup is like tucking in a cozy blanket. I pour it into airtight containers, refrigerate it, and when I reheating, I add a splash of broth for that fresh taste.
What Are Common Toppings for Udon Noodle Soup?
I love experimenting with topping options for my udon noodle soup! Some favorites include sliced green onions, soft-boiled eggs, and tempura shrimp. These flavor enhancements always elevate the dish and keep it exciting every time!
Is Udon Noodle Soup Gluten-Free?
Udon noodle soup isn’t gluten-free due to traditional udon noodle varieties made from wheat. However, I’ve discovered gluten-free alternatives like rice noodles that work beautifully, offering a delicious twist while maintaining that comforting, noodle soup vibe.
How Long Does Homemade Udon Noodle Soup Last in the Fridge?
“Good things come to those who wait.” I find my homemade udon noodle soup lasts about three to four days in the fridge. For ideal soup freshness, store it in airtight containers for better homemade storage.
Conclusion
As you savor your homemade udon noodle soup, take a moment to appreciate the journey you just started. The warm broth, the chewy noodles, and the fresh ingredients come together to create a comforting dish that warms not just your stomach but your soul. Imagine sharing this delightful experience with friends or family, as you all gather around the table, enthusiastic to taste what you’ve made. Trust me, this is just the beginning of your culinary adventures!